
PC Desktop CPU (Central Processing Unit) Replacement
Introduzione
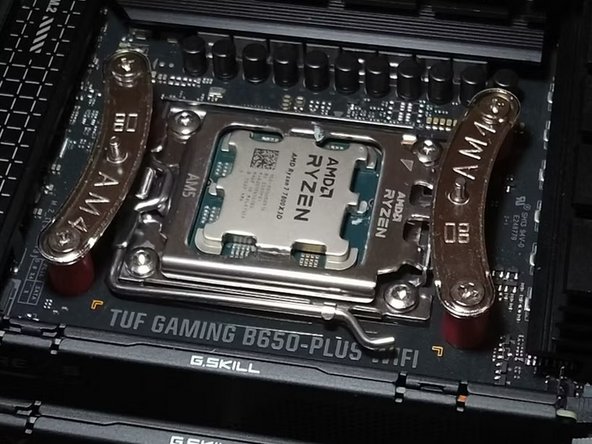
Vai al passo 1Upgrading your CPU can significantly enhance your computer's performance, making it more capable of handling demanding applications and multitasking efficiently. Whether you're a gamer looking for better frame rates, a content creator in need of faster rendering times, or simply want a smoother overall experience, replacing your CPU can be a game-changer. In this guide, we’ll walk you through the benefits of upgrading, the steps involved, and tips for choosing the right processor for your system. Let's dive in!
Cosa ti serve


Congratulations! You’ve successfully replaced your CPU! By following these steps, you’ve improved your computer’s performance and learned something new in the process. If everything is working well, you can enjoy faster speeds and better multitasking. Don’t forget to keep your computer clean and updated for the best results. Great job!
Congratulations! You’ve successfully replaced your CPU! By following these steps, you’ve improved your computer’s performance and learned something new in the process. If everything is working well, you can enjoy faster speeds and better multitasking. Don’t forget to keep your computer clean and updated for the best results. Great job!
Annulla: non ho completato questa guida.
Altre 2 persone hanno completato questa guida.