Introduzione
Use this guide to replace a cracked or broken screen on your OnePlus 7T.
If the frame is deformed, it's important to replace it to make sure the new screen will mount correctly and won’t suffer damage from uneven pressure.
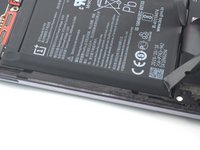
Due to the device’s design, you must remove the lithium-ion battery to access the display cables. If the battery was deformed during removal replace it with a new one—reusing a deformed battery is a potential safety hazard.
You’ll need replacement adhesive to reattach components when reassembling the device.
Cosa ti serve
-
-
Apply a heated iOpener to the rear glass for two minutes to loosen the adhesive beneath.
-
-
-
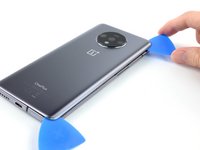
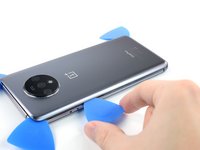
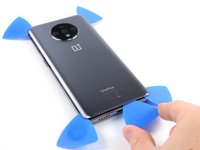
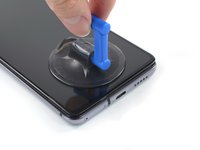
Apply a suction handle to the right edge of the rear glass.
-
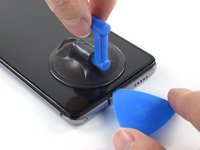
Pull on the suction handle to create a gap between the rear glass and the frame.
-
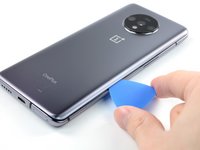
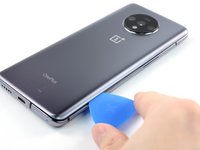
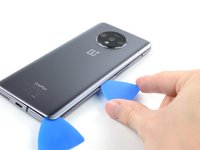
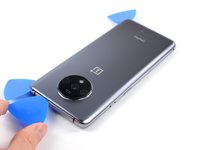
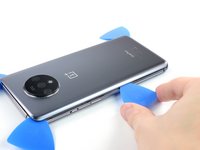
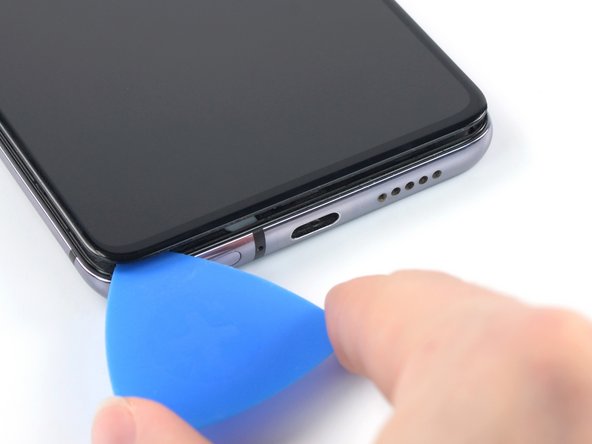
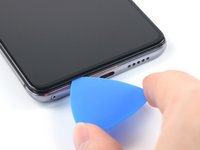
Insert an opening pick into the gap.
-
-
-
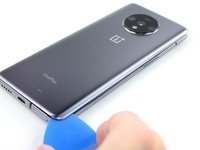
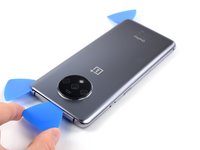
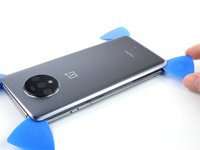
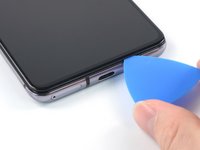
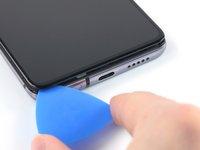
Slide the opening pick along the edge to the bottom right corner.
-
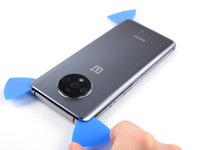
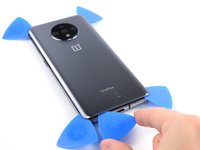
Leave the opening pick in the bottom right corner to prevent the adhesive from resealing.
-
-
-
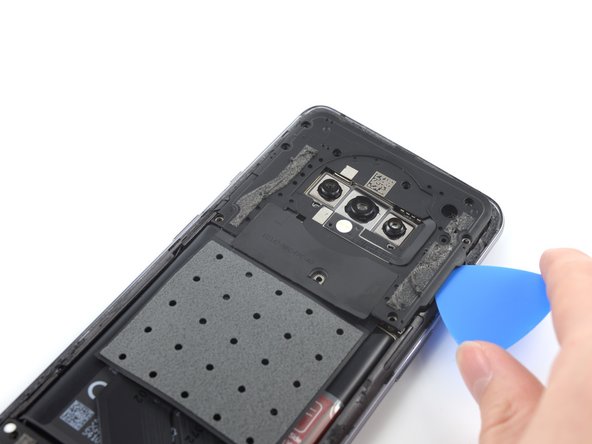
Use a Phillips screwdriver to remove the eleven 3.6 mm-long screws securing motherboard cover.
-
-
-
-
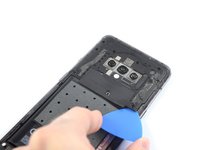
Insert the tip of an opening pick under the right bottom of the motherboard cover.
-
Slide the opening pick along the motherboard cover to release the plastic clips that hold it in its place.
-
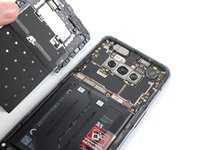
Remove the motherboard cover.
-
-
-
Use a spudger to disconnect the battery by prying the connector straight up from its socket.
-
-
-
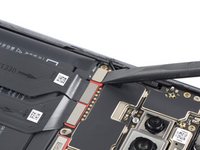
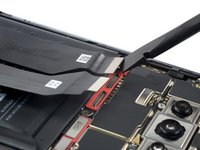
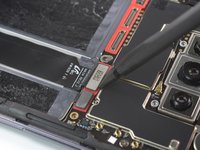
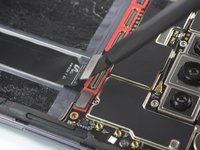
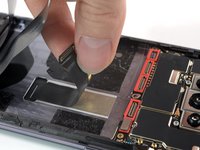
Use the flat end of a spudger to disconnect the two flex cables.
-
-
-
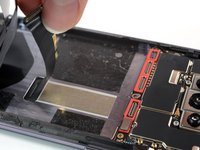
Bend the two flex cables toward the bottom of the phone and out of the way of the battery.
-
-
-
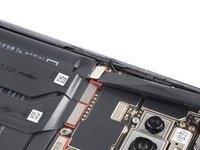
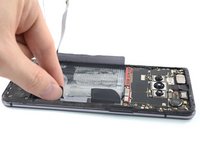
Use a spudger to carefully remove the adhesive tape on the left edge from the battery.
-
-
-
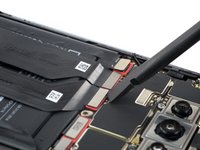
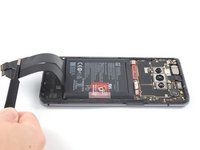
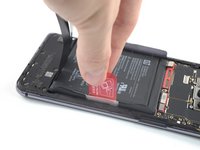
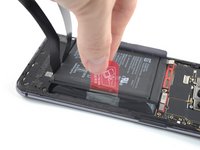
Peel back the red pull tab.
-
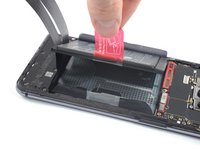
Pull up on the red pull tab to lift the battery out of its recess and swing it up to an upright position.
-
-
-
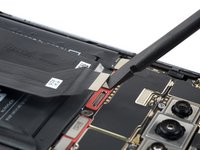
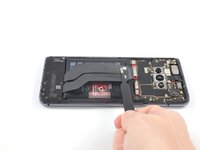
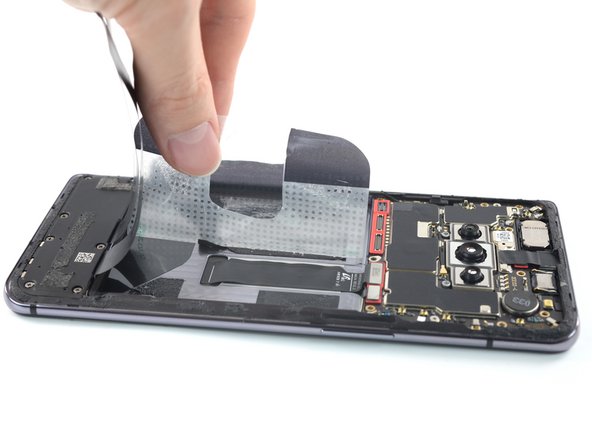
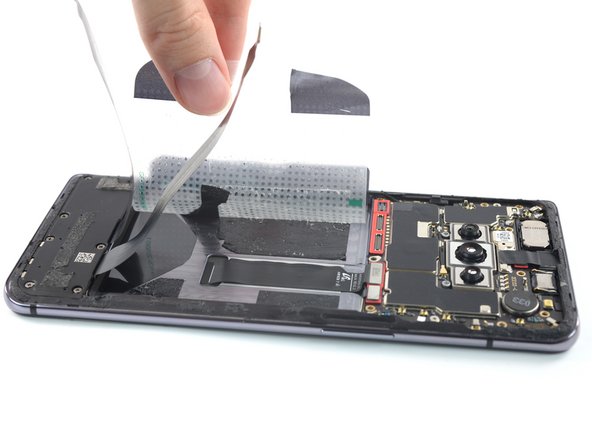
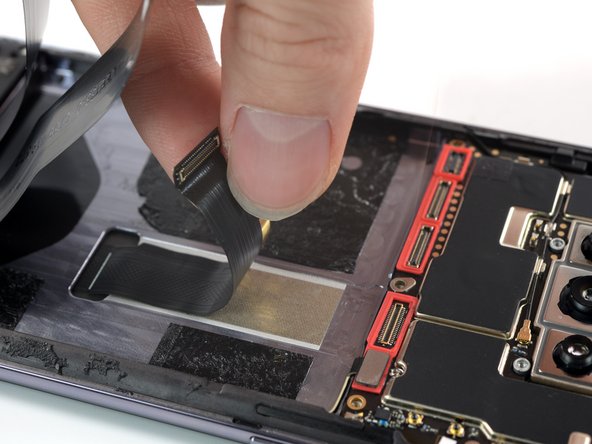
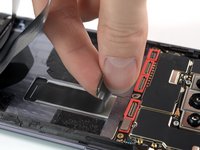
Grab the edge of the film sticking out on the right side of the phone.
-
Pull the film towards the left side of the phone with steady force.
-
Remove the plastic film.
-
-
-
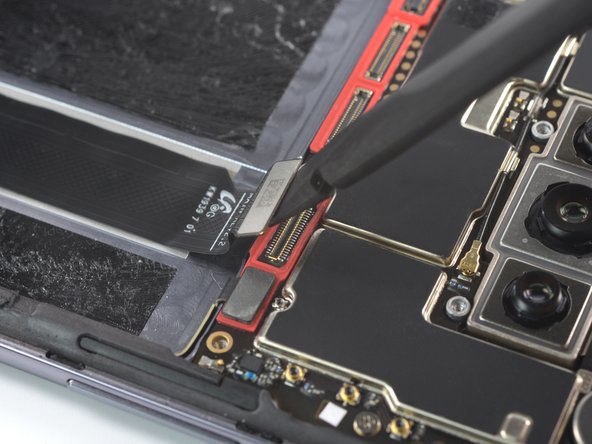
Use a spudger to disconnect the screen by prying the connector straight up from its socket.
-
-
-
Grab the display cable with your fingers.
-
Pull the display cable toward the bottom of the phone.
-
-
-
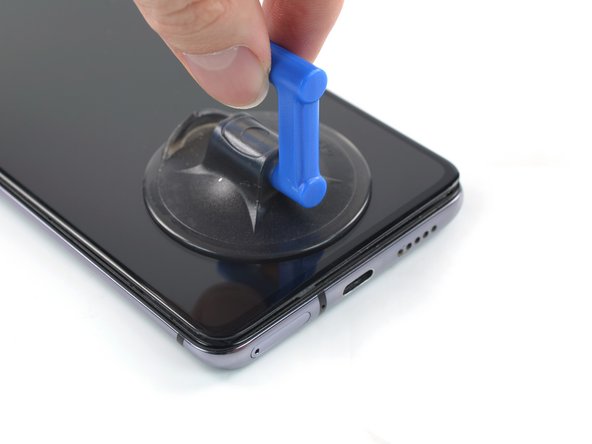
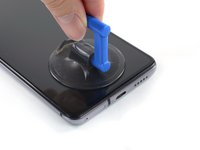
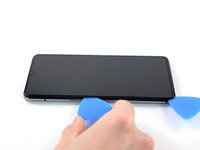
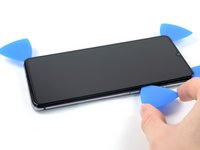
Apply a suction handle to the bottom of the screen.
-
Pull the suction cup up with strong, steady force to create a gap.
-
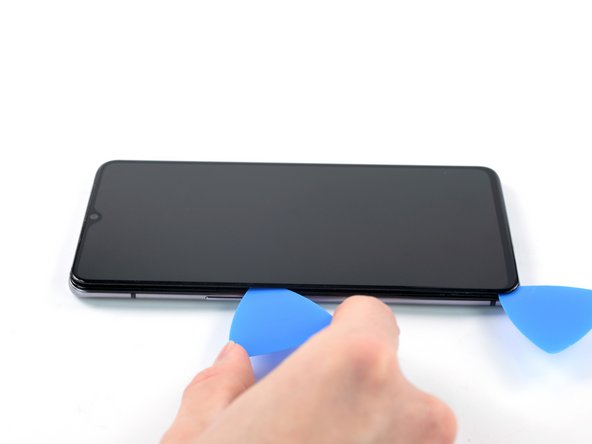
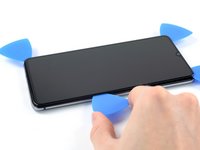
Insert an opening pick into the gap.
-
-
-
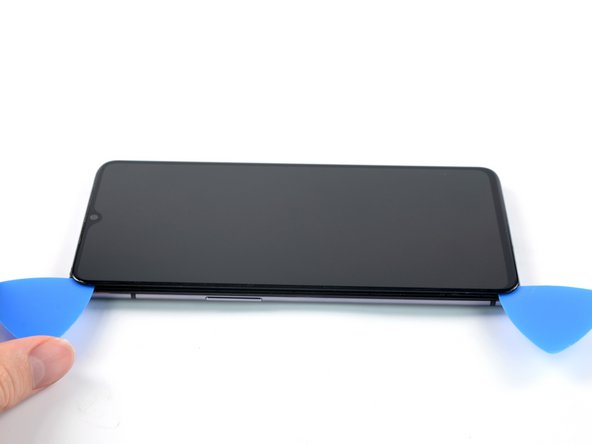
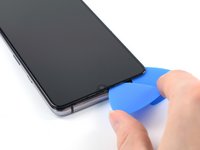
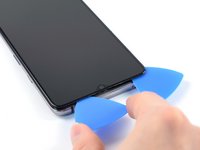
Slide the opening pick along the bottom edge to separate the adhesive.
-
Leave the opening pick in the bottom left corner to prevent the adhesive from resealing.
-
-
-
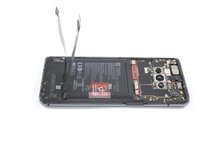
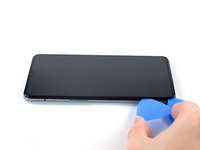
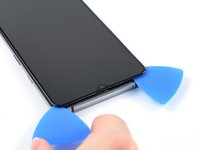
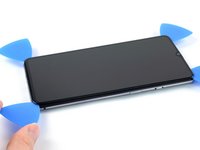
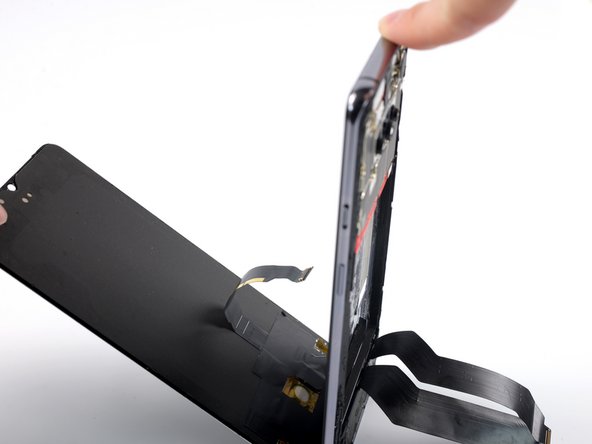
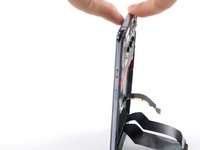
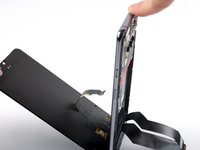
Grab the display on the top and slowly pull the screen away from the frame.
-
Thread the display flex cable through the gap in the frame.
-
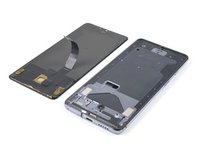
Remove the screen.
-


If possible, turn on your device and test your repair before installing new adhesive and resealing.
Compare your new replacement part to the original part—you may need to transfer remaining components or remove adhesive backings from the new part before you install it.The best way to secure the new screen is to apply a sheet of custom-cut double-sided tape to the back of the screen.
To reassemble your device, follow these instructions in reverse order. Apply new adhesive where necessary after cleaning the relevant areas with isopropyl alcohol (>90%).
Take your e-waste to an R2 or e-Stewards certified recycler.
Repair didn’t go as planned? Try some basic troubleshooting, or ask our Answers community for help.
Annulla: non ho completato questa guida.
Altre 7 persone hanno completato questa guida.


8Commenti sulla guida
A heat gun & I caused some heat damage to a small corner of my "NEW" replacement screen. Would this make the display not turn on at all? After putting everything back together, the only sign of life is a vibration when I plug in the charger. I didn't have USB debugging on before my screen initially broke so I can't tell if it's working minus the screen. Is there anything else that could be causing this? thanks
Hi jasen king, it sounds like it could be an issue with either the display cable or connector. You could try reseating the display connector, if that's not changing anything, you should check the connector socket for dust or bent pins or the display cable for any signs of damage. If your broken screen did still turn on, you could try reconnecting the old part to check whether there is an issue with your replacement part in general. You can find additional troubleshooting tips here. Hope this helps!
Just a note. Replacement transparent back rear glass looks so sick. You can get an original and remove the foil colour, but ive found them already to go with logo on ebay. They look soooo good. Enjoy... Easy fixes
really? I always thought it would look sick with a clear panel, but i didn't know you could just remove the film off the stock back. Is there a video/instructions for this anywhere?