
Nikon Coolpix S9050 Menu Wheel and OK Button Replacement
Introduzione
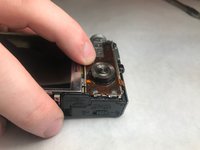
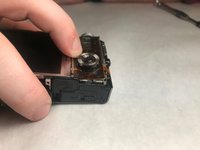
Vai al passo 1If your Nikon Coolpix S9050 is not turning on, the menu wheel and OK button may need to be replaced. The requirements for this procedure are to have a Phillips #000 screwdriver and a flat surface to disassemble the parts. Make sure the camera is off and it is recommended to work in a dry area.
Cosa ti serve
Strumenti

-
-
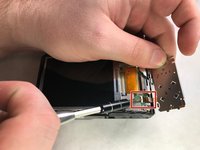
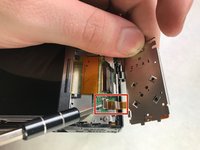
Using a Phillips #000 screwdriver, remove the two 3.2mm black screws on both sides of the camera.
-
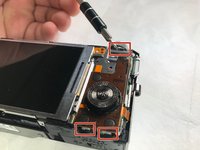
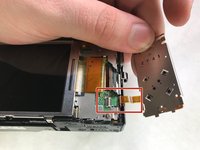
Set the camera face down and remove the four 3.2mm silver screws using the same screwdriver.
-
-


To reassemble your device, follow these instructions in reverse order.
To reassemble your device, follow these instructions in reverse order.
Annulla: non ho completato questa guida.
Un'altra persona ha completato questa guida.
Team

IUPUI, Team S3-G3, Harley Fall 2018 Membro di IUPUI, Team S3-G3, Harley Fall 2018
IUPUI-HARLEY-F18S3G3
3 Membri
4 Guide realizzate