
Nikon Coolpix S33 Motherboard Replacement
Introduzione
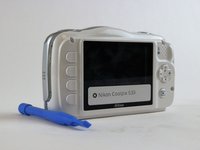
Vai al passo 1If your camera won't respond to any efforts to turn on, you may need to replace the motherboard in the camera. This guide will walk you through how to replace the motherboard so that you can have a working camera again.
Cosa ti serve


-
-
Remove all four T5 Torx screws from the exterior of the camera.
-
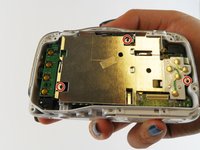
Remove all three T5 Torx screws located at the bottom of the camera next to the battery compartment.
-
-
-
-
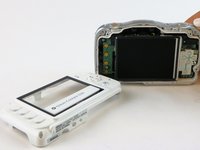
Using a plastic opening tool, pry the LCD screen out of its slot inside of the camera.
-
-
-
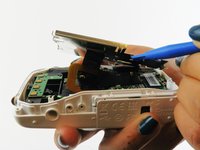
Remove all three 15'' Torx screws. Gently pry off the LCD holder using a plastic opening tool.
-
Peel off the connecting tape under the LCD holder to disconnect it completely.
-


To reassemble your device, follow these instructions in reverse order.
To reassemble your device, follow these instructions in reverse order.
Annulla: non ho completato questa guida.
Altre 5 persone hanno completato questa guida.
Team

USF Tampa, Team 16-3, Blackwell Winter 2016 Membro di USF Tampa, Team 16-3, Blackwell Winter 2016
USFT-BLACKWELL-W16S16G3
3 Membri
10 Guide realizzate