
Nikon Coolpix L820 LCD Replacement
Introduzione
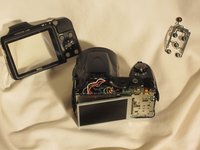
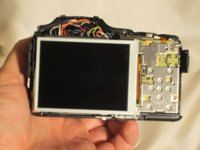
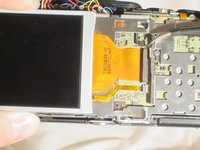
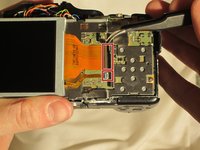
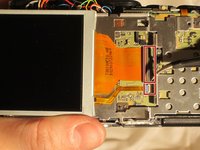
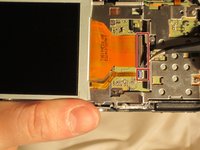
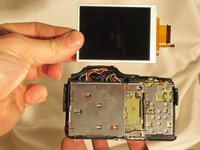
Vai al passo 1The LCD screen is an essential component of a camera. If the LCD screen stops working, the camera can no longer be used. In this repair guide, you will learn how to replace the LCD screen on the Nikon Coolpix L820 camera.
Cosa ti serve


-
-
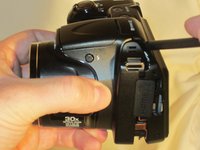
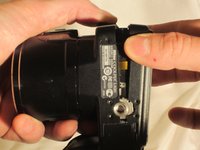
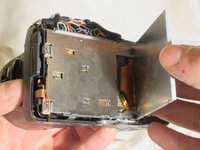
Use a Phillips #0 screwdriver to remove the screws on the front casing. There are 10 screws around the casing. 3 are located on the left side of the camera, 6 are located on the bottom near the product label, and 1 is located on the right side of the camera.
-
-


To reassemble your device, follow these instructions in reverse order.
To reassemble your device, follow these instructions in reverse order.
Annulla: non ho completato questa guida.
Altre 2 persone hanno completato questa guida.
Team

UMass Dartmouth, Team 1-4, Miles Spring 2015 Membro di UMass Dartmouth, Team 1-4, Miles Spring 2015
UMASSD-MILES-S15S1G4
3 Membri
10 Guide realizzate