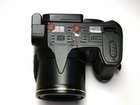
Nikon Coolpix E5700 Back Panel Replacement
Introduzione
Vai al passo 1This guide will walk you through the necessary steps to remove the back panel of the Nikon Coolpix E5700.
Cosa ti serve
Strumenti

-
-
Use your finger tip to slide the battery release tab toward the battery symbol on the E5700.
-
Open the battery door.
-
-
-
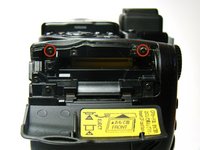
Turn to the bottom of the camera.
-
Remove the two Phillips screws located directly below the back monitor
-
-


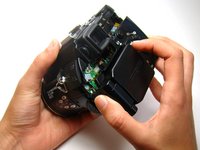
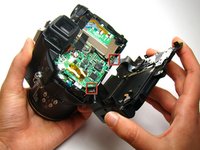


To reassemble your device, follow these instructions in reverse order.
To reassemble your device, follow these instructions in reverse order.
Annulla: non ho completato questa guida.
Altre 2 persone hanno completato questa guida.
Team

Cal Poly, Team 24-58, Amido Spring 2011 Membro di Cal Poly, Team 24-58, Amido Spring 2011
CPSU-AMIDO-S11S24G58
4 Membri
18 Guide realizzate