
Sostituzione scheda madre Nexus 5
Introduzione
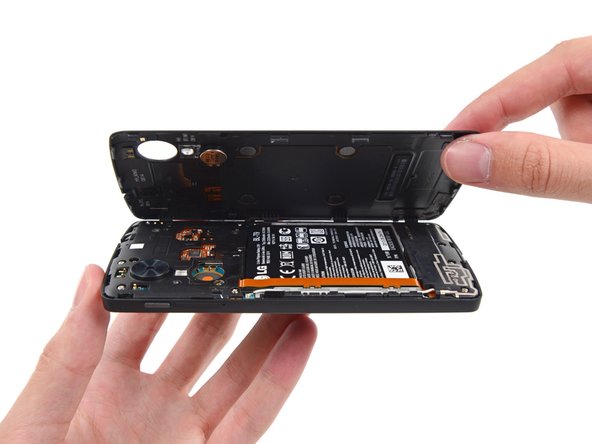
Vai al passo 1Usa questa guida per sostituire la scheda madre del tuo Nexus 5.


-
-
Inserisci uno strumento di estrazione SIM o una graffetta nel foro vicino all'alloggiamento della scheda SIM posizionato appena sotto il pulsante di accensione.
-
Spingi lo strumento nel foro finché non sentirai lo scatto della scheda che esce.
-
-
-
Usa uno strumento di apertura in plastica per sganciare le clip nella parte superiore e su ogni lato della cover posteriore.
-
-
-
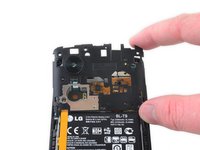
Rimuovi le sei viti Phillips #00 da 4,0 mm che fissano il telaio intermedio al telefono.
-
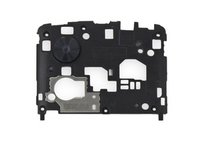
Per sostituire lo schermo LCD e il digitizer, rimuovi, con lo stesso cacciavite, le altre quattro viti da 4,0 mm della cover della scheda figlia. Potresti dover forare del materiale adesivo trasparente per svitarle.
-
-
-
Attrezzo utilizzato in questo passaggio:Spudger$2.99
-
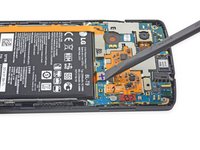
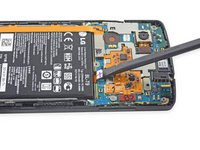
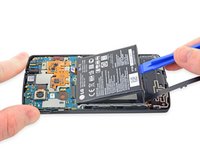
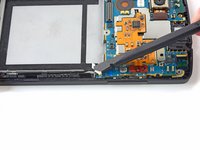
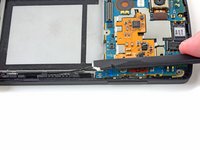
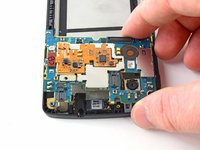
Usa l'estremità piatta di uno spudger in nylon per scollegare il connettore della batteria.
-
-
-
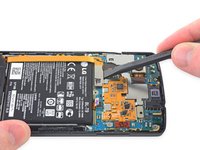
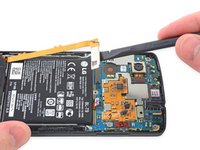
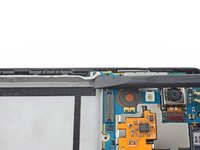
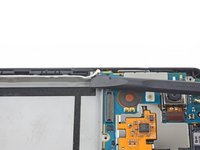
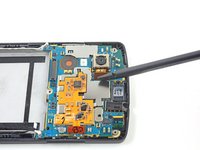
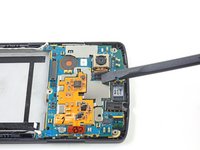
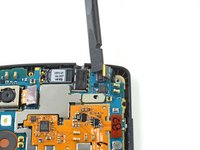
Usa l'estremità piatta di uno spudger per disconnettere il cavo dell'antenna di sinistra.
-


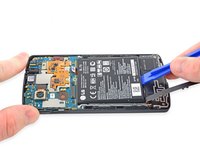


Per rimontare il tuo dispositivo, segui queste istruzioni in ordine inverso.
Per rimontare il tuo dispositivo, segui queste istruzioni in ordine inverso.
Annulla: non ho completato questa guida.
Altre 31 persone hanno completato questa guida.
Un ringraziamento speciale a questi traduttori:
100%

albertob ci sta aiutando ad aggiustare il mondo! Vuoi partecipare?
Inizia a tradurre ›
Team

Cal Poly, Team 7-23, Regan Spring 2014 Membro di Cal Poly, Team 7-23, Regan Spring 2014
CPSU-REGAN-S14S7G23
4 Membri
19 Guide realizzate
12 Commenti
is the motherboard from the 32gb nexus 5, compatible for the nexus 5 16gb lcd??
It should be, yes. I've chopped and changed loads of Nexus 5 phone around and haven't had a problem.
Thanks for the repy. My Nexus 5 has some bootoop problems and when i go to the boot options, (the hold power and volume down), it says Lock State - LOCKED. so im thinking of replacing the motherboard. or is there a way to fix my problem? Thanks for the reply. I appreciate it.
I just used this guide to quickly get at the motherboard to replace a faulty power button. It's tedious but not impossible with a very clean soldering iron tip, solder wick, and lots of flux. The replacement button and covers from iFixit were an exact match (I checked under a microscope).