
Nerf N-Strike Maverick O-Ring Replacement
Introduzione
Vai al passo 1This guide shows the steps necessary to replace the O-Ring on the Nerf N-Strike Maverick. First, you should consult steps 1 through 4 of the Nerf N-Strike Maverick Teardown guide. Make sure you have a replacement O-Ring on hand.
Cosa ti serve
Ricambi

Strumenti


Mostra di più…
-
-
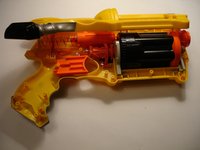
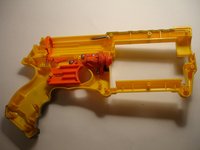
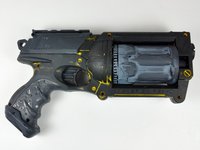
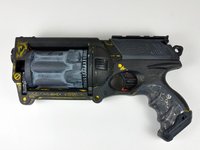
The Redeemer. Looks badass with its rotating barrel, but it's going to get a whole lot more badasserer quite soon...
-
Reminds me of a gun from the Fifth Element.
-
-
-
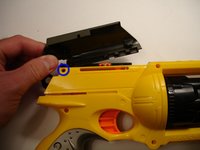
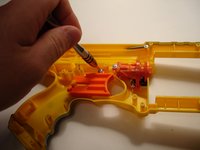
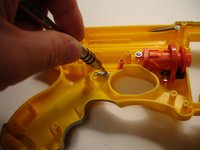
Another Phillips screw hides beneath the cocking mechanism thing. Remove that one as well.
-
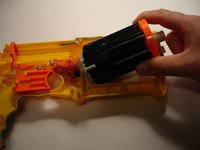
The cocking mechanism's quite simple. A metal lever pulls back on the air plunger and compresses the large spring. Another small spring returns the slider back into its original position once it's done doing the dirty business..
-
-
-
-
Follow steps 1 through 4 of the Nerf N-Strike Maverick Teardown guide.
-
-
-
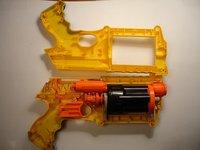
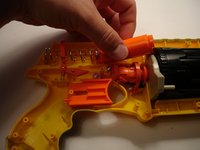
Locate the air plunger in the upper left hand corner of the opened nerf gun. Push back on the spring and carefully pull the plunger toward you to remove it.
-
-
-
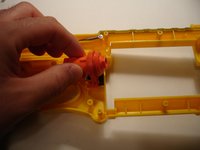
Once you have the air plunger removed, locate the O-Ring by pulling the two pieces of the air plunger apart.
-
-
Attrezzo utilizzato in questo passaggio:Tweezers$4.99
-
Use a pair of tweezers to remove the O-Ring from the top of the air plunger.
-


To reassemble your device, follow these instructions in reverse order.
To reassemble your device, follow these instructions in reverse order.
Team

University of Maine, Team 1-2, Diaz Fall 2014 Membro di University of Maine, Team 1-2, Diaz Fall 2014
UMAINE-DIAZ-F14S1G2
3 Membri
3 Guide realizzate