
MacBook Pro 13" Unibody Late 2011 Upper Case Replacement

Introduzione
Vai al passo 1Replacing the upper case requires the removal of nearly every component in your MacBook Pro. You will also need to transfer your old trackpad over to your new upper case.


Panoramica Video
-
-
Remove the following ten screws:
-
Three 14.4 mm Phillips #00 screws
-
Three 3.5 mm Phillips #00 screws
-
Four 3.5 mm shouldered Phillips #00 screws
-
-
-
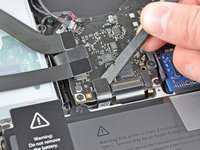
Use the edge of a spudger to pry the battery connector upwards from its socket on the logic board.
-
-
-
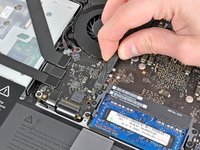
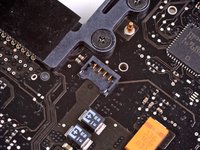
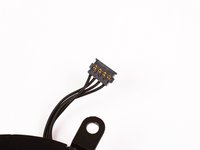
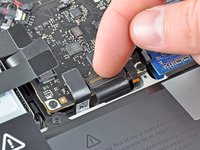
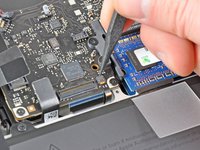
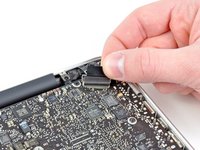
Use the edge of a spudger to gently pry the fan connector up and out of its socket on the logic board.
-
-
-
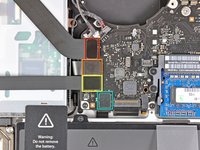
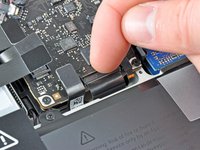
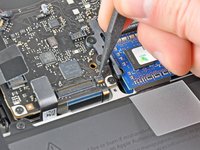
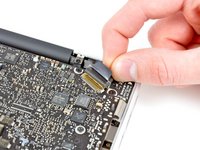
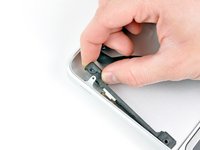
Use the tip of a spudger to pull the right speaker/subwoofer cable out from under the retaining finger molded into the upper case.
-
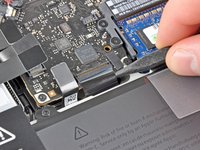
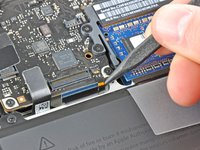
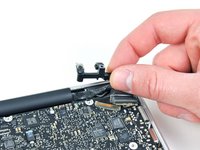
Pull the right speaker/subwoofer cable upward to lift the connector out of its socket on the logic board.
-
-
-
-
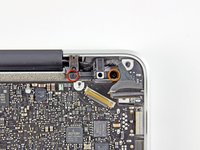
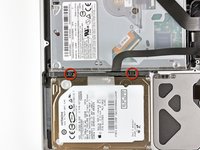
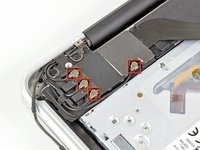
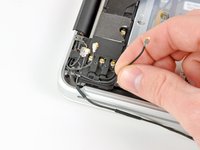
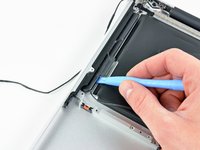
Remove the following two screws:
-
One 5.6 mm Tri-point screw
-
One 13 mm Tri-point screw
-
-
-
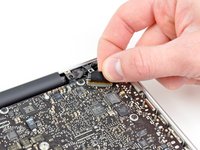
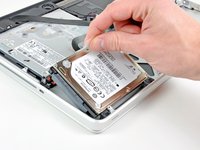
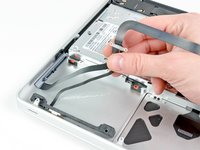
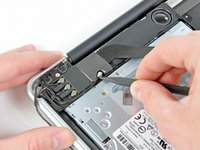
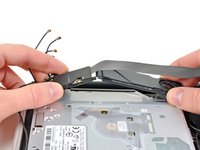
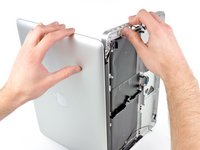
Grab the upper case with your right hand and rotate it slightly toward the top of the display so the upper display bracket clears the edge of the upper case.
-
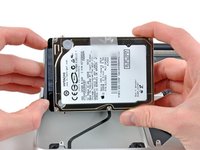
Rotate the display slightly away from the upper case.
-
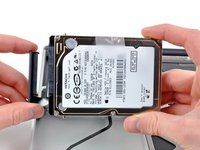
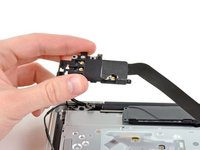
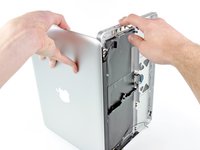
Lift the display up and away from the upper case, minding any brackets or cables that may get caught.
-
Upper case remains.
-
-
-
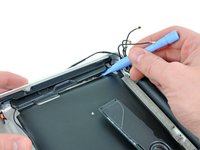
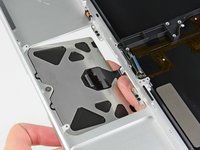
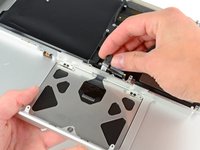
Carefully insert the cable from your old trackpad through its slot cut into your new upper case.
-
Use one hand to hold the trackpad cable in place as you insert the two retaining tabs on the outer edge of the trackpad under the lip on the upper case.
-
Pull the trackpad cable as you seat the trackpad into its void in your new upper case.
-
-
-
Tighten the outer two screws along the inner edge of the trackpad and check the alignment of it on the outer side of the upper case.
-
If its alignment looks good, install the rest of the Phillips screws along the inner edge of the trackpad.
-
Before reassembling your machine, verify that the set screw is still installed in a position so the mouse will click correctly.
-


To reassemble your device, follow these instructions in reverse order.
To reassemble your device, follow these instructions in reverse order.
Annulla: non ho completato questa guida.
Altre 57 persone hanno completato questa guida.

5 Commenti
Just replaced my top case on my MBP late 2011. Thanks for this guide, it's excellent and made the repair easy.
Thank you for this. I was able to replace my top case in my 2011 mac book pro. There’s life left in her yet.
Just did this, but now my display remains dark. I have opened up the case and reseated the display data cable connector. The display is still black. Anything else I might have done wrong?
I mean, is there a particular connector I would want to look at, other than the display data cable connector. I do not have a functional block diagram to see, whether the computer has a separate connector carrying power to the backlight.
I think, I know what I did wrong. The display data cable connector has an integrated foam shield on top of it and the display data cable lock bracket. When reassembling, I must have forced the lock bracket over the foam shield in such a way that it put strain on the connector, thereby making it not mate properly. The solution was to feed the foam shield through the bracket, so that it was above it, when I inserted the connector.