
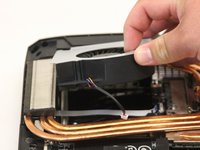
MSI GT75VR 7RF Titan Pro Cooling Fan Replacement
Nessuna stima
Moderato
Introduzione
Vai al passo 1How to access, locate, and replace your MSI GT75VR 7RF Titan Pro cooling fan if it breaks.
Cosa ti serve
Strumenti


-
-
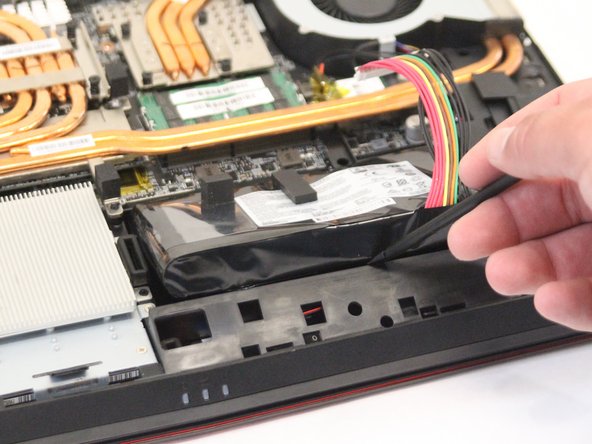
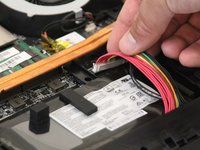
Using the Phillips #0 screwdriver, unscrew each of the four screws on the back of the laptop case. The screws are 0.5 inches long.
-
-


Quasi finito!
To reassemble your device, follow these instructions in reverse order.
Conclusione
To reassemble your device, follow these instructions in reverse order.
Team

Western Carolina University, Team S1-G5, Virtue Fall 2018 Membro di Western Carolina University, Team S1-G5, Virtue Fall 2018
WCU-VIRTUE-F18S1G5
3 Membri
5 Guide realizzate