
MSI GS66 Stealth 11UE-007 Cooling Fan Replacement
Introduzione
Vai al passo 1If your MSI GS66 Stealth laptop (model 11UE-007) is having problems overheating, a cooling fan replacement might solve the issue. The cooling fan is an essential component of any laptop. The CPU will produce heat and without the cooling fan to reduce the heat on the device, this could result in performance loss, unexpected shutdowns, hardware damage and, in the worst case, a fire.
The warning signs for a broken cooling fan are very recognizable with a concentrated abnormal amount of heat on the backplate of the laptop. Prolonging this issue is not recommended and with this guide the issue can be solved quickly and ensure the longevity of your laptop. For this guide, you will need to use a Phillips J1 screwdriver, a blue iFixit opening tool, and an iFixit opening pick.
Cosa ti serve


-
-
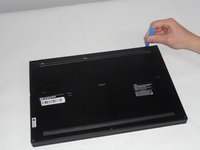
Orient your laptop so that the bottom is facing up and the hinge is away from yourself.
-
-
-
-
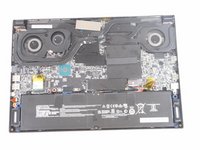
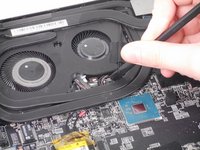
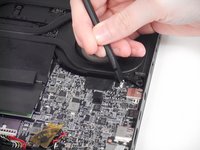
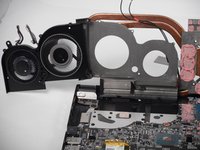
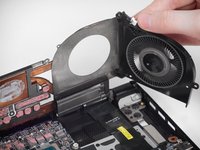
Remove the fans
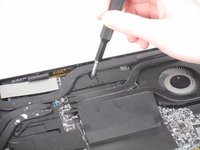
-
Orient your laptop so that the bottom is facing up and the hinge is away from yourself.
-


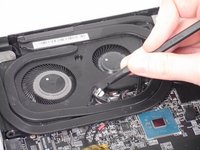


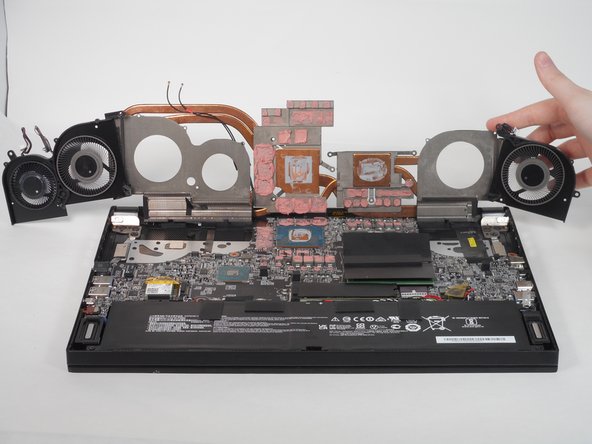

To reassemble your device, follow these instructions in reverse order.
To reassemble your device, follow these instructions in reverse order.
Annulla: non ho completato questa guida.
Altre 4 persone hanno completato questa guida.
Team

University of Memphis, Team 1-4, Sneed Fall 2023 Membro di University of Memphis, Team 1-4, Sneed Fall 2023
UM-SNEED-F23S1G4
4 Membri
6 Guide realizzate
2 Commenti
Has anyone found a solution to this issue yet, that doesn't require micro soldering`````````````Jorge Rodriguez.
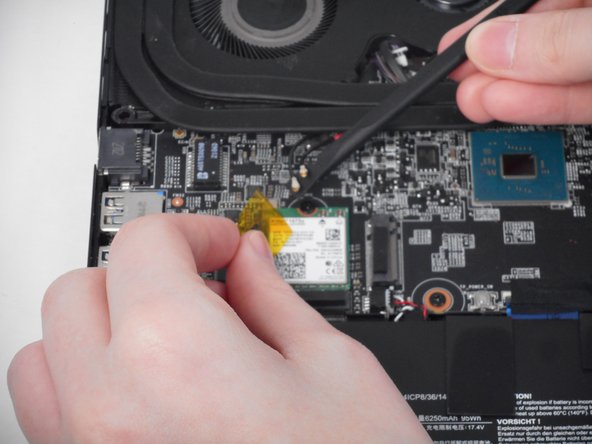
Please correct order of pictures. Description is correct but you put wrong pictures in spots. WiFi adapter isn't tape holding the heatsink assembly down.