
MSI GP60 2pe Leopard Back Panel Replacement

2 minuti
Molto facile
Introduzione
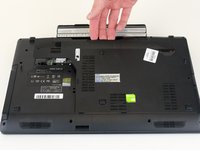
Vai al passo 1This is to help you take the back panel off your device to help you start the process of replacing things in your device.
Cosa ti serve
Strumenti


Quasi finito!
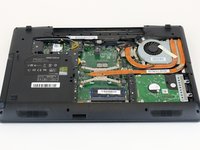
To reassemble your device, follow these instructions in reverse order.
Conclusione
To reassemble your device, follow these instructions in reverse order.

Team

Linn Benton Community College, Team S1-G4, Karnes Fall 2018 Membro di Linn Benton Community College, Team S1-G4, Karnes Fall 2018
LBCC-KARNES-F18S1G4
4 Membri
6 Guide realizzate