Salta al contenuto principale
MSI GE72 6QF Apache Pro Screen Replacement

MSI GE72 6QF Apache Pro Screen Replacement

Riley Smith

Riley Smith e un altro collaboratore

Ultimo aggiornamento il January 4, 2018

15 minuti
Facile

Introduzione

Vai al passo 1

Though the screen for this laptop can be costly, replacing the screen is quite simple. Be cautious when removing the screen bezel so that it will reattach correctly.

Cosa ti serve

Ricambi

Strumenti

Mostra di più…

iFixit guadagna commissioni quando acquisti tramite questi link.
  1. MSI GE72 6QF Apache Pro Screen Replacement, Screen: passo 1, immagine 1 di 3 MSI GE72 6QF Apache Pro Screen Replacement, Screen: passo 1, immagine 2 di 3 MSI GE72 6QF Apache Pro Screen Replacement, Screen: passo 1, immagine 3 di 3
    • Be careful when removing the bezel. The clips that hold it in place will break when too much pressure is applied.

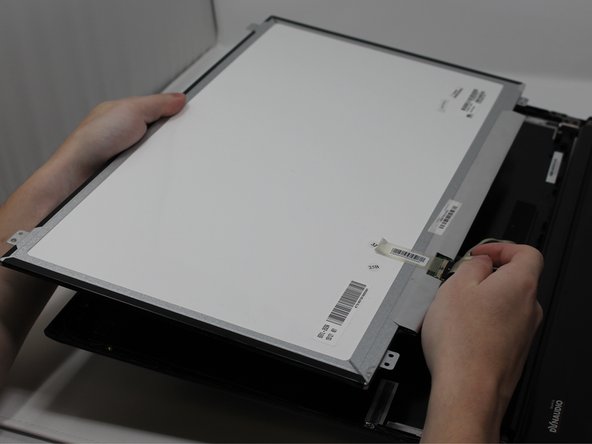
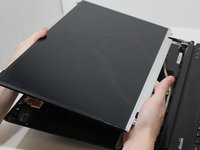
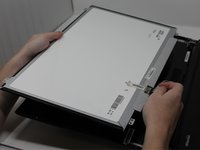
    • Use the plastic opening tool to carefully pop the screen bezel off of the laptop.

  2. MSI GE72 6QF Apache Pro Screen Replacement: passo 2, immagine 1 di 3 MSI GE72 6QF Apache Pro Screen Replacement: passo 2, immagine 2 di 3 MSI GE72 6QF Apache Pro Screen Replacement: passo 2, immagine 3 di 3
    • Using the Phillips #0 screwdriver, remove the four 3mm long screws.

  3. MSI GE72 6QF Apache Pro Screen Replacement: passo 3, immagine 1 di 3 MSI GE72 6QF Apache Pro Screen Replacement: passo 3, immagine 2 di 3 MSI GE72 6QF Apache Pro Screen Replacement: passo 3, immagine 3 di 3
    • Flip the screen over and carefully peel off the tape that holds the connector in place.

    • When peeling off the tape, fold it back so that it can remain sticky for the new screen.

Conclusione

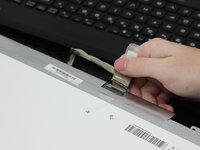
To reassemble your device, follow these instructions in reverse order.

Altre 3 persone hanno completato questa guida.

0 Commenti

Aggiungi Commento

Visualizza Statistiche:

Ultime 24 Ore: 0

Ultimi 7 Giorni: 19

Ultimi 30 Giorni: 32

Tutti i Tempi: 4,088