
Logitech Harmony 650 Case Replacement
Introduzione
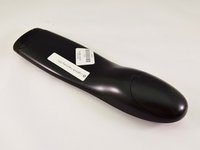
Vai al passo 1This guide shows you how to begin the disassembly of the Logitech Harmony 650 Universal Remote. It is recommended that you have the iFixit ProTech Toolkit.
Cosa ti serve


-
-
Remove the battery cover by applying pressure to the indented area and pushing the cover toward the rear of the device.
-
-
-
Attrezzo utilizzato in questo passaggio:Flathead 3/32" or 2.5 mm Screwdriver$5.49
-
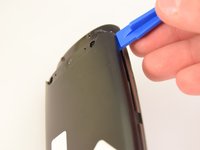
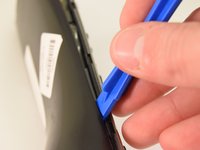
Remove the small plastic cover beneath the plastic LED housing by using a 3.0 flathead screwdriver and a spudger to pry it off. It is glued to the case. If you are having trouble removing it try applying some heat to loosen the glue.
-


To reassemble your device, follow these instructions in reverse order.
To reassemble your device, follow these instructions in reverse order.
Annulla: non ho completato questa guida.
Altre 4 persone hanno completato questa guida.
Team

Eastern Washington University, Team 1-2, Rowley Winter 2016 Membro di Eastern Washington University, Team 1-2, Rowley Winter 2016
EWU-ROWLEY-W16S1G2
4 Membri
5 Guide realizzate