
Lenovo ThinkPad T420s Hard Disk Drive Replacement

Introduzione
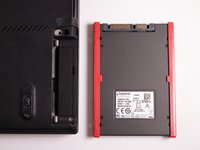
Vai al passo 1This guide will cover how to replace the hard disk drive (HDD) in a Lenovo ThinkPad T420s. This is NOT a guide for the Lenovo ThinkPad T420, that is a different model.
Back up the hard drive that you wish to replace if you wish to keep the data on it before attempting this replacement.
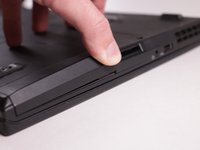
Unplug and power off your device before attempting this replacement. If the device is not powered off, it can result in damage to your laptop and hard drive.
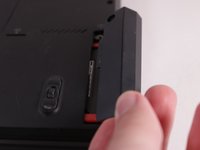
You’ll need a small (Philips #0 recommended) screwdriver and a new hard drive or solid state drive to complete this replacement.
Cosa ti serve
Kit di riparazione
Questi kit contengono tutti i ricambi e gli strumenti necessari per completare questa guida.


Ricambi


Strumenti

Mostra di più…


To reassemble your device, follow these instructions in reverse order.
To reassemble your device, follow these instructions in reverse order.
Annulla: non ho completato questa guida.
Altre 3 persone hanno completato questa guida.

Team

University of North Texas, Team 1-2, Smith Spring 2022 Membro di University of North Texas, Team 1-2, Smith Spring 2022
UNT-SMITH-S22S1G2
2 Membri
2 Guide realizzate