Salta al contenuto principale
LG Optimus L9 P769 Rear Facing Camera Replacement

LG Optimus L9 P769 Rear Facing Camera Replacement

Paul

Paul e 3 altri collaboratori

Ultimo aggiornamento il December 6, 2017

Nessuna stima
Moderato
Attrezzi Non Corretti
Prerequisite Mancanti

Introduzione

Vai al passo 1

For this guide make sure that you have correctly removed the back and the speaker before you begin the guide.

Cosa ti serve

Strumenti

  1. LG Optimus L9 P769 Rear Facing Camera Replacement, Removing the Back Panel: passo 1, immagine 1 di 2 LG Optimus L9 P769 Rear Facing Camera Replacement, Removing the Back Panel: passo 1, immagine 2 di 2
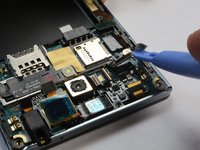
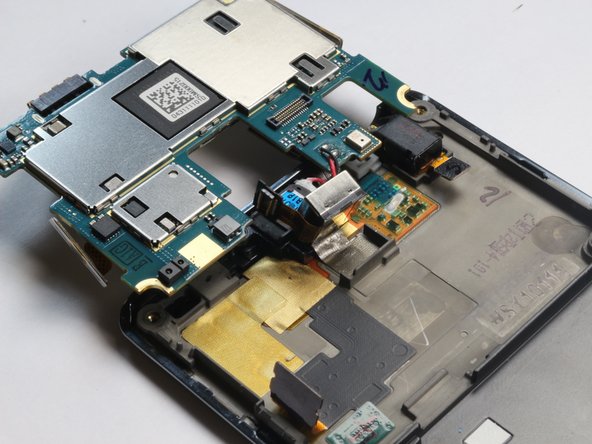
    • Pry the back panel from the frame of the phone to reveal the motherboard.

  2. LG Optimus L9 P769 Rear Facing Camera Replacement, Unpluging the Motherboard: passo 2, immagine 1 di 3 LG Optimus L9 P769 Rear Facing Camera Replacement, Unpluging the Motherboard: passo 2, immagine 2 di 3 LG Optimus L9 P769 Rear Facing Camera Replacement, Unpluging the Motherboard: passo 2, immagine 3 di 3
    • Detach the connectors on the motherboard.

  3. LG Optimus L9 P769 Rear Facing Camera Replacement, Unpluging the Motherboard Cont.: passo 3, immagine 1 di 3 LG Optimus L9 P769 Rear Facing Camera Replacement, Unpluging the Motherboard Cont.: passo 3, immagine 2 di 3 LG Optimus L9 P769 Rear Facing Camera Replacement, Unpluging the Motherboard Cont.: passo 3, immagine 3 di 3
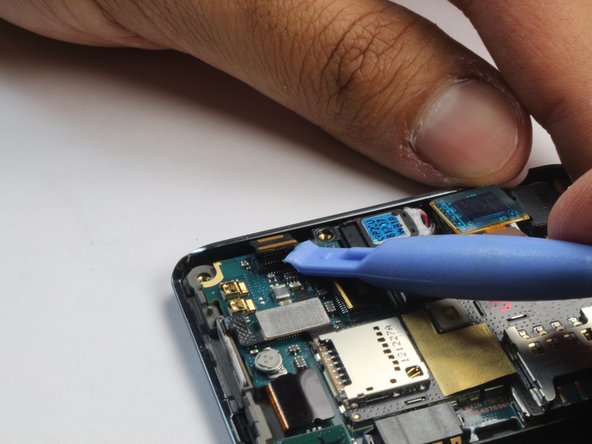
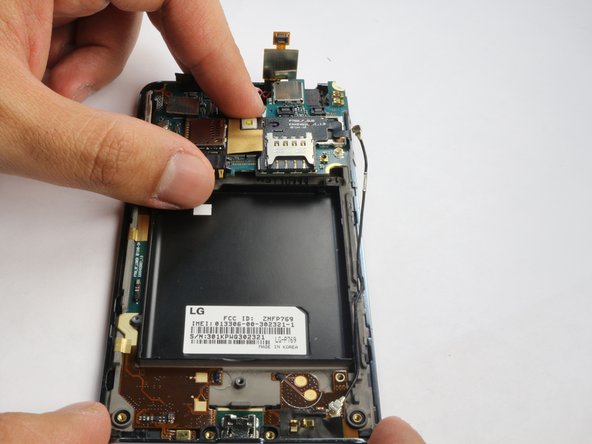
    • Continue to lift the connectors off the motherboard.

  4. LG Optimus L9 P769 Rear Facing Camera Replacement, Lifting Motherboard from the Phone: passo 4, immagine 1 di 3 LG Optimus L9 P769 Rear Facing Camera Replacement, Lifting Motherboard from the Phone: passo 4, immagine 2 di 3 LG Optimus L9 P769 Rear Facing Camera Replacement, Lifting Motherboard from the Phone: passo 4, immagine 3 di 3
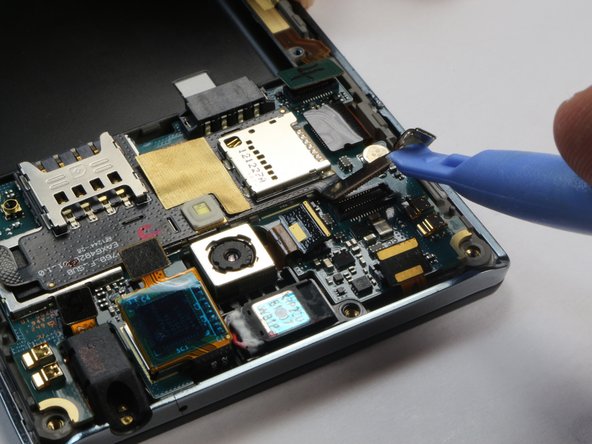
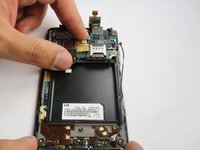
    • Lift the speaker cable off the motherboard.

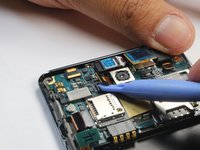
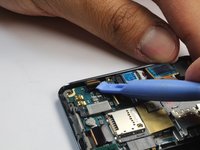
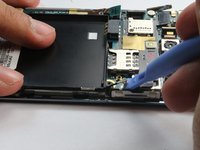
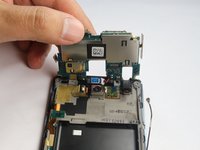
    • Lift the motherboard up. It will Still be connected to the frame.

  5. LG Optimus L9 P769 Rear Facing Camera Replacement, Pry and remove the camera: passo 5, immagine 1 di 3 LG Optimus L9 P769 Rear Facing Camera Replacement, Pry and remove the camera: passo 5, immagine 2 di 3 LG Optimus L9 P769 Rear Facing Camera Replacement, Pry and remove the camera: passo 5, immagine 3 di 3
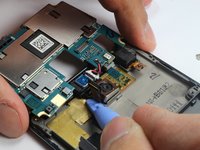
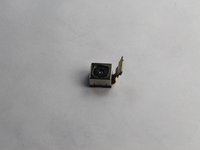
    • Pry under the camera to lift it off the frame.

    • There is some adhesive that will keep it attached to the frame, pulling the camera off will not damage the phone.

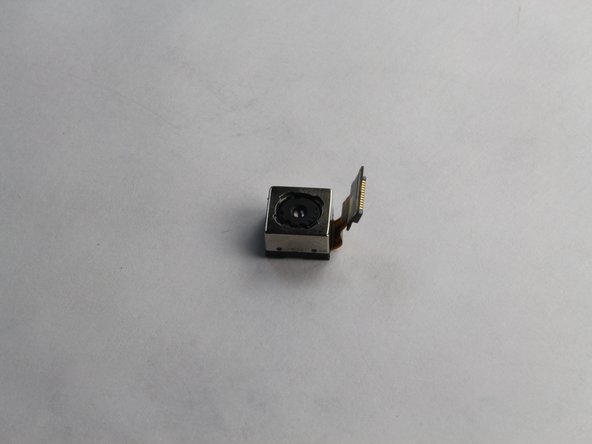
    • The camera should now be entirely separated from the phone.

Conclusione

To reassemble your device, follow these instructions in reverse order.

Un'altra persona ha completato questa guida.

Paul

Membro da: 10/07/14

145 Reputazione

4 Guide realizzate

Team

USF Tampa, Team 8-1, Leahy Fall 2014 Membro di USF Tampa, Team 8-1, Leahy Fall 2014

USFT-LEAHY-F14S8G1

4 Membri

5 Guide realizzate

0 Commenti

Aggiungi Commento

Visualizza Statistiche:

Ultime 24 Ore: 2

Ultimi 7 Giorni: 14

Ultimi 30 Giorni: 14

Tutti i Tempi: 1,002