Salta al contenuto principale
LG Chocolate LCD Board Replacement

LG Chocolate LCD Board Replacement

Thomas

Thomas e 8 altri collaboratori

Ultimo aggiornamento il January 10, 2018

5 - 10 minuti
Moderato
Necessarie Immagini Migliori
Studente al lavoro
Pallini!
Inconveniente Markup
Introduzione Migliore

Introduzione

Vai al passo 1

Outline what you are going to teach someone how to do.

Cosa ti serve

Strumenti

  1. LG Chocolate LCD Board Replacement, Battery: passo 1, immagine 1 di 2 LG Chocolate LCD Board Replacement, Battery: passo 1, immagine 2 di 2
    • Find a sliding button on the lower back side of the device and with your finger, slide it to the left firmly.

    • The battery should pop out fairly easily. If not, slide the button further or grab and pull it while sliding the button.

  2. LG Chocolate LCD Board Replacement, Back Cover: passo 2, immagine 1 di 1
    • You will need to use a Phillips #00 screwdriver.

    • Remove the four screws located at the corners beneath the battery.

    • Detach the back case from the phone.

  3. LG Chocolate LCD Board Replacement: passo 3, immagine 1 di 3 LG Chocolate LCD Board Replacement: passo 3, immagine 2 di 3 LG Chocolate LCD Board Replacement: passo 3, immagine 3 di 3
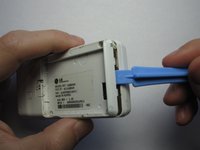
    • Take the case off by using a plastic opening tool.

    • Continue using the plastic opening tool around the sides of the device.

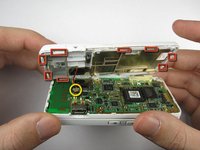
    • Unhook the eight tabs securing the back cover to the rest of the phone as seen in the second photo.

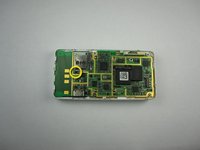
    • The back speaker will be connected to the motherboard.

    • This must be disconnected in order to remove the case

  4. LG Chocolate LCD Board Replacement, Sliding Front: passo 4, immagine 1 di 1
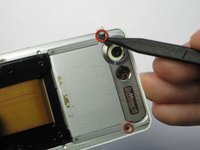
    • Unscrew the 4 Phillips 00 screws that connect the two halves of the phone together.

  5. LG Chocolate LCD Board Replacement: passo 5, immagine 1 di 2 LG Chocolate LCD Board Replacement: passo 5, immagine 2 di 2
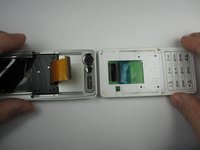
    • Between the two halves is a ribbon. Use a plastic opening tool to flip up the lock and disconnect it.

  6. LG Chocolate LCD Board Replacement: passo 6, immagine 1 di 2 LG Chocolate LCD Board Replacement: passo 6, immagine 2 di 2
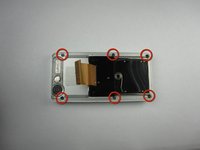
    • Pry off the plastic tabs that cover two screws, as shown in the first picture.

    • Then, remove the 6 Phillips 00 screws from the back of the case, as shown in the second picture.

  7. LG Chocolate LCD Board Replacement: passo 7, immagine 1 di 1
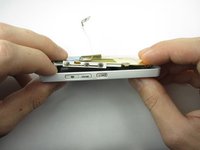
    • Pry off the back cover from the front of the case using a plastic opening tool.

  8. LG Chocolate LCD Board Replacement, LCD Board: passo 8, immagine 1 di 3 LG Chocolate LCD Board Replacement, LCD Board: passo 8, immagine 2 di 3 LG Chocolate LCD Board Replacement, LCD Board: passo 8, immagine 3 di 3
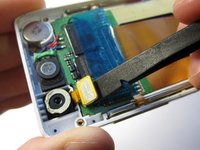
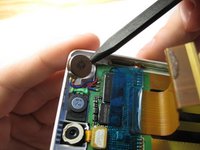
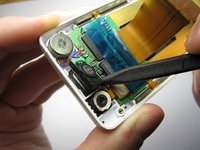
    • Pry the front speaker and wireless receiver out of the front case using a spudger.

    • They may be taped into the case, so don't be afraid to pry hard.

  9. LG Chocolate LCD Board Replacement: passo 9, immagine 1 di 2 LG Chocolate LCD Board Replacement: passo 9, immagine 2 di 2
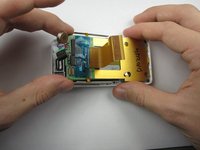
    • Starting with the side that has the speaker and receiver, carefully lift the LCD Board out of the case.

  10. LG Chocolate LCD Board Replacement: passo 10, immagine 1 di 1
    • Unhook the ribbon cable using that flat side of a spudger.

  11. LG Chocolate LCD Board Replacement: passo 11, immagine 1 di 1
    • Next, carefully remove the tape from the LCD board.

  12. LG Chocolate LCD Board Replacement: passo 12, immagine 1 di 2 LG Chocolate LCD Board Replacement: passo 12, immagine 2 di 2
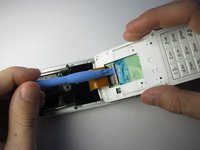
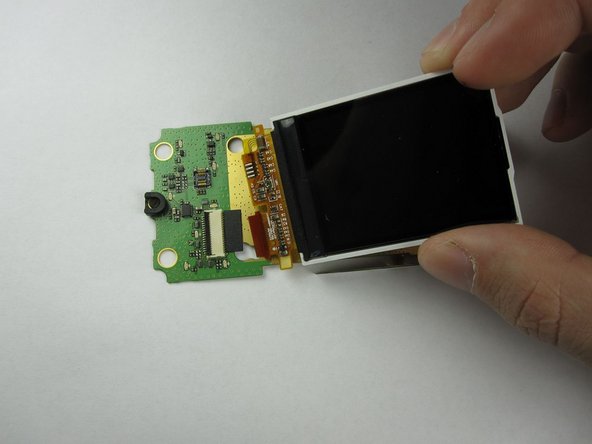
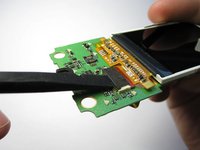
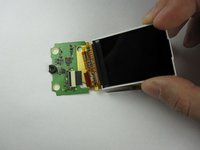
    • Finally, flip up the black switch to unhook the LCD screen from the LCD board using a spudger.

    • The LCD Board in now accessible.

Conclusione

To reassemble your device, follow these instructions in reverse order.

Thomas

Membro da: 01/18/13

91 Reputazione

4 Guide realizzate

Team

Cal Poly, Team 19-46, Regan Winter 2013 Membro di Cal Poly, Team 19-46, Regan Winter 2013

CPSU-REGAN-W13S19G46

4 Membri

22 Guide realizzate

0Commenti sulla guida

Aggiungi Commento

Visualizza Statistiche:

Ultime 24 Ore: 0

Ultimi 7 Giorni: 1

Ultimi 30 Giorni: 2

Tutti i Tempi: 411