Salta al contenuto principale
Kodak Easyshare V1003  LCD Display Replacement

Kodak Easyshare V1003 LCD Display Replacement

Vanessa Soares

Vanessa Soares e 3 altri collaboratori

Ultimo aggiornamento il May 31, 2020

Nessuna stima
Moderato
Dettagli Mancanti

Introduzione

Vai al passo 1

This guide provides step-by-step instructions for removing and replacing the LCD display. There are two tools required and no safety precautions needed.

Cosa ti serve

Strumenti

Mostra di più…

  1. Kodak Easyshare V1003  LCD Display Replacement, Battery: passo 1, immagine 1 di 1
    • Turn off camera by firmly pressing the power button that is located on the top of the camera.

  2. Kodak Easyshare V1003  LCD Display Replacement: passo 2, immagine 1 di 1
    • Position camera with the bottom facing up.

  3. Kodak Easyshare V1003  LCD Display Replacement: passo 3, immagine 1 di 1
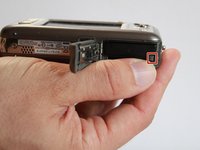
    • With your finger, slide the battery cover in the direction of the open arrow.

  4. Kodak Easyshare V1003  LCD Display Replacement: passo 4, immagine 1 di 1
    • Lift the battery cover up gently.

  5. Kodak Easyshare V1003  LCD Display Replacement: passo 5, immagine 1 di 2 Kodak Easyshare V1003  LCD Display Replacement: passo 5, immagine 2 di 2
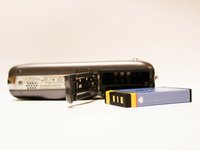
    • Gently push the battery down until a click is heard. Battery should release and be lifted out of slot.

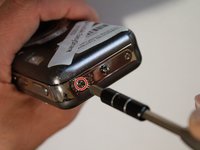
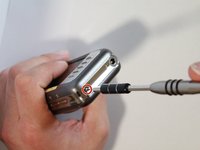
  6. Kodak Easyshare V1003  LCD Display Replacement, Buttons: passo 6, immagine 1 di 3 Kodak Easyshare V1003  LCD Display Replacement, Buttons: passo 6, immagine 2 di 3 Kodak Easyshare V1003  LCD Display Replacement, Buttons: passo 6, immagine 3 di 3
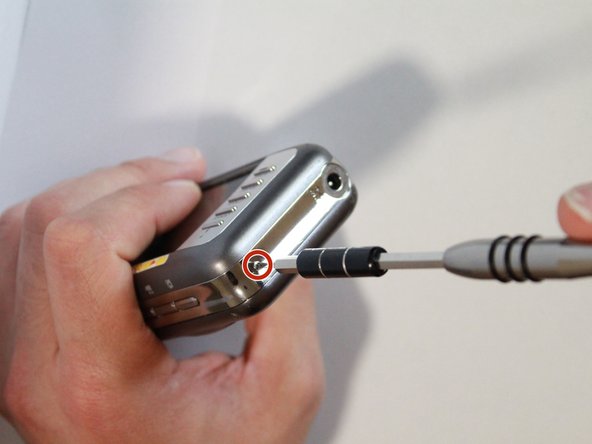
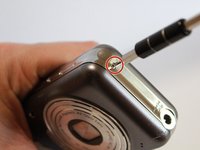
    • Use a J00 screwdriver to remove the five exterior screws.

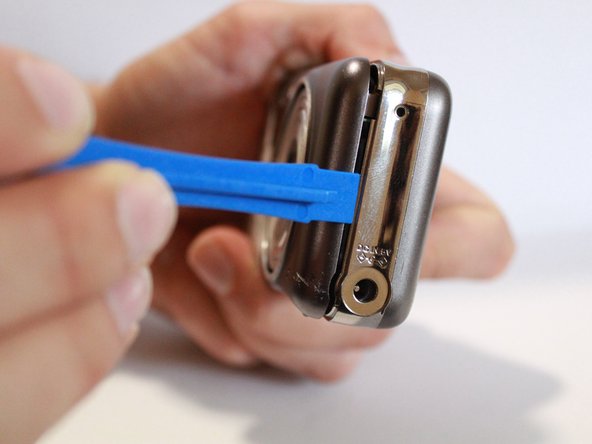
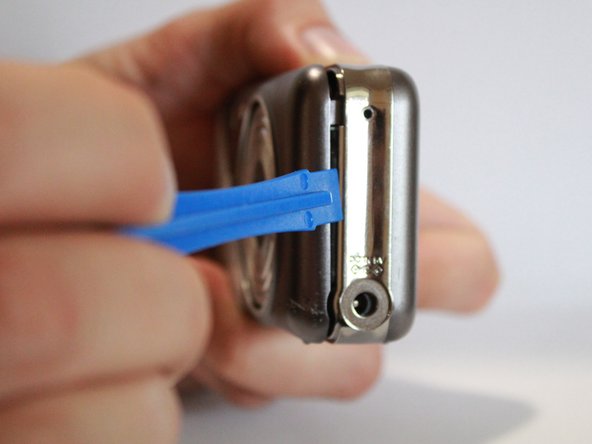
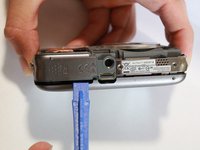
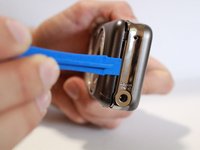
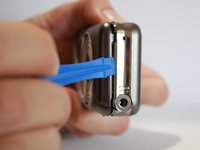
  7. Kodak Easyshare V1003  LCD Display Replacement: passo 7, immagine 1 di 3 Kodak Easyshare V1003  LCD Display Replacement: passo 7, immagine 2 di 3 Kodak Easyshare V1003  LCD Display Replacement: passo 7, immagine 3 di 3
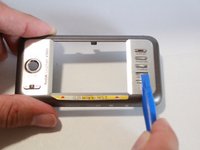
    • Use a plastic opening tool to pry off the back casing.

  8. Kodak Easyshare V1003  LCD Display Replacement: passo 8, immagine 1 di 3 Kodak Easyshare V1003  LCD Display Replacement: passo 8, immagine 2 di 3 Kodak Easyshare V1003  LCD Display Replacement: passo 8, immagine 3 di 3
    • Completely remove the back casing from the device.

    • Using a plastic tool to remove the bottom.

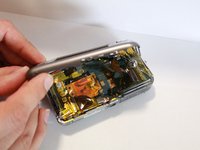
  9. Kodak Easyshare V1003  LCD Display Replacement, LCD Display: passo 9, immagine 1 di 1
    • Remove the LCD display by unplugging the connector.

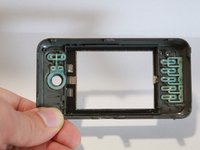
  10. Kodak Easyshare V1003  LCD Display Replacement: passo 10, immagine 1 di 1
    • Take apart the LCD display from the back case.

Conclusione

To reassemble your device, follow these instructions in reverse order.

Altre 2 persone hanno completato questa guida.

Team

1Commento della guida

Hi Vanessa

Where in South Africa (Gauteng) can I buy a lcd display replacement screen for this Kodak easyshare v1003 camera?

Wickus: +27725966377/ vwickus@ymail.com

vwickus - Replica

Aggiungi Commento

Visualizza Statistiche:

Ultime 24 Ore: 3

Ultimi 7 Giorni: 4

Ultimi 30 Giorni: 28

Tutti i Tempi: 977