
IBM Thinkpad T60 LCD Screen Replacement
Introduzione
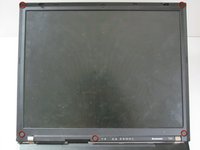
Vai al passo 1This guide will teach users how to carefully disassemble the screen of the IBM Thinkpad T60. This will allow users to replace a broken LCD screen or upgrade their current version. Remember to always power down the computer before attempting any installation/removal of any hardware components. Be sure to remove the AC adapter and all cables from the computer. If the computer has been on, wait several minutes before beginning the procedure to ensure all parts have cooled down.
Cosa ti serve


-
-
Turn the computer over to see the small tab on the battery located near the top of the Thinkpad.
-
Use your finger to slide the tab to the right to unlock the battery.
-
-
-
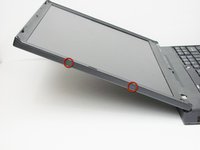
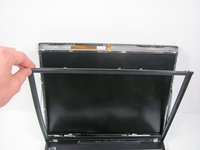
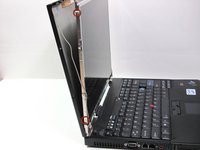
Open the laptop so that the screen is facing you.
-
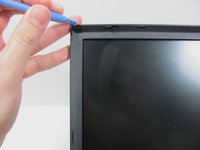
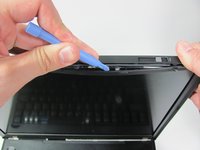
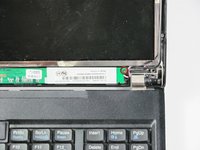
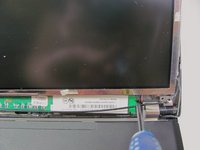
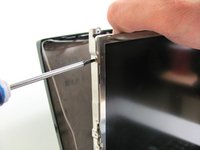
Use a plastic opening tool to pry off the eight plastic screw covers around the display.
-


To reassemble your device, follow these instructions in reverse order.
To reassemble your device, follow these instructions in reverse order.
Annulla: non ho completato questa guida.
Altre 6 persone hanno completato questa guida.
Preparati per le riparazioni future
Acquista tutti


Team

Cal Poly, Team 7-9, Maness Winter 2013 Membro di Cal Poly, Team 7-9, Maness Winter 2013
CPSU-MANESS-W13S7G9
4 Membri
16 Guide realizzate