
IBM ThinkPad 365 X/XD Hard Drive Replacement

Cosa ti serve
Strumenti

-
-
Using both latches on the left and right side of the Thinkpad, lift up the screen.
-
Again using both latches, push them back while pushing the keyboard up till it pops up, then lift the keyboard up. You may need to use a little force.
-
-
-
Lift the battery using it's cloth pull tab and lift it out of the ThinkPad. Set it aside.
-
-
-
-
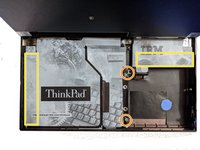
Remove the following screws, there should be 3. Two of the screw spots may be slightly different on yours.
-
The cover has adhesive on it at these spots, pull it slowly till the adhesive releases. Then lift the cover up, you may need to hold it.
-
-
-
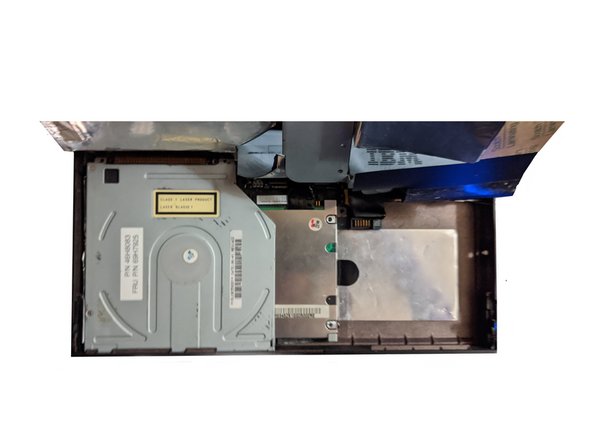
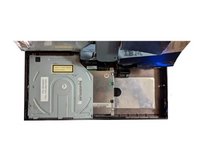
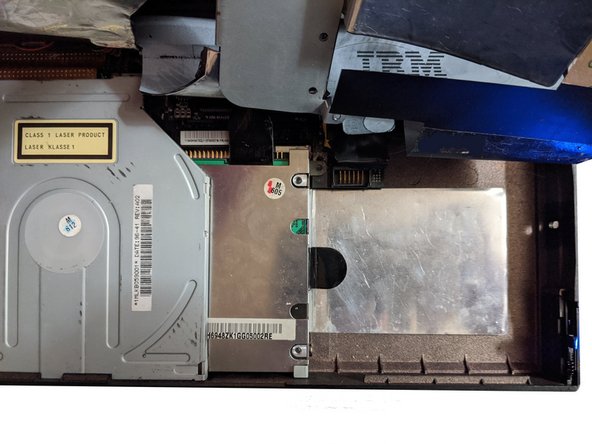
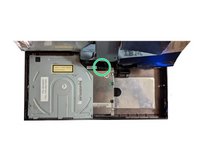
Using the top pull, pull the hard drive downwards till it detaches from the connector.
-
Next, use the pull on the right side, pull it to the right lightly while lifting the drive.
-
-
-
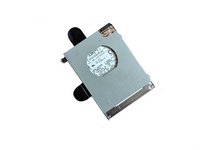
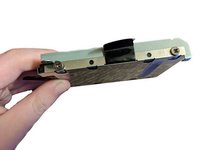
Remove the 4 screws holding the hard drive in it's caddy. (2 each side)
-
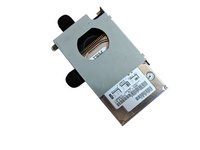
Put the drive face up and slide it down out of the caddy.
-


To reassemble your device, follow these instructions in reverse order.
To reassemble your device, follow these instructions in reverse order.

2Commenti sulla guida
What type of hdd is this please.
This is an IDE 2.5" HDD.
Beware : this laptop supports hdd up to 8,4 GB due to BIOS limitation, higher capacity hdds will not work.
Brendan -