Salta al contenuto principale

Huawei P20 Home Button with Fingerprint Sensor Replacement

Cosa ti serve

  1. Huawei P20 Home Button with Fingerprint Sensor Replacement, Rear Glass: passo 1, immagine 1 di 1
    • Before you begin, switch off your phone.

    • Apply a heated iOpener to the back of the phone to loosen the adhesive beneath the back cover. Apply the iOpener for at least two minutes.

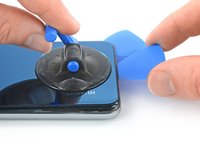
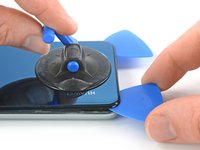
  2. Huawei P20 Home Button with Fingerprint Sensor Replacement: passo 2, immagine 1 di 3 Huawei P20 Home Button with Fingerprint Sensor Replacement: passo 2, immagine 2 di 3 Huawei P20 Home Button with Fingerprint Sensor Replacement: passo 2, immagine 3 di 3
    • Secure a suction handle to the bottom of the back cover, as close to the edge as possible.

    • If the phone's rear glass is cracked, the suction handle may not stick. Try lifting it with strong tape, or superglue the suction handle in place and allow it to cure so you can proceed.

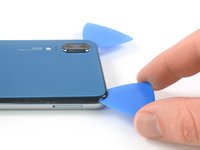
    • Lift the back cover with the suction handle to create a small gap between the cover and the frame.

    • Insert an opening pick into the gap.

    • If you have trouble, apply more heat to further soften the adhesive. Follow the iOpener instructions to avoid overheating.

    • Slide the opening pick to the bottom right corner.

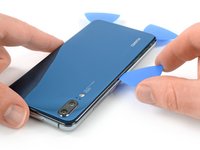
  3. Huawei P20 Home Button with Fingerprint Sensor Replacement: passo 3, immagine 1 di 2 Huawei P20 Home Button with Fingerprint Sensor Replacement: passo 3, immagine 2 di 2
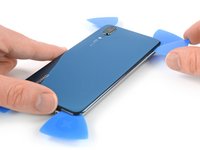
    • Insert a second opening pick and slide it to the bottom left corner to cut the adhesive.

    • Leave the opening picks in place to prevent the adhesive from resealing.

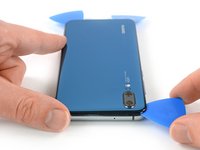
  4. Huawei P20 Home Button with Fingerprint Sensor Replacement: passo 4, immagine 1 di 3 Huawei P20 Home Button with Fingerprint Sensor Replacement: passo 4, immagine 2 di 3 Huawei P20 Home Button with Fingerprint Sensor Replacement: passo 4, immagine 3 di 3
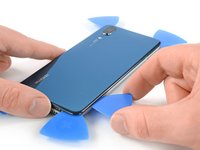
    • Insert a third opening pick at the bottom left corner.

    • In the next few steps whilst cutting around the power button and rear camera make sure you only use the tip of the opening pick to avoid cutting the cable, smearing the lens or damaging the camera.

    • Start to slide the tip of the opening pick from the bottom left corner along the side of the phone to cut the adhesive.

    • Leave the opening pick in its place at the top left corner to prevent the adhesive from resealing.

  5. Huawei P20 Home Button with Fingerprint Sensor Replacement: passo 5, immagine 1 di 2 Huawei P20 Home Button with Fingerprint Sensor Replacement: passo 5, immagine 2 di 2
    • If the adhesive becomes hard to cut it most likely cooled down. Use your iOpener to reheat it.

    • Insert a fourth opening pick under the top left corner of the back cover.

    • Slide the opening pick along the top edge of the phone to cut the adhesive.

    • Leave the opening pick in the top right corner to prevent the adhesive from resealing.

  6. Huawei P20 Home Button with Fingerprint Sensor Replacement: passo 6, immagine 1 di 2 Huawei P20 Home Button with Fingerprint Sensor Replacement: passo 6, immagine 2 di 2
    • Insert a fifth opening pick at the top right corner of the phone.

    • Slide the opening pick along the right side to cut the remaining adhesive.

  7. Huawei P20 Home Button with Fingerprint Sensor Replacement: passo 7, immagine 1 di 2 Huawei P20 Home Button with Fingerprint Sensor Replacement: passo 7, immagine 2 di 2
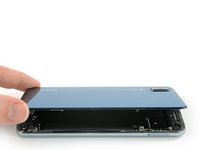
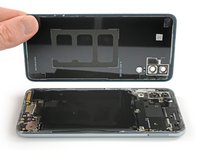
    • Lift and remove the back cover.

    • Before installing fresh adhesive and reassembling, remove any remaining adhesive from the phone, and clean the glued areas with isopropyl alcohol and a lint-free cloth.

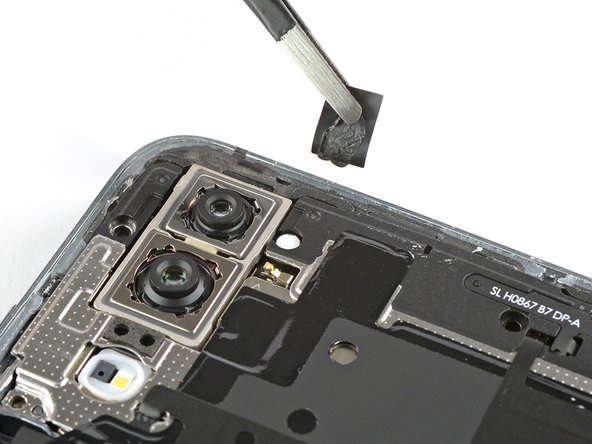
  8. Huawei P20 Home Button with Fingerprint Sensor Replacement, Motherboard Cover with NFC: passo 8, immagine 1 di 2 Huawei P20 Home Button with Fingerprint Sensor Replacement, Motherboard Cover with NFC: passo 8, immagine 2 di 2
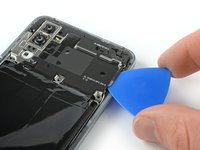
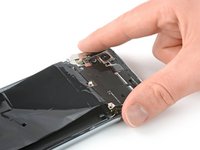
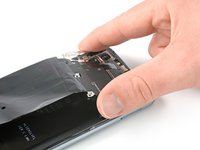
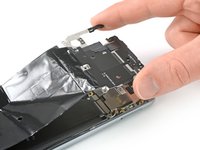
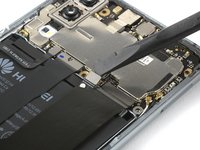
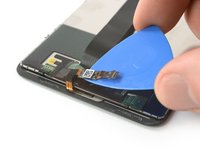
    • Use a pair of tweezers to peel the black tape next to the rear camera off the motherboard cover.

  9. Huawei P20 Home Button with Fingerprint Sensor Replacement: passo 9, immagine 1 di 1
    • Remove the eight Phillips #00 screws (3.1 mm length).

  10. Huawei P20 Home Button with Fingerprint Sensor Replacement: passo 10, immagine 1 di 2 Huawei P20 Home Button with Fingerprint Sensor Replacement: passo 10, immagine 2 di 2
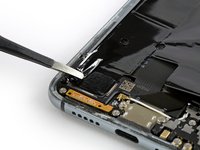
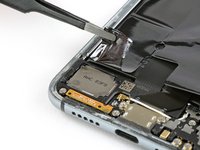
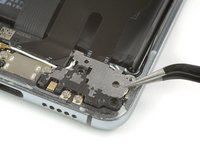
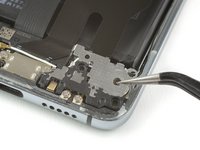
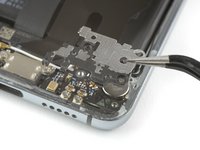
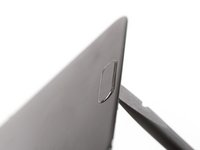
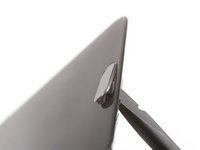
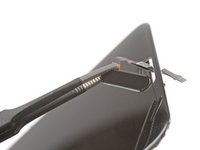
    • Use a pair of tweezers to peel the black foil at the bottom end of the phone off the loudspeaker.

  11. Huawei P20 Home Button with Fingerprint Sensor Replacement: passo 11, immagine 1 di 2 Huawei P20 Home Button with Fingerprint Sensor Replacement: passo 11, immagine 2 di 2
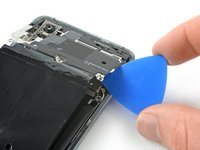
    • Slide an opening pick under the right side of the motherboard cover.

    • Rotate the opening pick slightly to pry up the motherboard cover.

  12. Huawei P20 Home Button with Fingerprint Sensor Replacement: passo 12, immagine 1 di 3 Huawei P20 Home Button with Fingerprint Sensor Replacement: passo 12, immagine 2 di 3 Huawei P20 Home Button with Fingerprint Sensor Replacement: passo 12, immagine 3 di 3
    • Remove the motherboard cover with NFC.

  13. Huawei P20 Home Button with Fingerprint Sensor Replacement, Battery Disconnect: passo 13, immagine 1 di 2 Huawei P20 Home Button with Fingerprint Sensor Replacement, Battery Disconnect: passo 13, immagine 2 di 2
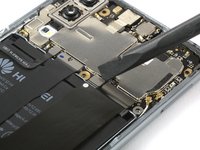
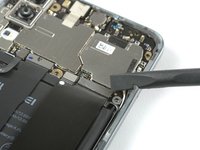
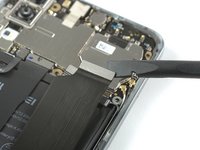
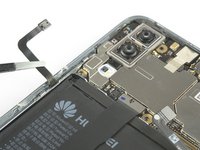
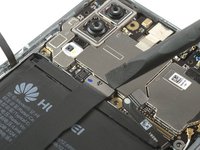
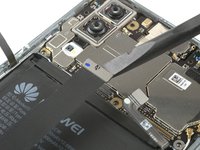
    • Use a spudger to pry up and disconnect the battery connector.

  14. Huawei P20 Home Button with Fingerprint Sensor Replacement, Daughterboard Cover: passo 14, immagine 1 di 1
    • Remove the three Phillips #00 screws (3.2 mm length).

  15. Huawei P20 Home Button with Fingerprint Sensor Replacement: passo 15, immagine 1 di 3 Huawei P20 Home Button with Fingerprint Sensor Replacement: passo 15, immagine 2 di 3 Huawei P20 Home Button with Fingerprint Sensor Replacement: passo 15, immagine 3 di 3
    • Use a pair of tweezers to remove the daughterboard cover.

  16. Huawei P20 Home Button with Fingerprint Sensor Replacement, Charging Board with Main Flex: passo 16, immagine 1 di 1
    • Remove the two Phillips #00 screws (3.2 mm length).

  17. Huawei P20 Home Button with Fingerprint Sensor Replacement: passo 17, immagine 1 di 2 Huawei P20 Home Button with Fingerprint Sensor Replacement: passo 17, immagine 2 di 2
    • Use a spudger to pry up and disconnect the main daughterboard connector from the daughterboard.

  18. Huawei P20 Home Button with Fingerprint Sensor Replacement: passo 18, immagine 1 di 3 Huawei P20 Home Button with Fingerprint Sensor Replacement: passo 18, immagine 2 di 3 Huawei P20 Home Button with Fingerprint Sensor Replacement: passo 18, immagine 3 di 3
    • Use a pair of tweezers to pry up and disconnect the connector of the white coax cable from the motherboard.

    • Unroute the white coax cable from the metal clips on the daughterboard and fold it to the side.

  19. Huawei P20 Home Button with Fingerprint Sensor Replacement: passo 19, immagine 1 di 2 Huawei P20 Home Button with Fingerprint Sensor Replacement: passo 19, immagine 2 di 2
    • Use a spudger to disconnect the main flex cable connector from the motherboard.

  20. Huawei P20 Home Button with Fingerprint Sensor Replacement: passo 20, immagine 1 di 3 Huawei P20 Home Button with Fingerprint Sensor Replacement: passo 20, immagine 2 di 3 Huawei P20 Home Button with Fingerprint Sensor Replacement: passo 20, immagine 3 di 3
    • Remove the charging port and main flex cable by lifting it upwards and then pulling it in the direction of the motherboard.

  21. Huawei P20 Home Button with Fingerprint Sensor Replacement, Battery: passo 21, immagine 1 di 3 Huawei P20 Home Button with Fingerprint Sensor Replacement, Battery: passo 21, immagine 2 di 3 Huawei P20 Home Button with Fingerprint Sensor Replacement, Battery: passo 21, immagine 3 di 3
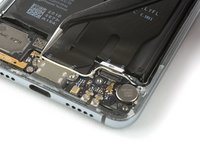
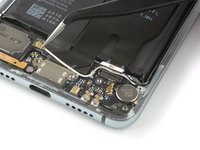
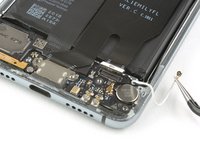
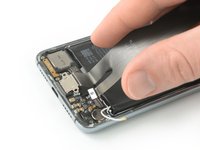
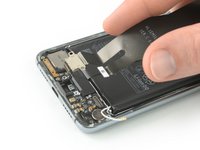
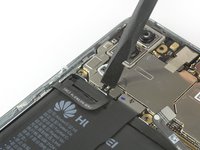
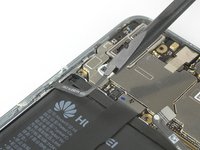
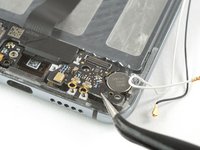
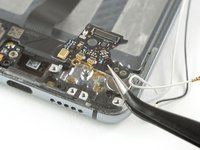
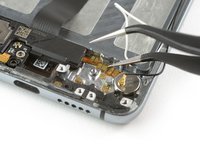
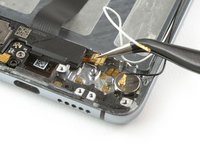
    • Use a spudger to pry up and disconnect the power and volume button flex connector.

  22. Huawei P20 Home Button with Fingerprint Sensor Replacement: passo 22, immagine 1 di 2 Huawei P20 Home Button with Fingerprint Sensor Replacement: passo 22, immagine 2 di 2
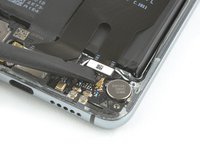
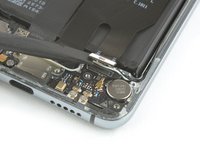
    • Use a spudger to pry up and disconnect the display flex connector and fold the display cable out of your way to remove the battery.

  23. Huawei P20 Home Button with Fingerprint Sensor Replacement: passo 23, immagine 1 di 1
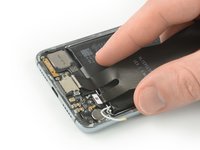
    • Apply a heated iOpener to the screen to loosen the adhesive beneath the battery. Apply the iOpener for at least two minutes.

    • Try your best not to deform the battery during the following removal process. Soft-shell lithium-ion batteries can leak dangerous chemicals, catch fire, or even explode if damaged. Do not use excessive force or pry at the battery with metal tools.

  24. Huawei P20 Home Button with Fingerprint Sensor Replacement: passo 24, immagine 1 di 3 Huawei P20 Home Button with Fingerprint Sensor Replacement: passo 24, immagine 2 di 3 Huawei P20 Home Button with Fingerprint Sensor Replacement: passo 24, immagine 3 di 3
    Attrezzo utilizzato in questo passaggio:
    Plastic Cards
    $2.99
    Compra
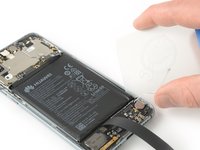
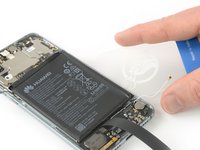
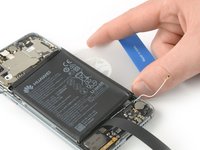
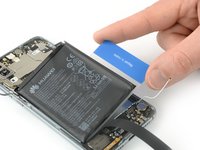
    • Start to slide a plastic card under the bottom right corner of the battery to cut the adhesive.

    • Slide the plastic card along the right side of the battery to further release the adhesive. Gently start to pry up the battery while doing so.

    • If you have trouble prying up the battery, the adhesive may not be loose enough. You can apply some isopropyl alcohol under each corner of the battery and allow it to penetrate for about two minutes to help weaken the adhesive.

  25. Huawei P20 Home Button with Fingerprint Sensor Replacement: passo 25, immagine 1 di 3 Huawei P20 Home Button with Fingerprint Sensor Replacement: passo 25, immagine 2 di 3 Huawei P20 Home Button with Fingerprint Sensor Replacement: passo 25, immagine 3 di 3
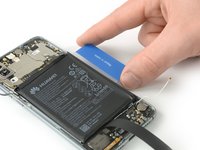
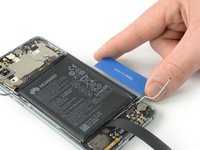
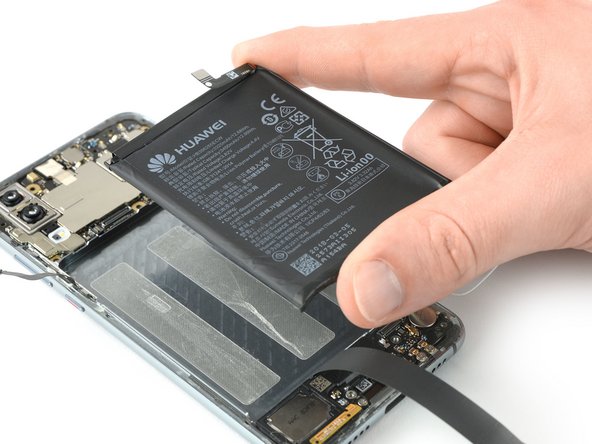
    • Slide the plastic card under the whole upper part of the battery and cut the adhesive with it.

    • Slide the plastic card down to the bottom end of the battery to cut the remaining adhesive.

    • Use the plastic card to pry up the battery.

  26. Huawei P20 Home Button with Fingerprint Sensor Replacement: passo 26, immagine 1 di 2 Huawei P20 Home Button with Fingerprint Sensor Replacement: passo 26, immagine 2 di 2
    Attrezzo utilizzato in questo passaggio:
    Tesa 61395 Tape
    $5.99
    Compra
  27. Huawei P20 Home Button with Fingerprint Sensor Replacement, Daughterboard: passo 27, immagine 1 di 1
    • Remove the two Phillips #00 screws (3.4 mm length).

  28. Huawei P20 Home Button with Fingerprint Sensor Replacement: passo 28, immagine 1 di 2 Huawei P20 Home Button with Fingerprint Sensor Replacement: passo 28, immagine 2 di 2
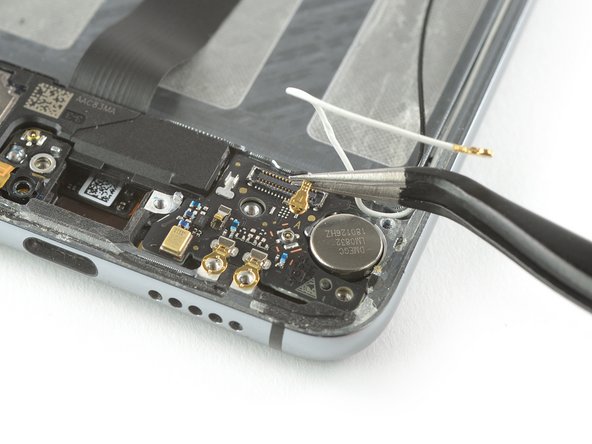
    • Use a pair of tweezers to disconnect the black coax cable and fold it out of your way.

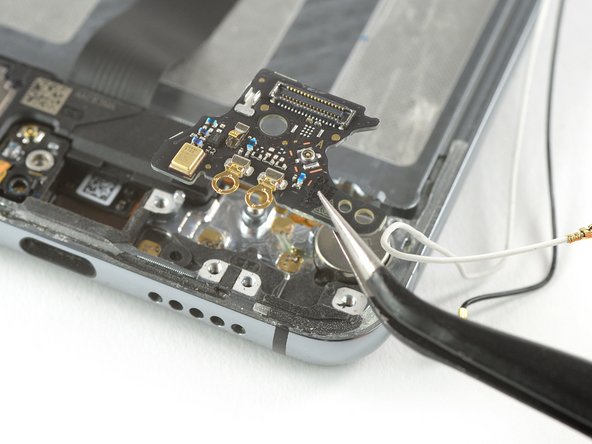
  29. Huawei P20 Home Button with Fingerprint Sensor Replacement: passo 29, immagine 1 di 2 Huawei P20 Home Button with Fingerprint Sensor Replacement: passo 29, immagine 2 di 2
    • Use a pair of tweezers to remove the daughterboard.

  30. Huawei P20 Home Button with Fingerprint Sensor Replacement, Loudspeaker: passo 30, immagine 1 di 1
    • Remove the two Phillips #00 screws (3.2 mm length).

  31. Huawei P20 Home Button with Fingerprint Sensor Replacement: passo 31, immagine 1 di 1
    • Apply a heated iOpener to the bottom end of the screen to loosen the adhesive underneath the loudspeaker. Apply the iOpener for at least two minutes.

  32. Huawei P20 Home Button with Fingerprint Sensor Replacement: passo 32, immagine 1 di 2 Huawei P20 Home Button with Fingerprint Sensor Replacement: passo 32, immagine 2 di 2
    • Use one arm of a pair of tweezers to peel up the contact cable of the loudspeaker.

  33. Huawei P20 Home Button with Fingerprint Sensor Replacement: passo 33, immagine 1 di 2 Huawei P20 Home Button with Fingerprint Sensor Replacement: passo 33, immagine 2 di 2
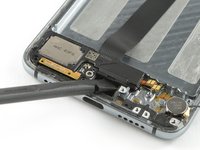
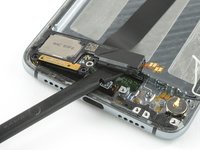
    • Insert a spudger between the midframe and the right side of the loudspeaker.

    • Use the spudger to pry up the loudspeaker.

  34. Huawei P20 Home Button with Fingerprint Sensor Replacement: passo 34, immagine 1 di 2 Huawei P20 Home Button with Fingerprint Sensor Replacement: passo 34, immagine 2 di 2
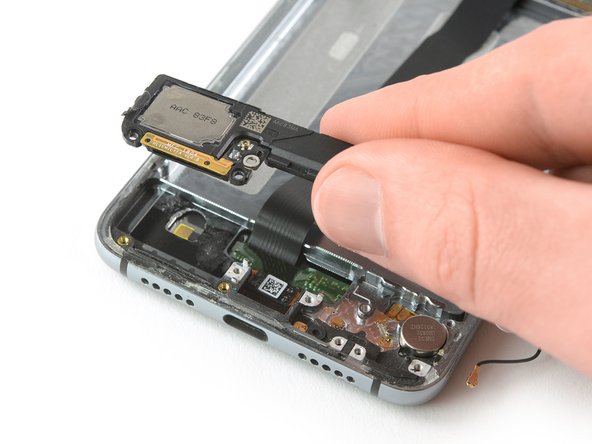
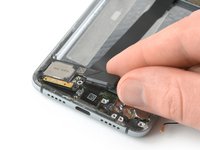
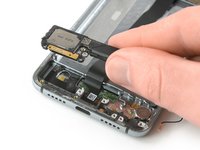
    • Remove the loudspeaker.

  35. Huawei P20 Home Button with Fingerprint Sensor Replacement, Screen: passo 35, immagine 1 di 1
    • Apply a heated iOpener to the screen and all edges of the phone to loosen the adhesive beneath the edges of the LCD screen and digitizer. Apply the iOpener for at least two minutes.

  36. Huawei P20 Home Button with Fingerprint Sensor Replacement: passo 36, immagine 1 di 3 Huawei P20 Home Button with Fingerprint Sensor Replacement: passo 36, immagine 2 di 3 Huawei P20 Home Button with Fingerprint Sensor Replacement: passo 36, immagine 3 di 3
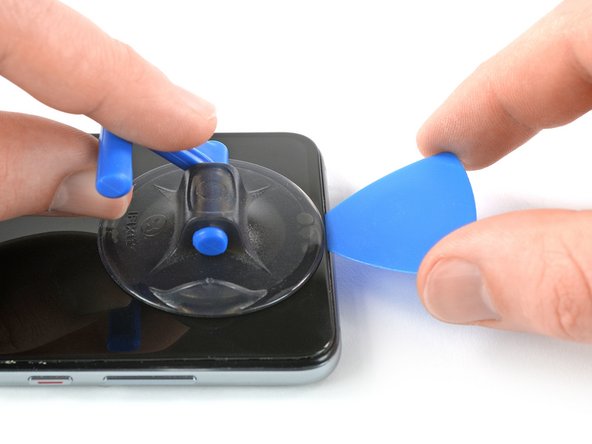
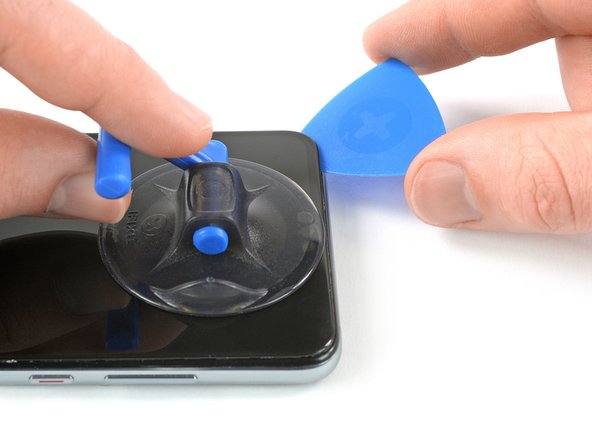
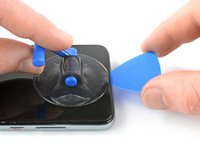
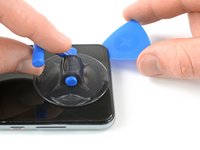
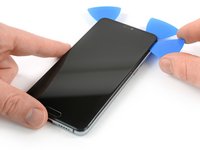
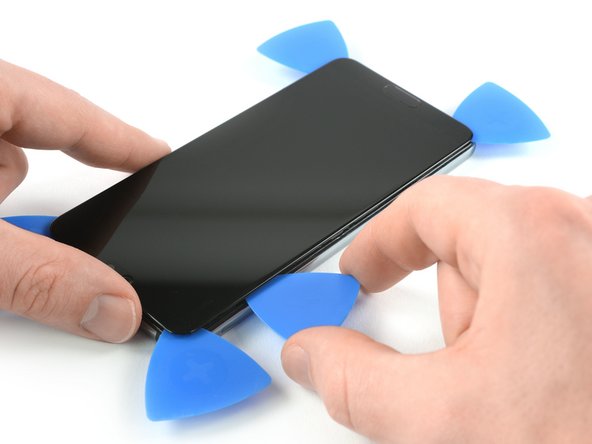
    • Once the screen is warm to the touch, apply a suction cup to the upper edge of the phone.

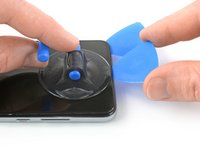
    • Pull the suction cup upwards and insert an opening pick in the gap between the display glass and the plastic bezel. Start to cut the adhesive by sliding the opening pick to the top left corner.

    • Make sure you get in the right gap between the display and the plastic bezel. Do not pry between the bezel and the midframe.

  37. Huawei P20 Home Button with Fingerprint Sensor Replacement: passo 37, immagine 1 di 2 Huawei P20 Home Button with Fingerprint Sensor Replacement: passo 37, immagine 2 di 2
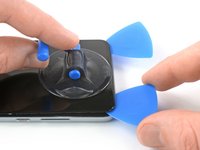
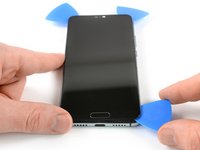
    • Insert a second opening pick and slide it to the top right corner of the phone.

    • Leave the picks in their place to prevent the adhesive from resealing.

  38. Huawei P20 Home Button with Fingerprint Sensor Replacement: passo 38, immagine 1 di 3 Huawei P20 Home Button with Fingerprint Sensor Replacement: passo 38, immagine 2 di 3 Huawei P20 Home Button with Fingerprint Sensor Replacement: passo 38, immagine 3 di 3
    • Insert a third opening pick under the top right corner of the phone.

    • Slide the opening pick down to the bottom right corner to cut the adhesive. Leave it at the bottom right corner to prevent the adhesive from resealing.

    • If cutting becomes too difficult, reheat and reapply the iOpener.

  39. Huawei P20 Home Button with Fingerprint Sensor Replacement: passo 39, immagine 1 di 2 Huawei P20 Home Button with Fingerprint Sensor Replacement: passo 39, immagine 2 di 2
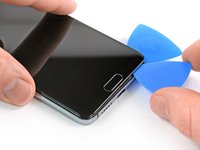
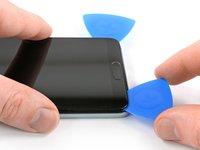
    • Insert the tip of a fourth opening pick at the bottom right corner.

    • Slide the opening pick along the bottom edge of the phone to cut the adhesive.

    • When nearing the fingerprint sensor, only work with the tip of the opening pick to avoid damaging the fingerprint sensor flex cable.

    • Leave the opening pick in the bottom left corner to prevent the adhesive from resealing.

  40. Huawei P20 Home Button with Fingerprint Sensor Replacement: passo 40, immagine 1 di 2 Huawei P20 Home Button with Fingerprint Sensor Replacement: passo 40, immagine 2 di 2
    • Insert a fifth opening pick and slide it along the left edge of the phone to cut the remaining adhesive.

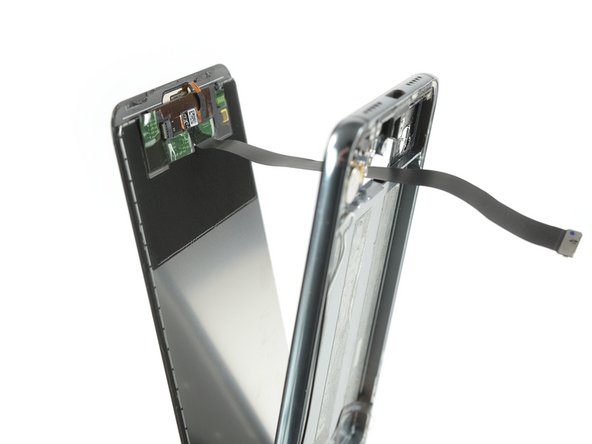
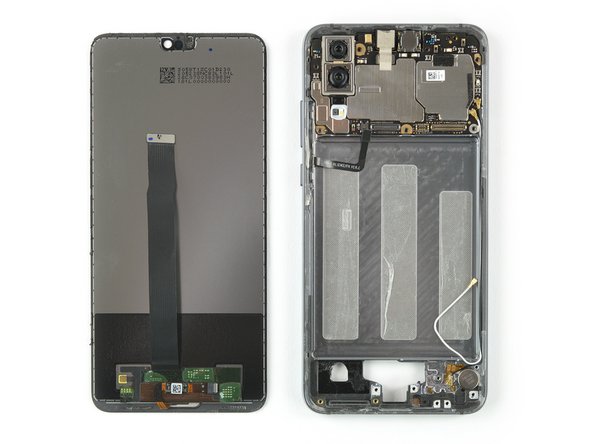
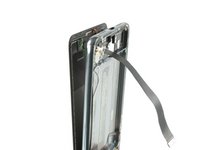
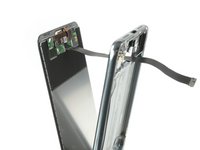
    • Try not to remove the display all the way yet, the display cable is still threaded through the frame and adhered on the inner side of the midframe.

  41. Huawei P20 Home Button with Fingerprint Sensor Replacement: passo 41, immagine 1 di 3 Huawei P20 Home Button with Fingerprint Sensor Replacement: passo 41, immagine 2 di 3 Huawei P20 Home Button with Fingerprint Sensor Replacement: passo 41, immagine 3 di 3
    • Thread the display flex cable through the gap in the midframe and remove the display.

    • Before installing a new display, it's important to remove all traces of the old adhesive from the frame, and clean the glued areas with isopropyl alcohol (>90%) and a lint-free cloth.

    • In case your replacement screen isn't equipped with a new home button with fingerprint sensor, follow this guide to remove the button from your old screen.

  42. Huawei P20 Home Button with Fingerprint Sensor Replacement, Home Button with Fingerprint Sensor: passo 42, immagine 1 di 2 Huawei P20 Home Button with Fingerprint Sensor Replacement, Home Button with Fingerprint Sensor: passo 42, immagine 2 di 2
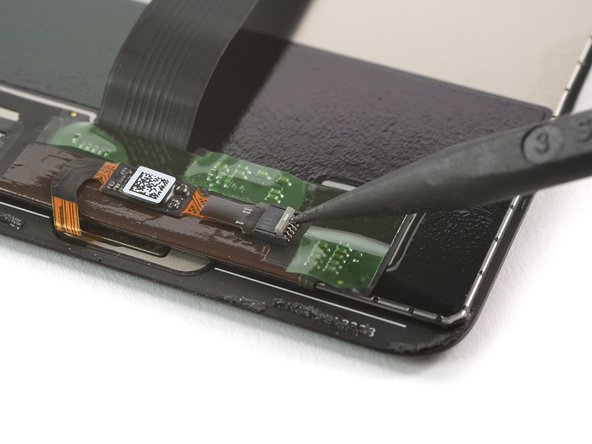
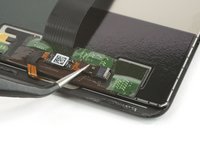
    • Use the pointed end of a spudger to open the ZIF connector of the home button.

  43. Huawei P20 Home Button with Fingerprint Sensor Replacement: passo 43, immagine 1 di 2 Huawei P20 Home Button with Fingerprint Sensor Replacement: passo 43, immagine 2 di 2
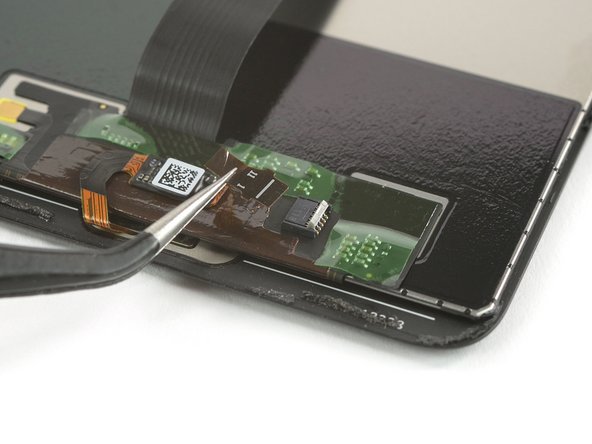
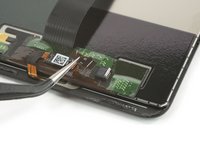
    • Use a pair of tweezers to pull the home button flex cable out of its ZIF connector.

  44. Huawei P20 Home Button with Fingerprint Sensor Replacement: passo 44, immagine 1 di 2 Huawei P20 Home Button with Fingerprint Sensor Replacement: passo 44, immagine 2 di 2
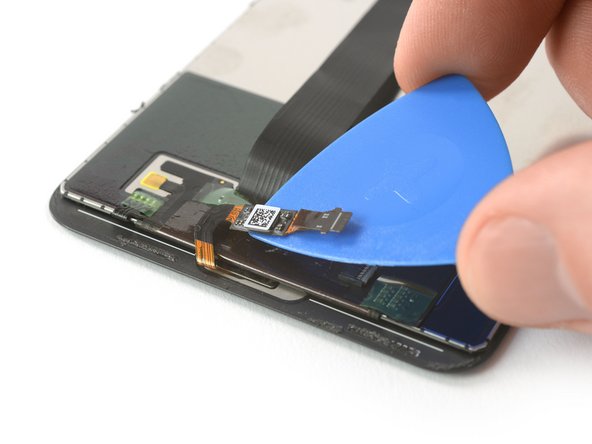
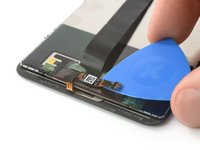
    • Carefully slide an opening pick under the home button cable to loosen the adhesive underneath.

  45. Huawei P20 Home Button with Fingerprint Sensor Replacement: passo 45, immagine 1 di 2 Huawei P20 Home Button with Fingerprint Sensor Replacement: passo 45, immagine 2 di 2
    • Apply a spudger to the backside of the home button and push it out towards the front until it comes off the screen.

    • In case the home button doesn't budge, you can apply a heated iOpener to the bottom end of the screen to loosen the adhesive underneath.

  46. Huawei P20 Home Button with Fingerprint Sensor Replacement: passo 46, immagine 1 di 2 Huawei P20 Home Button with Fingerprint Sensor Replacement: passo 46, immagine 2 di 2
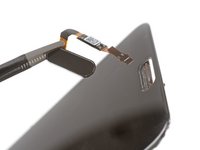
    • Carefully grab the home button with a pair of tweezers and thread its flex cable through the gap in the screen.

    • Remove the home button.

    • Before reassembling your phone, it's important to remove all traces of old adhesive from the frame and any components you're going to reuse, and clean the glued areas with isopropyl alcohol (>90%) and a lint-free cloth.

Conclusione

If possible, turn on your phone and test your repair before installing new adhesive and resealing the phone.

To reassemble your device, follow these instructions in reverse order.

The best way to secure the new screen is with a sheet of custom-cut double-sided tape. Apply the tape to the back of the screen, then carefully feed the display cable through the frame. Align the screen and press it into place.

Take your e-waste to an R2 or e-Stewards certified recycler.

Repair didn’t go as planned? Check out our Answers community for troubleshooting help.

Altre 8 persone hanno completato questa guida.

Dominik Schnabelrauch

Membro da: 11/23/16

201.069 Reputazione

682 Guide realizzate

Team

iFixit Membro di iFixit

Staff

136 Membri

16.561 Guide realizzate

3 Commenti

In order to reassemble the phone, is it a difference between the double sided tape and the glue?

Belén Enriquez - Replica

I dont get the battery removal.

r3nzor - Replica

Good guide. Hardest part is to soften the adhesive, especially for the display-step. I don't have an iOpener, so instead tried to use a rice bag. From a helpful comment in the iOpener guide I've got the idea to use the 3d printer heating bed. Set it to ~60°C and put the p20 on for ~>10mins several times and it worked. I did not needed to replace the screen but instead just unhooked the fingerprint sensor from the zif connector, due to it getting very hot and draining the battery since an official huawei update. Not the only one with that problem, but no fix, so this might be a valuable solution. Thanks to the author of the guide.

FFU - Replica

Aggiungi Commento

Visualizza Statistiche:

Ultime 24 Ore: 1

Ultimi 7 Giorni: 4

Ultimi 30 Giorni: 31

Tutti i Tempi: 4,290