
How to Repair the Tip of a Fishing Rod

Introduzione
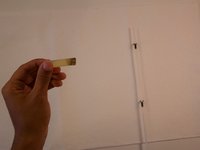
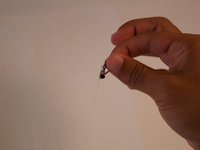
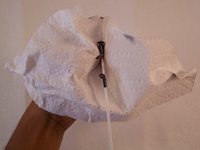
Vai al passo 1The tip of a fishing rod can easily break when fishing. Without the tip, the rod won't be useful. Fortunately, the tip can be replaced in seconds so you can continue fishing without a problem. You will need a rod tip replacement kit (this should include 3 tips of different sizes and a hot glue stick), a lighter, paper towel, and the fishing rod you will repair. Follow this guide and in just seconds you will have a useful fishing rod to continue fishing.
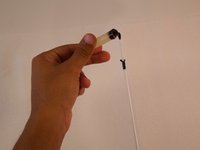
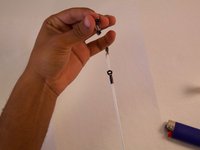
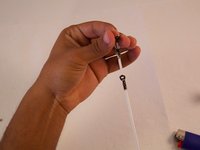
You will need to do the repair fairly quick once you get to the point of gluing the rod tip on the rod so the glue doesn't dry on either piece separately. It's important that both pieces have the melted glue applied when putting them together.
Cosa ti serve
Strumenti


Mostra di più…


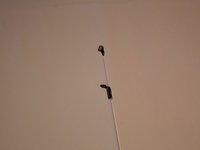


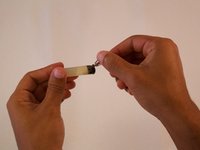


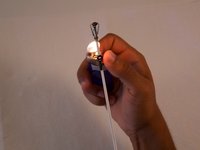
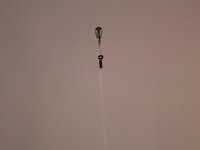
When you put the tip on the rod with the glue, verify that it is align with the other guides and let it cooled down. If you have excess of glue, apply some heat with the lighter and let it cooled down again. After that, your are ready to go fishing!
When you put the tip on the rod with the glue, verify that it is align with the other guides and let it cooled down. If you have excess of glue, apply some heat with the lighter and let it cooled down again. After that, your are ready to go fishing!

Team

University of Puerto Rico Mayagüez, Team 2-2, Cools Stephens Spring 2022 Membro di University of Puerto Rico Mayagüez, Team 2-2, Cools Stephens Spring 2022
UPRM-COOLS STEPHENS-S22S2G2
2 Membri
2 Guide realizzate