Salta al contenuto principale
Unisciti alla Community delle riparazioni - Crea un account
How to Remove a Car Stereo in a Chevy Tracker

Cosa ti serve

    1. How to Remove a Car Stereo in a Chevy Tracker, How to Remove a Car Stereo in a Chevy Tracker: passo 1, immagine 1 di 2 How to Remove a Car Stereo in a Chevy Tracker, How to Remove a Car Stereo in a Chevy Tracker: passo 1, immagine 2 di 2
      • First, you must disconnect the negative end of the car battery.

      • You will potentially be shocked if you mishandle the battery. Make sure the car is off before inspecting the engine and grabbing the negative connector.

      • Open the hood of your car and locate the battery.

      • Look for the negative end of your battery. It is usually indicated with a minus sign next to it.

      • Disconnecting the negative connection prevents you from receiving any electrical shocks while removing the stereo.

      Chiedi a FixBot

      Aggiungi Commento

    2. How to Remove a Car Stereo in a Chevy Tracker: passo 2, immagine 1 di 3 How to Remove a Car Stereo in a Chevy Tracker: passo 2, immagine 2 di 3 How to Remove a Car Stereo in a Chevy Tracker: passo 2, immagine 3 di 3
      • Use a socket wrench to remove the nut that holds the negative connector in place.

      • Place the negative connector away from the battery.

      Chiedi a FixBot

      Aggiungi Commento

    3. How to Remove a Car Stereo in a Chevy Tracker: passo 3, immagine 1 di 3 How to Remove a Car Stereo in a Chevy Tracker: passo 3, immagine 2 di 3 How to Remove a Car Stereo in a Chevy Tracker: passo 3, immagine 3 di 3
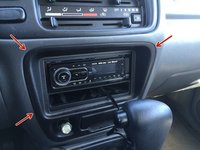
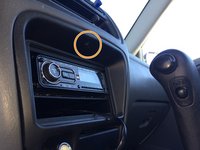
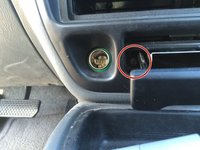
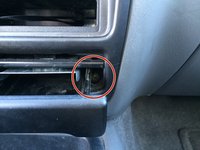
      • A Chevy Tracker will have a trim that surrounds the stereo.

      • The trim is the black plastic that encompasses the stereo and the small tray/compartment.

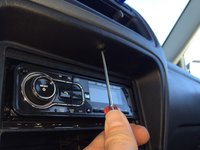
      • Remove the screw located on the underside of the trim above the car stereo.

      Chiedi a FixBot

      Aggiungi Commento

    4. How to Remove a Car Stereo in a Chevy Tracker: passo 4, immagine 1 di 3 How to Remove a Car Stereo in a Chevy Tracker: passo 4, immagine 2 di 3 How to Remove a Car Stereo in a Chevy Tracker: passo 4, immagine 3 di 3
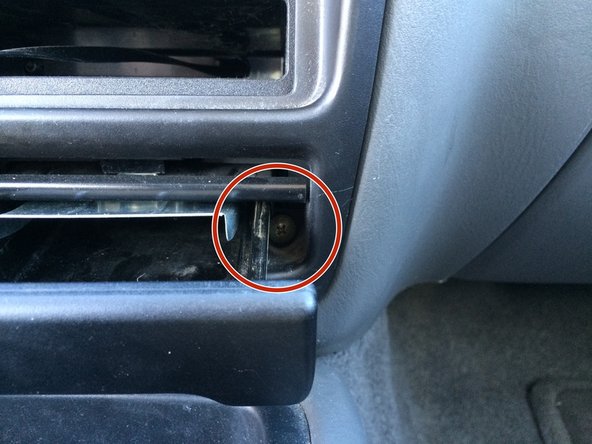
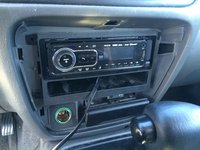
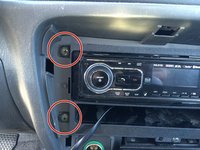
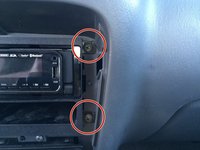
      • Unscrew the two screws hidden behind the tiny tray/compartment.

      • Afterwards, you can safely remove the trim.

      Chiedi a FixBot

      Aggiungi Commento

    5. How to Remove a Car Stereo in a Chevy Tracker: passo 5, immagine 1 di 3 How to Remove a Car Stereo in a Chevy Tracker: passo 5, immagine 2 di 3 How to Remove a Car Stereo in a Chevy Tracker: passo 5, immagine 3 di 3
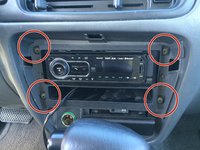
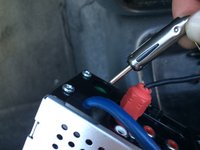
      • Once the trim is removed, remove the four screws found on each corner of the stereo.

      Chiedi a FixBot

      Aggiungi Commento

    6. How to Remove a Car Stereo in a Chevy Tracker: passo 6, immagine 1 di 3 How to Remove a Car Stereo in a Chevy Tracker: passo 6, immagine 2 di 3 How to Remove a Car Stereo in a Chevy Tracker: passo 6, immagine 3 di 3
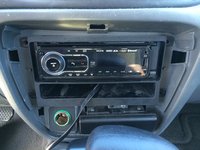
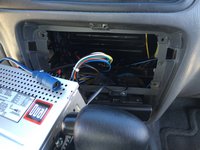
      • Carefully remove the stereo.

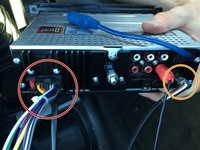
      • Look behind the stereo to see how it is connected.

      • The grouped up, different colored collection of wires connect to the speakers, amplifiers, and stereo buttons depending on the color.

      • The thick, metal wire connects to the car antennae.

      • Don't pull too hard! There are connections to the radio that we need to unplug.

      Chiedi a FixBot

      Aggiungi Commento

    7. How to Remove a Car Stereo in a Chevy Tracker: passo 7, immagine 1 di 3 How to Remove a Car Stereo in a Chevy Tracker: passo 7, immagine 2 di 3 How to Remove a Car Stereo in a Chevy Tracker: passo 7, immagine 3 di 3
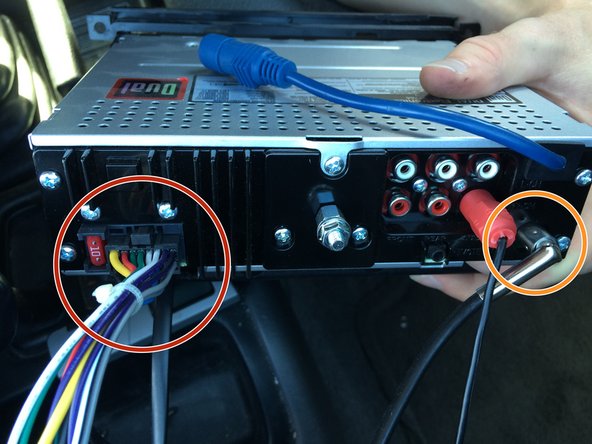
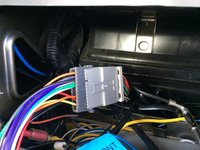
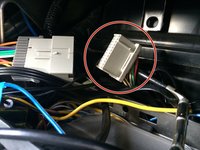
      • Unplugging the connections, except for the multicolored group of wires. All are located on the back of stereo should be as simple as pulling on them.

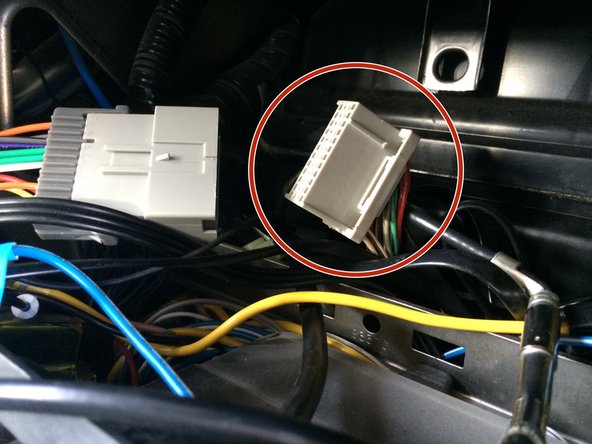
      • "To remove the group of wires", follow the wires until you reach a connector and unplug the connector.

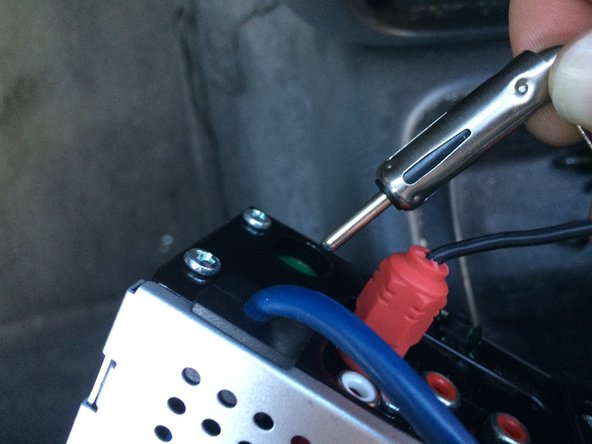
      • The thick, metal wire connecting to the radio antennae can be easily removed by pulling on it.

      • The harness (the grayish female connector circled in red) is what connects the wires to the various components of the car.

      Chiedi a FixBot

      Aggiungi Commento

    8. How to Remove a Car Stereo in a Chevy Tracker: passo 8, immagine 1 di 2 How to Remove a Car Stereo in a Chevy Tracker: passo 8, immagine 2 di 2
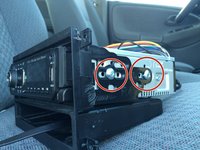
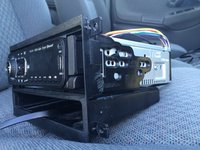
      • Some car stereos are attached to a mount.

      • Each mount is similarly installed as the image shows.

      • Remove the screws located on each side of the mount.

      Chiedi a FixBot

      Aggiungi Commento

    9. How to Remove a Car Stereo in a Chevy Tracker: passo 9, immagine 1 di 1
      • You have now successfully uninstalled a car stereo from a Chevy Tracker!

      • Do not forget to reconnect the negative connector to the battery when finished!

      Chiedi a FixBot

      Aggiungi Commento

Conclusione

Following the steps in reverse will reinstall your car stereo. Different car stereos might require extra connections to be installed.

Annulla: non ho completato questa guida.

Altre 4 persone hanno completato questa guida.

Nick Eaton

Membro da: 09/29/15

211 Reputazione

Una guida realizzata

Team

Cal Poly, Team 15-4, Green Fall 2015 Membro di Cal Poly, Team 15-4, Green Fall 2015

CPSU-GREEN-F15S15G4

4 Membri

29 guide realizzate

1Commento della guida

Ended up blowing a fuse for my taillights and dash lights. I replaced fuse, however still not coming back on. Any suggestions as to why?

Brandy - Rispondi Condividi
Aggiungi Commento

Visualizza statistiche:

Ultime 24 ore: 2

Ultimi 7 giorni: 11

Ultimi 30 giorni: 64

Tutti i Tempi: 8,242