
How to Fix Sticky Controls on a Logitech RumblePad2

20 minuti
Facile
Introduzione
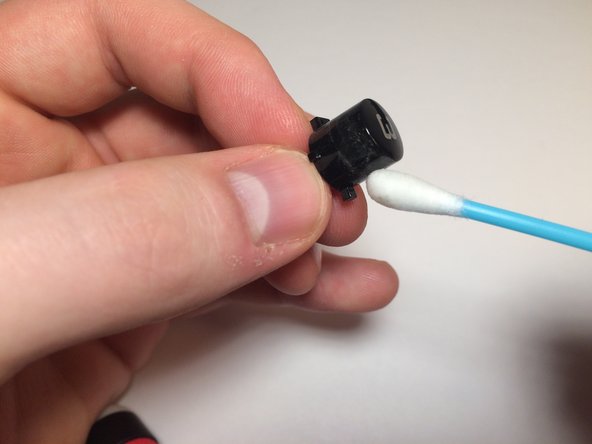
Vai al passo 1After lots of use or spills, the controls on your RumblePad2 may become sticky and unresponsive. This will guide you through the process of cleaning the controller and fix this issue.
Cosa ti serve
Strumenti


Mostra di più…
iFixit guadagna commissioni quando acquisti tramite questi link.
-
-
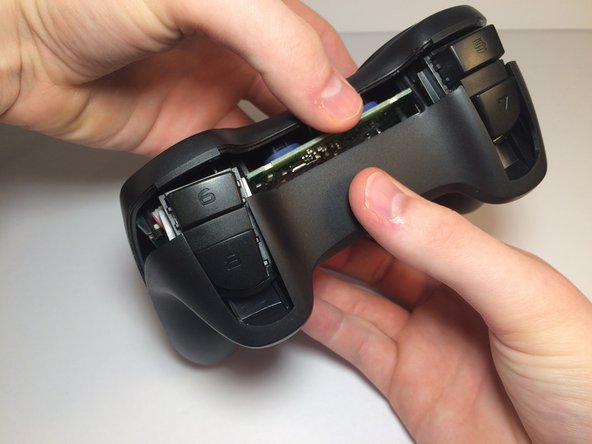
Remove the battery pack cover.
-
Remove the batteries.
-
-


Quasi finito!
After allowing the controller time to dry, reassemble your device by following these instructions in reverse order.
Conclusione
After allowing the controller time to dry, reassemble your device by following these instructions in reverse order.

Team

Michigan Tech, Team S3-G11, Galliah Fall 2017 Membro di Michigan Tech, Team S3-G11, Galliah Fall 2017
MTU-GALLIAH-F17S3G11
1 Membro
1 Guida realizzata