Salta al contenuto principale
How to Fill a Crack in a Glass Container

How to Fill a Crack in a Glass Container

M Keating

M Keating e 2 altri collaboratori

Ultimo aggiornamento il March 12, 2024

1 - 2 giorni
Facile

Introduzione

Vai al passo 1

This guide gives step by step instructions on how to repair any cracked glass vase or jar. The main tool being used in this guide is two part epoxy to cure the crack. By following this guide you will be able to get more out of your glass and reduce the amount of waste you produce. Be sure to be careful while dealing with broken glass and if needed wear protective equpiment during the repair. Before begining the repair be sure to be in a safe enviornment where glass can be handled.

  1. How to Fill a Crack in a Glass Container, How to Fill a Crack in a Glass Container: passo 1, immagine 1 di 3 How to Fill a Crack in a Glass Container, How to Fill a Crack in a Glass Container: passo 1, immagine 2 di 3 How to Fill a Crack in a Glass Container, How to Fill a Crack in a Glass Container: passo 1, immagine 3 di 3
    • Clean the jar or vase with dish soap to remove all dust, fingerprints and dirt.

    • Using a tool such as a sponge or brush is optional but will work better than just your hands.

    • Dry the glass using a paper towel, and allow it time to completely dry.

  2. How to Fill a Crack in a Glass Container: passo 2, immagine 1 di 3 How to Fill a Crack in a Glass Container: passo 2, immagine 2 di 3 How to Fill a Crack in a Glass Container: passo 2, immagine 3 di 3
    • Be sure to follow the directions on the specific two part epoxy product you’re using.

    • Mix the two-part epoxy on a piece of cardboard or a disposable plate.

    • Use a toothpick to mix the epoxy for at least 20 seconds.

    • After the epoxy is mixed, be ready to use it immediately, as it will quickly thicken and harden. Oftentimes you will have between 5 -10 minutes of working time before the epoxy is too thick and hard to use.

  3. How to Fill a Crack in a Glass Container: passo 3, immagine 1 di 3 How to Fill a Crack in a Glass Container: passo 3, immagine 2 di 3 How to Fill a Crack in a Glass Container: passo 3, immagine 3 di 3
    • Apply the epoxy to the crack in the glass using a putty knife. Work the adhesive back and forth across the crack, pressing the epoxy into the damaged area.

    • Be sure to fully cover the damaged area.

    • Ensure you use enough pressure to get the epoxy into the crack but not too pressure that could further crack the glass.

    • Allow the epoxy to cure for at least 5 minutes.

  4. How to Fill a Crack in a Glass Container: passo 4, immagine 1 di 3 How to Fill a Crack in a Glass Container: passo 4, immagine 2 di 3 How to Fill a Crack in a Glass Container: passo 4, immagine 3 di 3
    • Remove the excess epoxy with a razor blade.

    • Be careful when using the razor blaze to ensure you do not injure yourself or further crack the glass

    • Wipe the crack with a clean rag moistened with acetone to remove any additional epoxy raised above the crack.

    • Allow the glass to cure for at least 24 hours.

  5. How to Fill a Crack in a Glass Container: passo 5, immagine 1 di 3 How to Fill a Crack in a Glass Container: passo 5, immagine 2 di 3 How to Fill a Crack in a Glass Container: passo 5, immagine 3 di 3
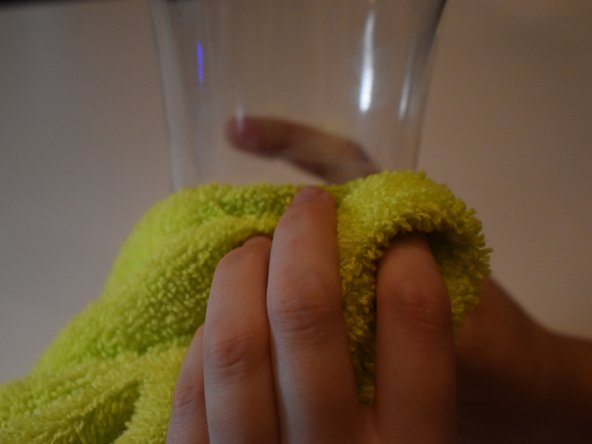
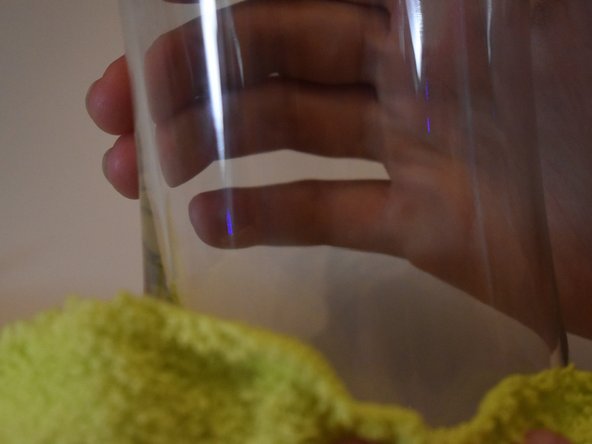
    • After 24 hours, polish the newly repaired glass with a clean rag and glass cleaner.

Conclusione

Thanks for following our guide! We hope it was simple and helped you to reduce your amount of waste!!

Altre 2 persone hanno completato questa guida.

1Commento della guida

Do you use the epoxy on both sides (inside and outside) of glass?

Sheldon - Replica

Aggiungi Commento

Visualizza Statistiche:

Ultime 24 Ore: 10

Ultimi 7 Giorni: 35

Ultimi 30 Giorni: 154

Tutti i Tempi: 2,708