Salta al contenuto principale
Unisciti alla Community delle riparazioni - Crea un account
How to Create a Custom Cotton Swab

How to Create a Custom Cotton Swab

Alex Diaz-Kokaisl

Alex Diaz-Kokaisl e un altro collaboratore

Ultimo aggiornamento il 27 dic 2024

5 - 10 minuti
Facile

Introduzione

Vai al passo 1

Use this guide to create a custom cotton swab for cleaning electronic components with small openings, such as charging ports.

Most commercially-sold cotton swabs are too thick to fit into small openings or have wispy cotton that gets caught on sharp edges. These custom cotton swabs are thinner and have compacted cotton to make your device-cleaning life easier.

Cosa ti serve

Strumenti

Mostra di più…

  1. How to Create a Custom Cotton Swab, Find a tool: passo 1, immagine 1 di 3 How to Create a Custom Cotton Swab, Find a tool: passo 1, immagine 2 di 3 How to Create a Custom Cotton Swab, Find a tool: passo 1, immagine 3 di 3
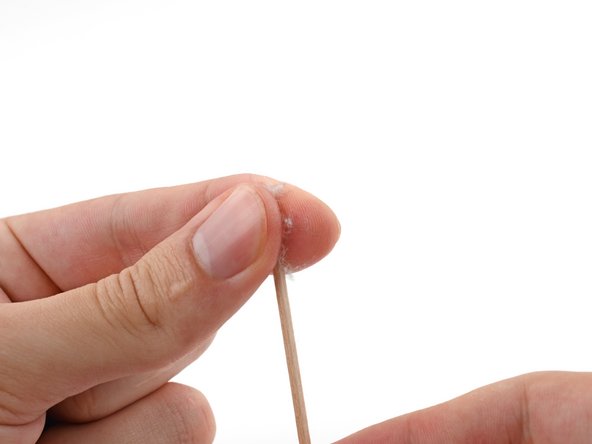
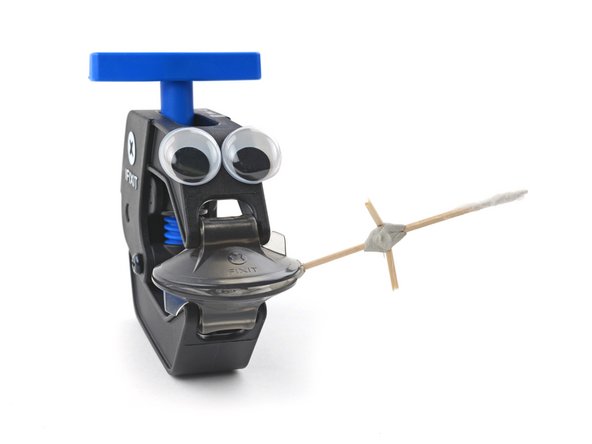
    • Find a small object with a pointed end, such as:

    • A toothpick

    • A spudger

    • The end of a flossing pick

    • Avoid metal objects, like paperclips, or anything brittle that might break off in the charging port.

  2. How to Create a Custom Cotton Swab, Separate the cotton: passo 2, immagine 1 di 3 How to Create a Custom Cotton Swab, Separate the cotton: passo 2, immagine 2 di 3 How to Create a Custom Cotton Swab, Separate the cotton: passo 2, immagine 3 di 3
    • Pull off a small part of a cotton ball.

    • You only need a small amount of cotton—enough to create a thin layer around your tool.

  3. How to Create a Custom Cotton Swab, Apply the cotton: passo 3, immagine 1 di 3 How to Create a Custom Cotton Swab, Apply the cotton: passo 3, immagine 2 di 3 How to Create a Custom Cotton Swab, Apply the cotton: passo 3, immagine 3 di 3
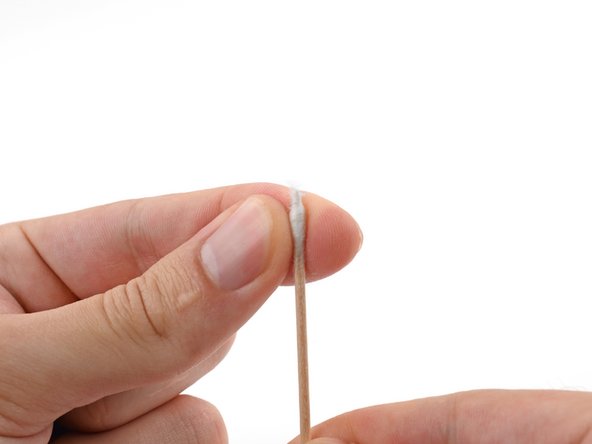
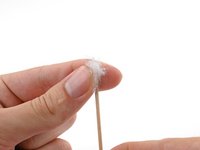
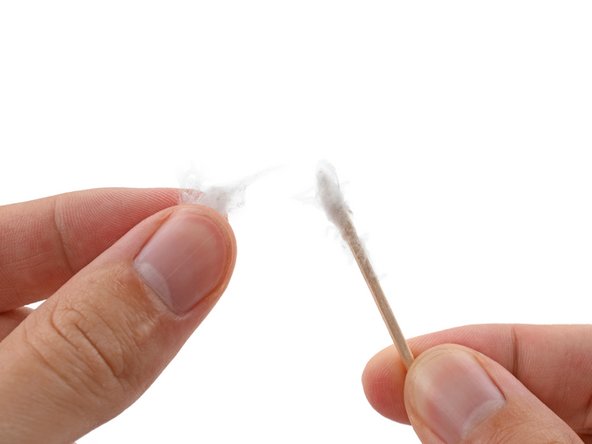
    • Wrap the cotton around the tip of your tool.

    • Roll the cotton between your fingers to compress it into a thin layer.

  4. How to Create a Custom Cotton Swab, Remove any excess cotton: passo 4, immagine 1 di 3 How to Create a Custom Cotton Swab, Remove any excess cotton: passo 4, immagine 2 di 3 How to Create a Custom Cotton Swab, Remove any excess cotton: passo 4, immagine 3 di 3
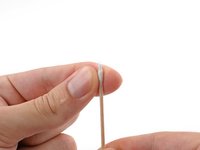
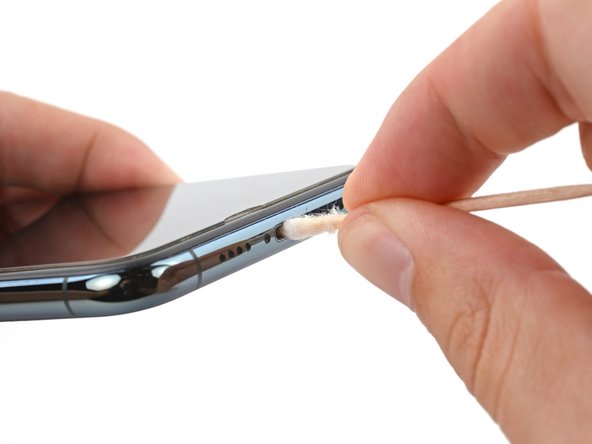
    • Test your cotton swab on your device to see if it fits.

    • If your swab doesn't fit, remove any excess cotton and reroll your cotton so it's compressed and tight along the tip of your tool.

    • If the swab still doesn't fit, you may need to find a different tool altogether.

    • Your custom cotton swab is ready! Return to where you left off in your guide.

Conclusione

For other general electronics skills guides, click here.

Altre 16 persone hanno completato questa guida.

Preparati per le riparazioni future

Acquista tutti

Alex Diaz-Kokaisl

Membro da: 01/16/22

182.730 Reputazione

857 Guide realizzate

Team

iFixit Membro di iFixit

Staff

118 Membri

22.412 Guide realizzate

0Commenti sulla guida

Aggiungi Commento

Visualizza Statistiche:

Ultime 24 Ore: 16

Ultimi 7 Giorni: 165

Ultimi 30 Giorni: 712

Tutti i Tempi: 9,217