
How to Change Broken Buttons on your Lexus Key Fob
Introduzione
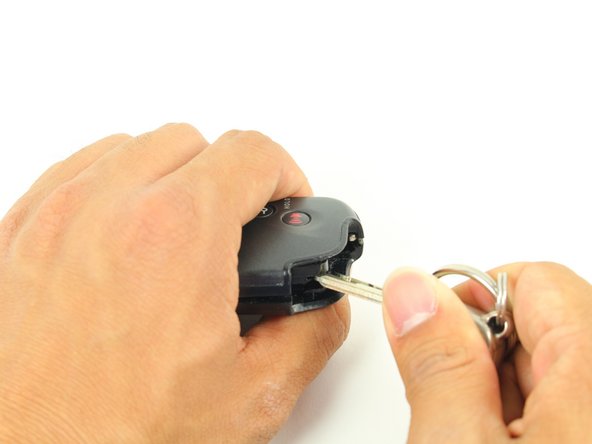
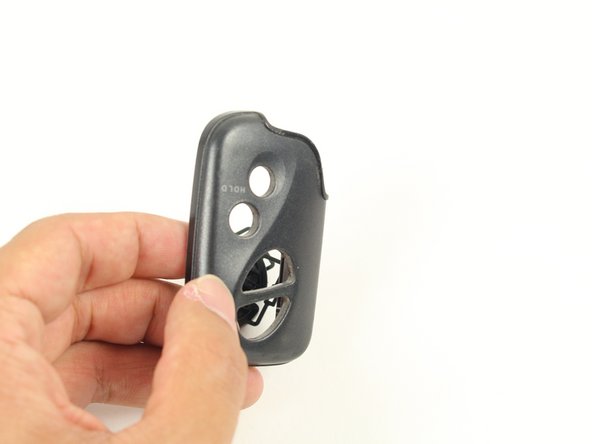
Vai al passo 1Are the buttons on your Lexus key fob not responding anymore? Use this guide to learn how to open the key fob and swap out the buttons. The only tool you will need to complete this repair is your key fob!


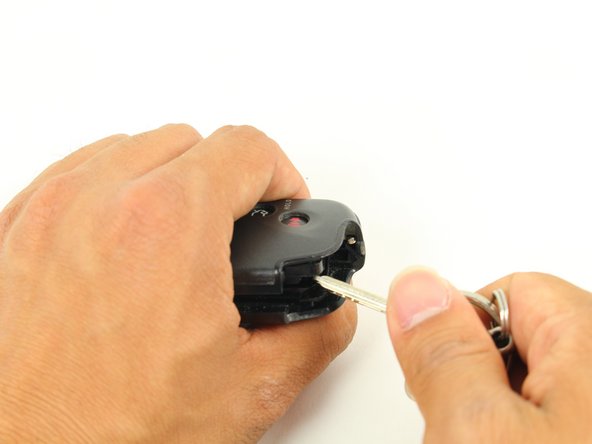


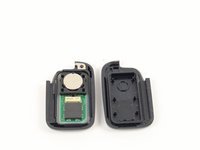


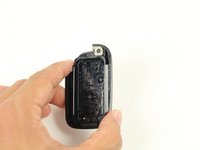
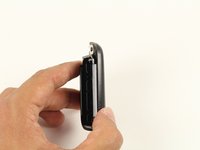

To reassemble your device, follow these instructions in reverse order. Apply firm pressure when snapping the front and back covers together.
To reassemble your device, follow these instructions in reverse order. Apply firm pressure when snapping the front and back covers together.
Annulla: non ho completato questa guida.
Altre 7 persone hanno completato questa guida.
Team

Cal Poly, Team 30-3, Green Spring 2015 Membro di Cal Poly, Team 30-3, Green Spring 2015
CPSU-GREEN-S15S30G3
4 Membri
10 Guide realizzate