
Honeywell HT900C Motor Replacement

Introduzione
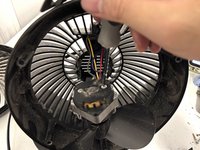
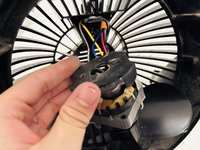
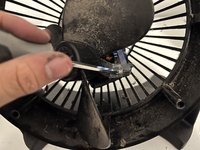
Vai al passo 1There are a number of potential causes if your Honeywell HT900C fan does not start when you turn it on, including the fan motor being damaged from overuse, the fan being misaligned, etc. The fan motor is the most common culprit because it drives the rest of the fan. Our instructions will guide you through disassembling the old motor and installing the new one. All that is required is a screwdriver and some lubricant, both of which can be found in almost every home.
Cosa ti serve
Strumenti

-
-
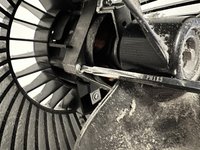
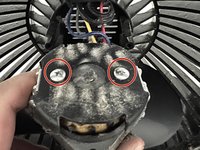
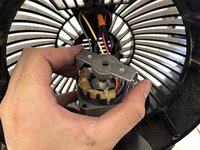
Remove the six 15 mm screws securing the fan's frame to its outer ring on the back using a Phillips #1 screwdriver.
-
-


To reassemble your device, follow these instructions in reverse order.
To reassemble your device, follow these instructions in reverse order.
Annulla: non ho completato questa guida.
Un'altra persona ha completato questa guida.

Team

York University, Team B-10, Allen Fall 2022 Membro di York University, Team B-10, Allen Fall 2022
YORK-ALLEN-F22SBG10
3 Membri
1 Guida realizzata