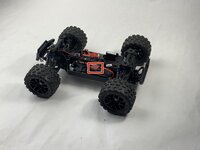
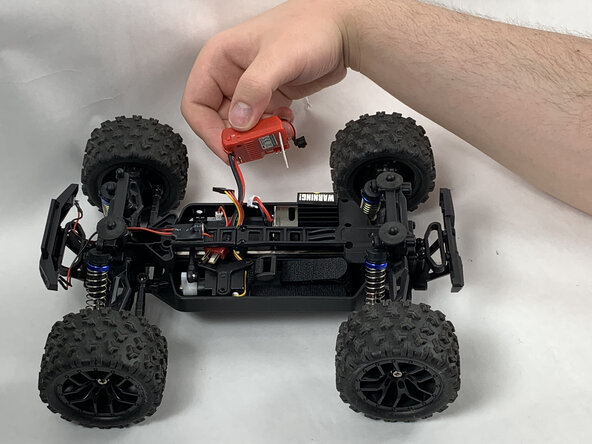
Salta al contenuto principale
Unisciti alla Community delle riparazioni - Crea un account

Haiboxing 18859 Receiver Replacement

Cosa ti serve

  1. Haiboxing 18859 Receiver Replacement, Battery: passo 1, immagine 1 di 3 Haiboxing 18859 Receiver Replacement, Battery: passo 1, immagine 2 di 3 Haiboxing 18859 Receiver Replacement, Battery: passo 1, immagine 3 di 3
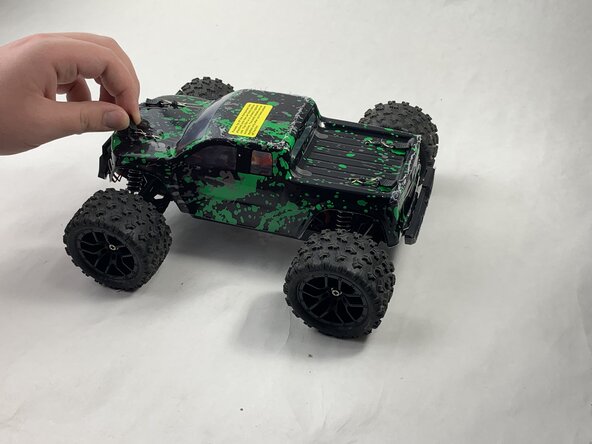
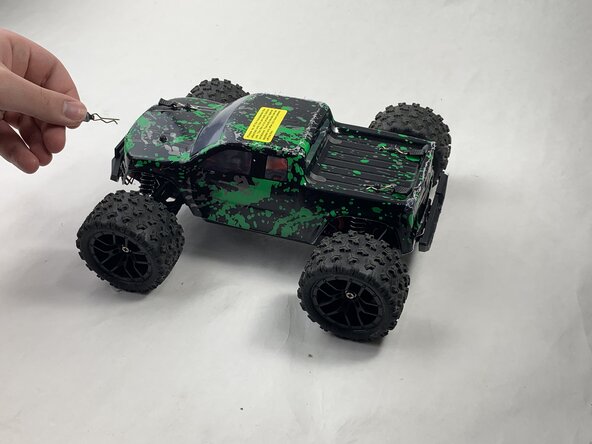
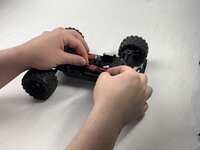
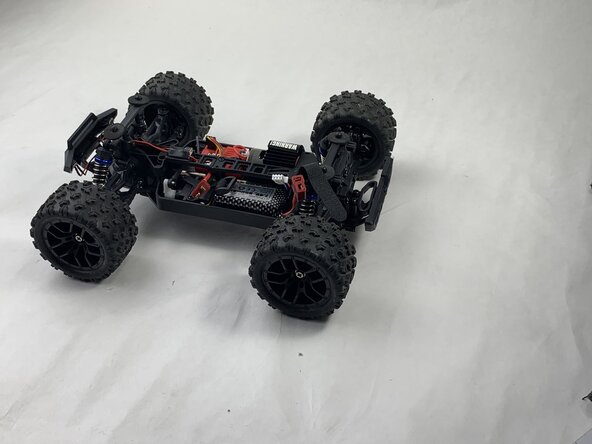
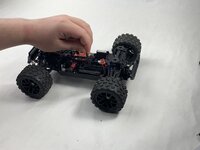
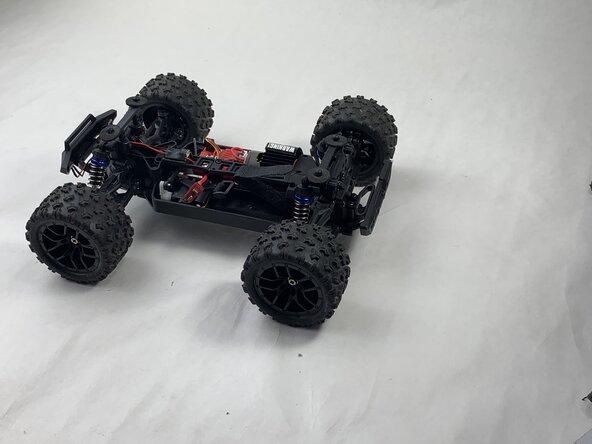
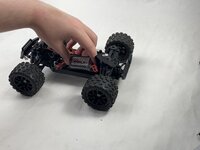
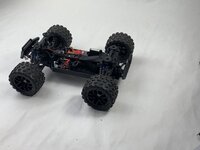
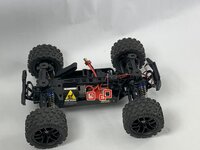
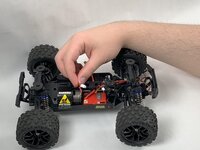
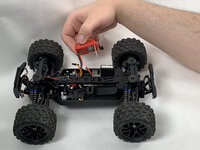
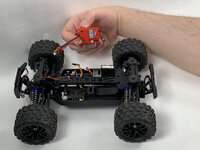
    • Remove the 4 clips holding down the hard plastic shell of the RC car. Do this by pinching them with your thumb and index finger and pulling away.

  2. Haiboxing 18859 Receiver Replacement: passo 2, immagine 1 di 1
    • Lift the hard plastic shell off of the RC car.

  3. Haiboxing 18859 Receiver Replacement: passo 3, immagine 1 di 3 Haiboxing 18859 Receiver Replacement: passo 3, immagine 2 di 3 Haiboxing 18859 Receiver Replacement: passo 3, immagine 3 di 3
    • Disconnect the Lego-style battery connector by gripping either side and pulling them away from each other, slowly and consistently.

  4. Haiboxing 18859 Receiver Replacement: passo 4, immagine 1 di 3 Haiboxing 18859 Receiver Replacement: passo 4, immagine 2 di 3 Haiboxing 18859 Receiver Replacement: passo 4, immagine 3 di 3
    • Unfasten the Velcro strap that secures the battery.

  5. Haiboxing 18859 Receiver Replacement: passo 5, immagine 1 di 2 Haiboxing 18859 Receiver Replacement: passo 5, immagine 2 di 2
    • Remove the battery.

  6. Haiboxing 18859 Receiver Replacement, Receiver: passo 6, immagine 1 di 3 Haiboxing 18859 Receiver Replacement, Receiver: passo 6, immagine 2 di 3 Haiboxing 18859 Receiver Replacement, Receiver: passo 6, immagine 3 di 3
    • Disonnect all connectors attached to the red, plastic receiver.

  7. Haiboxing 18859 Receiver Replacement: passo 7, immagine 1 di 1
    • Remove the 8 mm Phillips #0 screw holding the front corner of the receiver down.

    • Remove the front corner piece.

  8. Haiboxing 18859 Receiver Replacement: passo 8, immagine 1 di 3 Haiboxing 18859 Receiver Replacement: passo 8, immagine 2 di 3 Haiboxing 18859 Receiver Replacement: passo 8, immagine 3 di 3
    • Remove the receiver.

Conclusione

To reassemble your device, follow the above steps in reverse order.
Take your e-waste to an R2 or e-Stewards certified recycler.
Repair didn’t go as planned? Try some basic troubleshooting or ask our Answers community for help.

Team

0Commenti sulla guida

Aggiungi Commento

Visualizza Statistiche:

Ultime 24 Ore: 1

Ultimi 7 Giorni: 20

Ultimi 30 Giorni: 52

Tutti i Tempi: 452