Salta al contenuto principale
HP Split x2 13-g210dx Speakers Replacement

HP Split x2 13-g210dx Speakers Replacement

Darian Devries

Darian Devries e 2 altri collaboratori

Ultimo aggiornamento il May 20, 2019

20 minuti
Moderato
Foto Azione
Necessarie Più Immagini

Introduzione

Vai al passo 1

If the audio is distorted on the laptop or the computer has difficulty playing sounds, then one or both of the speakers are defective. Use this guide to access, remove, and replace your speaker(s).

Cosa ti serve

Strumenti

Mostra di più…

  1. HP Split x2 13-g210dx Speakers Replacement, Back Panel: passo 1, immagine 1 di 1
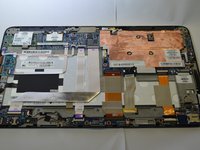
    • Carefully peel off the felt cover that is found beneath the display along the bottom of the device.

    • Use a spudger to gently scrape away the padding that hides the screws in each of the four locations.

    • Remove the four 4-mm Phillips #0 screws.

    • Run a spudger along the crease of the entire laptop and slowly pry off the back panel of the device, beginning with the bottom edge.

    • You will hear popping noises as the clips separate from each other.

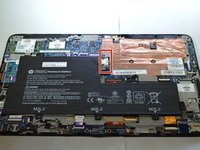
  2. HP Split x2 13-g210dx Speakers Replacement, Battery: passo 2, immagine 1 di 1
    • Remove the three 6-mm Phillips #0 screws.

    • Remove the four 4-mm Phillips #0 screws.

  3. HP Split x2 13-g210dx Speakers Replacement: passo 3, immagine 1 di 2 HP Split x2 13-g210dx Speakers Replacement: passo 3, immagine 2 di 2
    Attrezzo utilizzato in questo passaggio:
    Tweezers
    $4.99
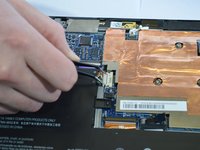
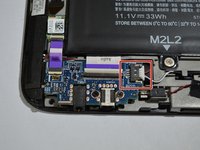
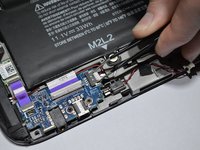
    • Remove the white connector clip from the connector port using a sturdy tweezers.

  4. HP Split x2 13-g210dx Speakers Replacement: passo 4, immagine 1 di 2 HP Split x2 13-g210dx Speakers Replacement: passo 4, immagine 2 di 2
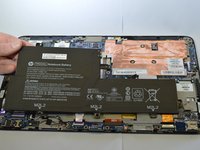
    • Lift the battery away from the device.

  5. HP Split x2 13-g210dx Speakers Replacement, Docking Port: passo 5, immagine 1 di 1
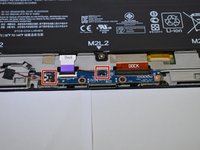
    • Remove the two 4-mm Phillips #0 screws.

  6. HP Split x2 13-g210dx Speakers Replacement: passo 6, immagine 1 di 2 HP Split x2 13-g210dx Speakers Replacement: passo 6, immagine 2 di 2
    Attrezzo utilizzato in questo passaggio:
    Tweezers
    $4.99
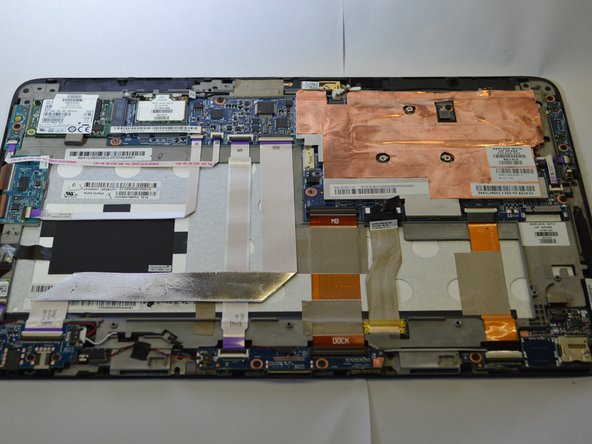
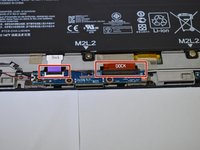
    • Remove the clips from the docking port board with a sturdy pair of tweezers.

  7. HP Split x2 13-g210dx Speakers Replacement: passo 7, immagine 1 di 2 HP Split x2 13-g210dx Speakers Replacement: passo 7, immagine 2 di 2
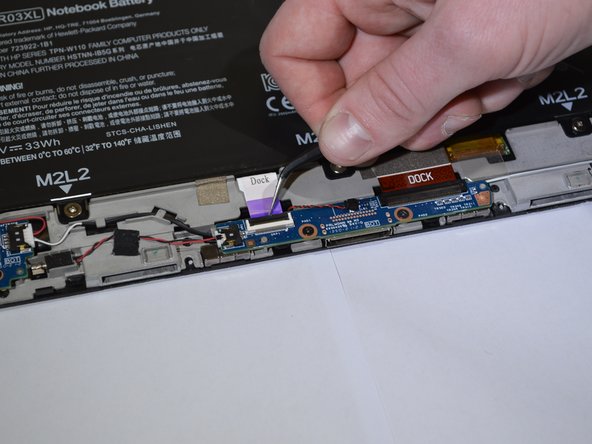
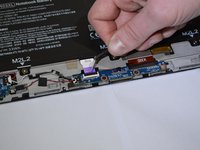
    • Remove the two ribbons labeled "Dock" at the top of the docking port board using tweezers or a sturdy plastic opening tool.

  8. HP Split x2 13-g210dx Speakers Replacement: passo 8, immagine 1 di 1
    • Lift the docking port away from the device.

  9. HP Split x2 13-g210dx Speakers Replacement, SD Port: passo 9, immagine 1 di 1
    • Remove the two 4-mm Phillips #0 screws.

  10. HP Split x2 13-g210dx Speakers Replacement: passo 10, immagine 1 di 2 HP Split x2 13-g210dx Speakers Replacement: passo 10, immagine 2 di 2
    Attrezzo utilizzato in questo passaggio:
    Tweezers
    $4.99
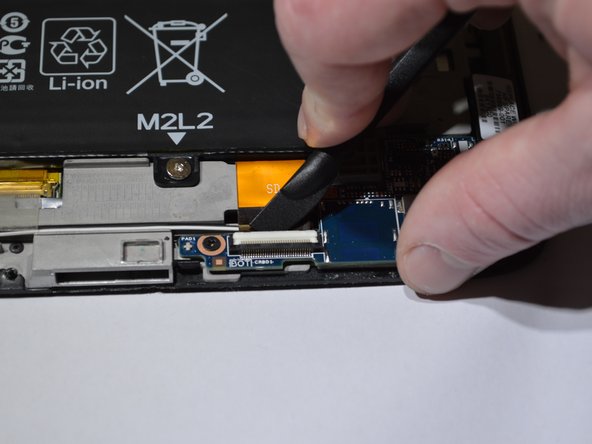
    • Remove the yellow ribbon labeled "SD" in the left corner of the SD port board using tweezers or a sturdy plastic opening tool.

  11. HP Split x2 13-g210dx Speakers Replacement: passo 11, immagine 1 di 1
    • Lift the SD port away from the device.

  12. HP Split x2 13-g210dx Speakers Replacement, Audio Port: passo 12, immagine 1 di 1
    • Remove the two 4-mm Phillips #0 screws.

  13. HP Split x2 13-g210dx Speakers Replacement: passo 13, immagine 1 di 3 HP Split x2 13-g210dx Speakers Replacement: passo 13, immagine 2 di 3 HP Split x2 13-g210dx Speakers Replacement: passo 13, immagine 3 di 3
    Attrezzo utilizzato in questo passaggio:
    Tweezers
    $4.99
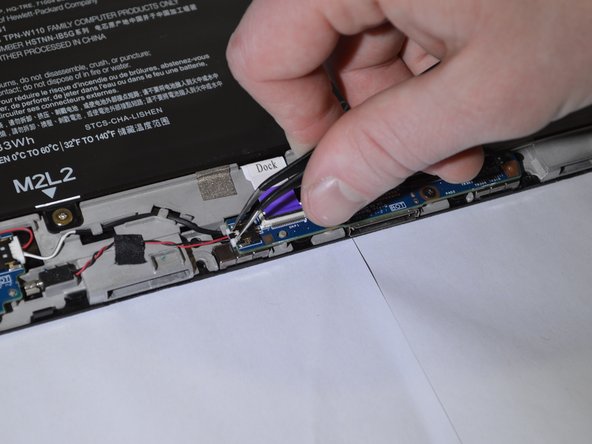
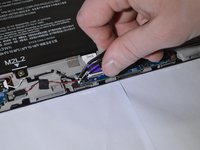
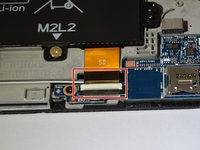
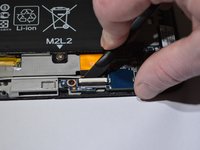
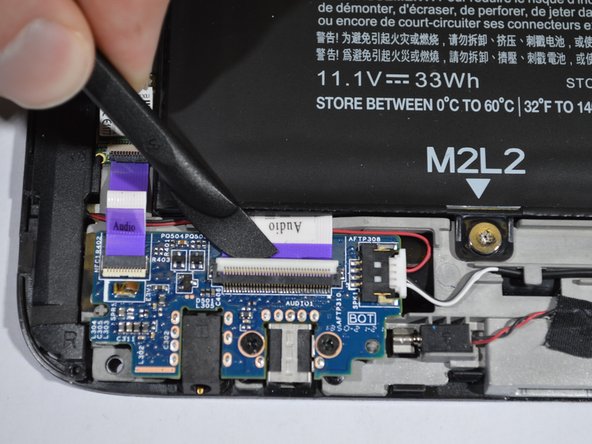
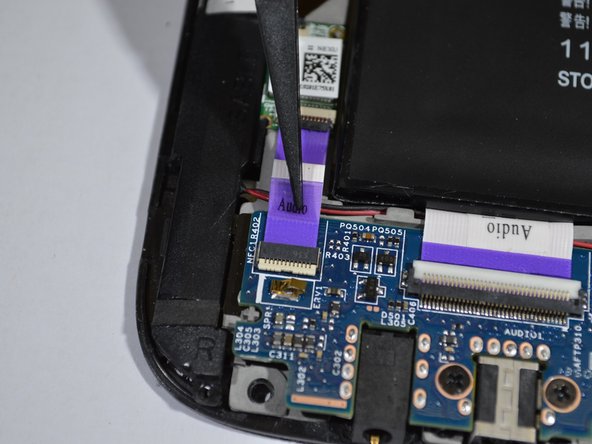
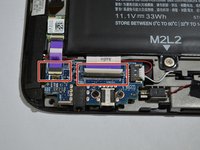
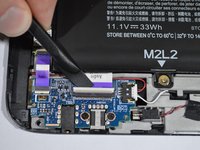
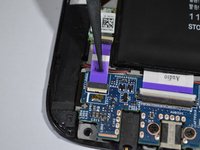
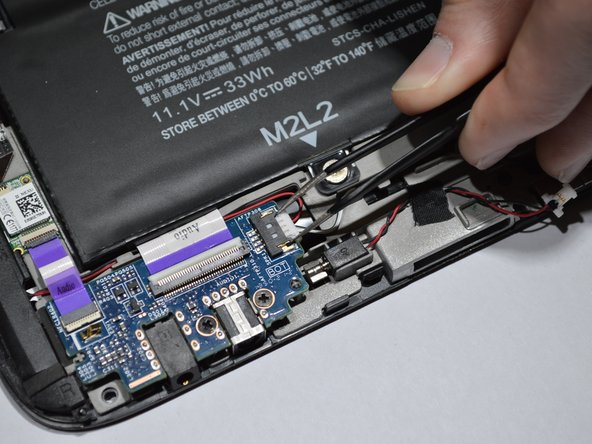
    • Remove the two purple ribbons labeled "Audio" at the top of the audio port board using tweezers or a sturdy plastic opening tool.

  14. HP Split x2 13-g210dx Speakers Replacement: passo 14, immagine 1 di 2 HP Split x2 13-g210dx Speakers Replacement: passo 14, immagine 2 di 2
    • Remove the white clip at the top right corner of the audio port board using tweezers.

  15. HP Split x2 13-g210dx Speakers Replacement: passo 15, immagine 1 di 1
    • Lift the Audio port away from the device.

  16. HP Split x2 13-g210dx Speakers Replacement, Speakers: passo 16, immagine 1 di 2 HP Split x2 13-g210dx Speakers Replacement, Speakers: passo 16, immagine 2 di 2
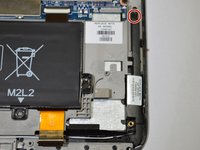
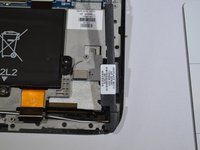
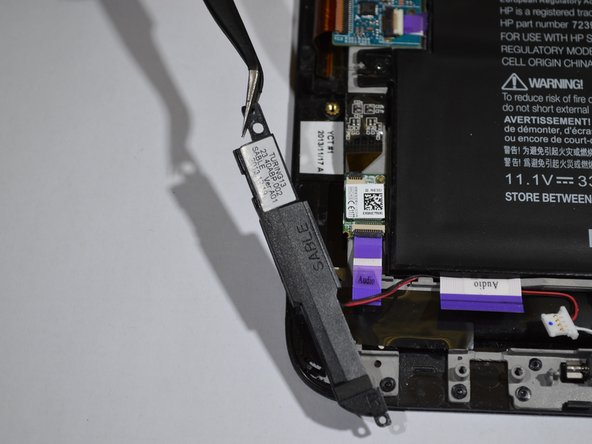
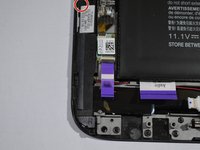
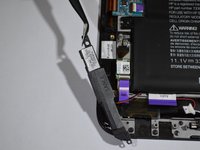
    • Remove the 4-mm Phillips #0 screw.

    • Lift the left speaker away from the device.

  17. HP Split x2 13-g210dx Speakers Replacement: passo 17, immagine 1 di 2 HP Split x2 13-g210dx Speakers Replacement: passo 17, immagine 2 di 2
    • Remove the 4-mm Phillips #0 screw from the same location as found on the left speaker.

    • Lift the right speaker away from the device.

  18. HP Split x2 13-g210dx Speakers Replacement: passo 18, immagine 1 di 3 HP Split x2 13-g210dx Speakers Replacement: passo 18, immagine 2 di 3 HP Split x2 13-g210dx Speakers Replacement: passo 18, immagine 3 di 3
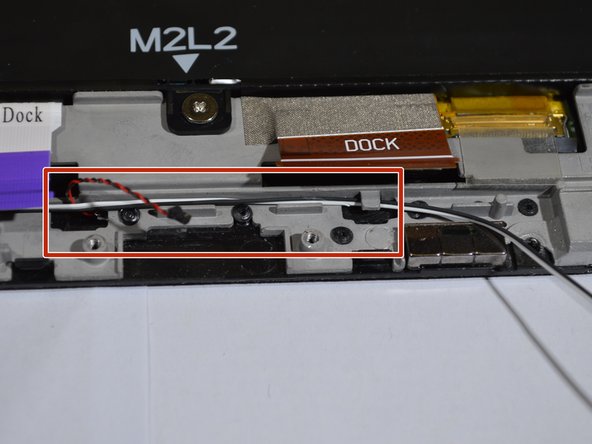
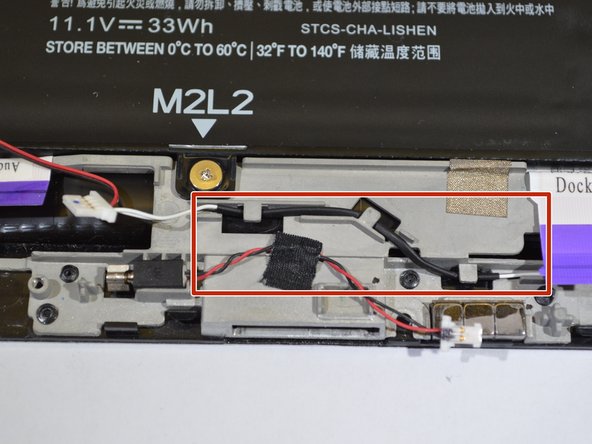
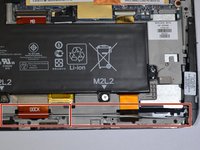
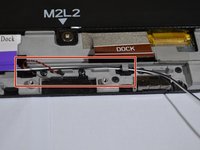
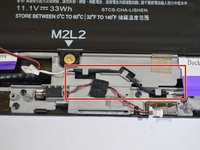
    • Carefully remove the bonded white and black speaker wires running along the bottom of the control board from the fastening clips.

    • Lift the speaker assembly away from the device.

Conclusione

To reassemble your device, follow these instructions in reverse order.

0Commenti sulla guida

Aggiungi Commento

Visualizza Statistiche:

Ultime 24 Ore: 0

Ultimi 7 Giorni: 0

Ultimi 30 Giorni: 25

Tutti i Tempi: 331