
HP ProBook x360 11 G5 EE Display Panel Replacement
Introduzione
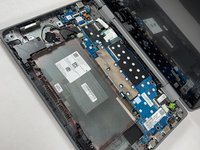
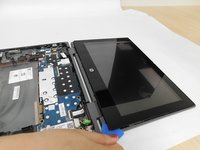
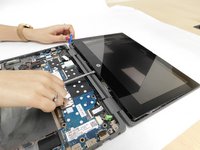
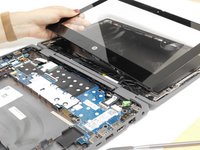
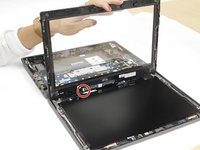
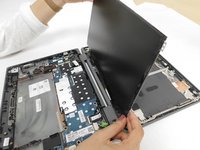
Vai al passo 1In the guide, we will be covering how to replace the touchscreen display panel of an HP ProBook x360 11 G5 Education Edition. The display of a laptop is vital to a user since it allows them to perform the software functions they need.
Cosa ti serve


-
-
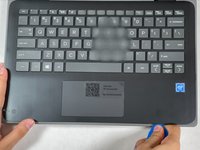
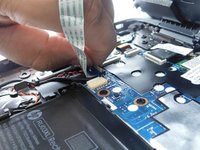
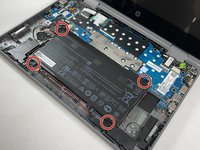
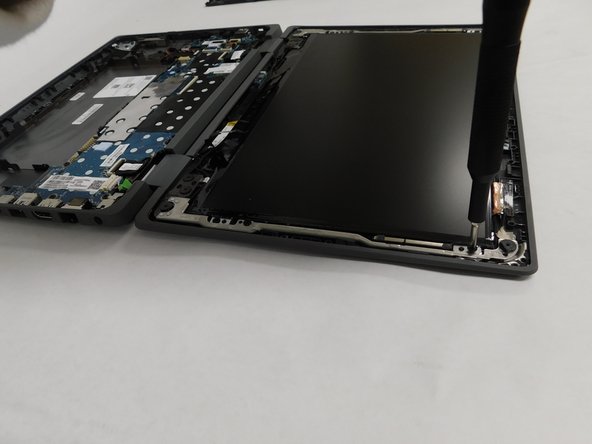
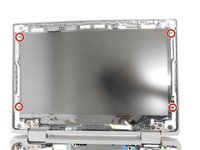
Remove the 4.1 mm screws with a T5 Torx screwdriver.
-
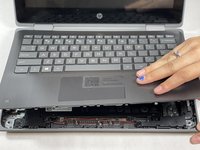
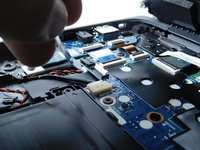
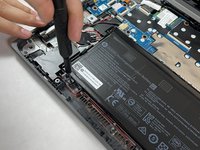
Remove the 4.1 mm screws using a JIS #0 screwdriver.
-
-


To reassemble your device, follow these instructions in reverse order.
To reassemble your device, follow these instructions in reverse order.
Annulla: non ho completato questa guida.
Altre 2 persone hanno completato questa guida.
Team

Gateway, Team 1-4, Pee Fall 2021 Membro di Gateway, Team 1-4, Pee Fall 2021
GCC-PEE-F21S1G4
5 Membri
5 Guide realizzate