
HP EliteBook x360 830 G7 Fan Replacement
Introduzione
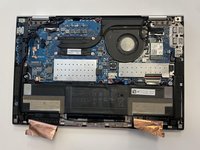
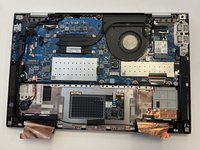
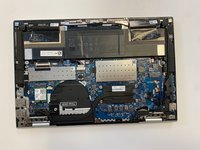
Vai al passo 1This guide will help you remove the fan from an HP EliteBook x360 830 G7. System fans are essential for the proper functioning and cooling of your laptop. However, after several operation cycles, system fans might die and thus will need replacing. Before you begin, remove the base cover, the battery, and the keyboard.
Cosa ti serve


-
-
Turn the computer over so that the back is facing up.
-
Use a Torx T5 screwdriver to remove the three 9 mm screws from the hinge of the device.
-
Use a Torx T5 screwdriver to remove the two 7 mm screws from the left and right mid-section of the case.
-
Lift the backplate from the computer.
-
-
-
Use a nylon spudger to gently disconnect the battery's bundled cable connector from the motherboard.
-
-
-
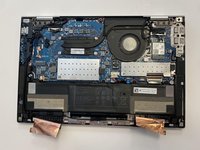
Peel back both sides of the copper foil tape connected to the battery.
-
-
-
-
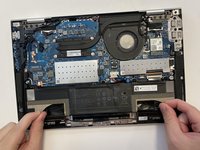
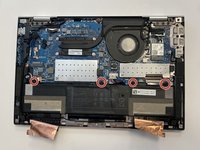
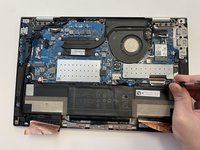
Use a JIS #1 screwdriver to remove the four 4 mm screws that secure the battery.
-
-
-
Disconnect the display panel cable from it's connector on the motherboard.
-
-
-
Remove the display panel and the wireless antenna cables from the routing channels. Then, remove the retention tape from the system fan.
-
-
-
Loosen the JIS #1 screws that secure the system fan to the motherboard.
-
-
-
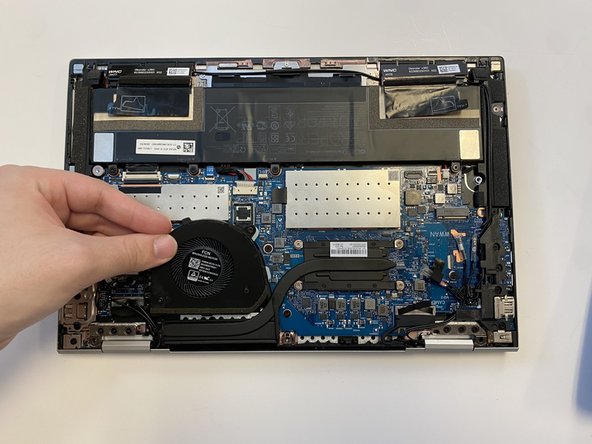
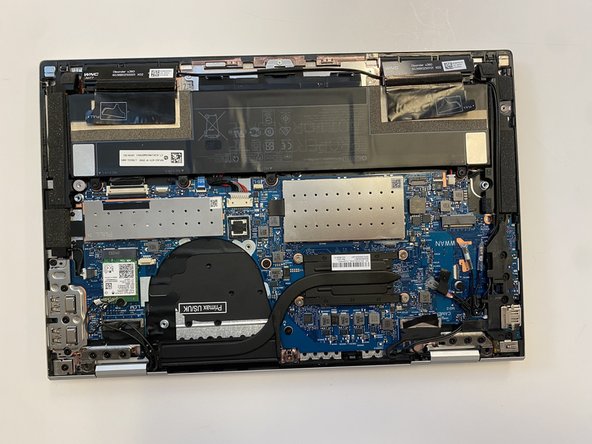
Once all of the connectors and screws that secure the fan in place have been removed sucessfully, you can safely remove the system fan from the motherboard.
-


To reassemble your device, follow these instructions in reverse order.
To reassemble your device, follow these instructions in reverse order.
Team

University of Alabama, Team 2-1, Bedsole Spring 2022 Membro di University of Alabama, Team 2-1, Bedsole Spring 2022
UA-BEDSOLE-S22S2G1
4 Membri
5 Guide realizzate