
Graco Secure Coverage LED Parent Unit Replacement
Nessuna stima
Moderato
Inconveniente Markup
Introduzione
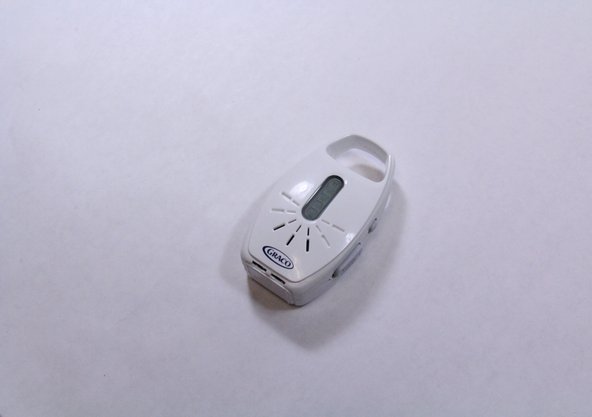
Vai al passo 1Use this guide to replace the LED on your Graco Secure Coverage Digital Baby Monitor for parent unit.
The LED replacement includes the LED and battery replacement.
Cosa ti serve


-
-
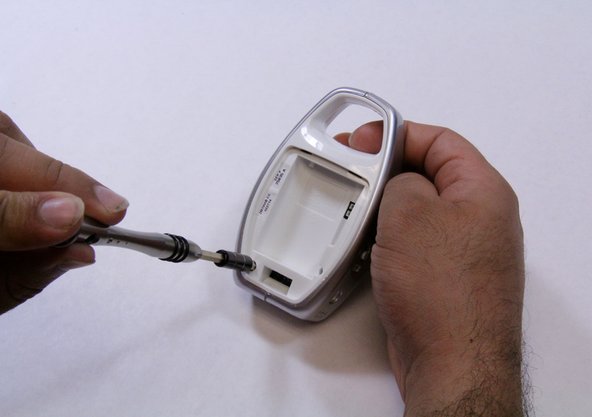
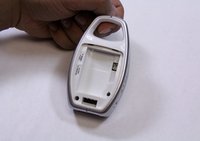
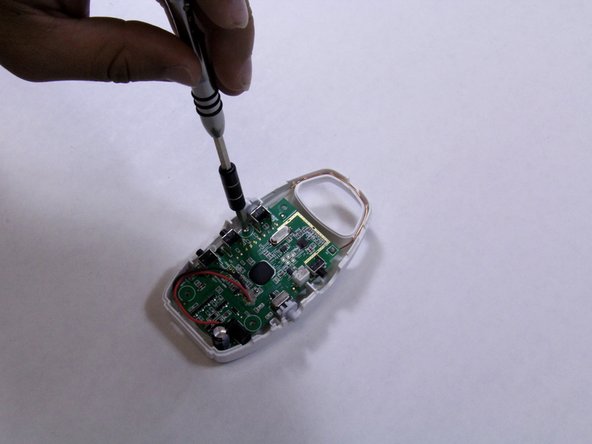
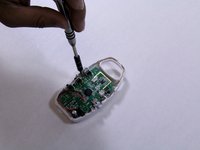
Remove the two 9mm Phillips #1 screws from the rare case of the device.
-
-


Quasi finito!
To reassemble your device, follow these instructions in reverse order.
Conclusione
To reassemble your device, follow these instructions in reverse order.
Team

USF Tampa, Team 6-5, Remmell Fall 2015 Membro di USF Tampa, Team 6-5, Remmell Fall 2015
USFT-REMMELL-F15S6G5
4 Membri
8 Guide realizzate