
Golf Club Grip Replacement
Introduzione
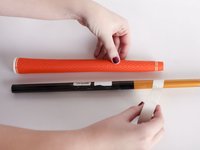
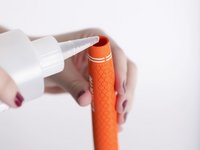
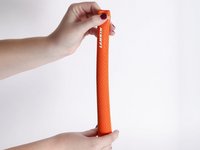
Vai al passo 1For this Fast Fixit you will be taking off a worn or old golf grip and replacing it with a new one. In order to do this we will be cutting the old grip off and putting an adhesive solution along with tape onto the golf club in order to attach the new grip.
Cosa ti serve
Ricambi
Strumenti

Mostra di più…
-
-
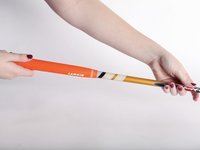
Place the golf club securely on a level table.
-
Using a blade or knife, cut a line through the grip.
-
-


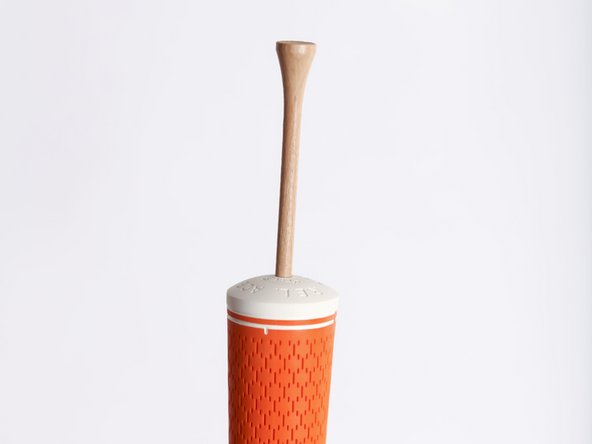
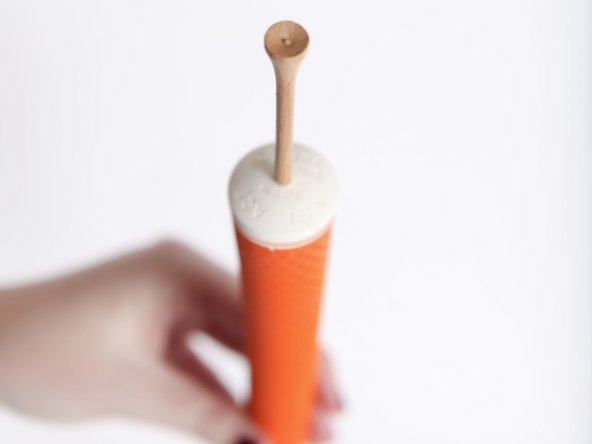


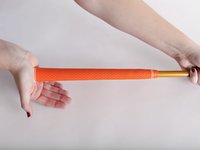

After allowing the club to properly dry, you will have a new grip to improve your swing at tee off.
After allowing the club to properly dry, you will have a new grip to improve your swing at tee off.
Annulla: non ho completato questa guida.
Altre 6 persone hanno completato questa guida.
Team

Missouri Western, Team 1-8, Adkins Fall 2016 Membro di Missouri Western, Team 1-8, Adkins Fall 2016
MWSU-ADKINS-F16S1G8
3 Membri
2 Guide realizzate