Gateway Solo 1200 RAM Replacement
Introduzione
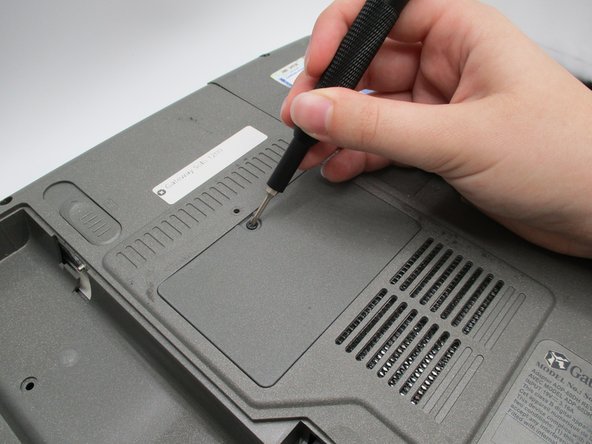
Vai al passo 1Follow this replacement guide to replace or upgrade your RAM stick.
Adding memory is one of the easiest ways to boost your Gateway Solo 1200’s performance. To find how much RAM your computer has, go to the device specifications in your PC’s settings. This will not only tell you how much RAM your computer has but also how much RAM it can support for possible upgrades.
Cosa ti serve
Strumenti
-
-
Locate the battery latch on the bottom of the laptop.
-
Release the latch by pressing it with your thumb and sliding it to the right.
-
Slide the battery out of its compartment.
-
-
To reassemble your device, follow these instructions in reverse order.
To reassemble your device, follow these instructions in reverse order.
Annulla: non ho completato questa guida.
Altre 5 persone hanno completato questa guida.


