Game Boy Micro Buttons Replacement
Introduzione
Vai al passo 1Use the following guide to replace buttons in the device.
Cosa ti serve
-
-
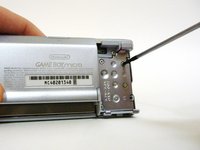
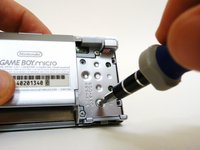
Remove the Phillips #00 screw on the side of the Game Boy closest to the directional pad.
-
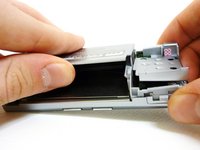
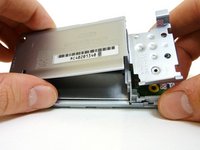
Once the screw has been loosened, lift the cover off the back of the device.
-
-
-
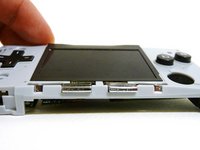
Locate the two circular holes on the side of the Game Boy nearest to the directional pad.
-
-
-
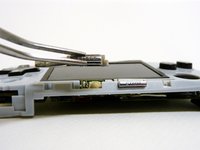
Straighten the end of a paper clip and push it into each of the circular holes.
-
Use the paper clip to lever the faceplate off from the unit.
schlechte erklärung an dieser stelle. ich hab vorsichtig gedrückt. da kam kein klicken also habe ich nach und nach etwas mehr gedrückt. das “klicken” was ich dann gehört habe war dann wie die halterung innen abgebrochen ist…..
entfernt diesen zusatzpunkt “du solltest ein leichtes klicken hören” daran sollte man sich nicht orientieren weil es blödsinn ist
-
-
-
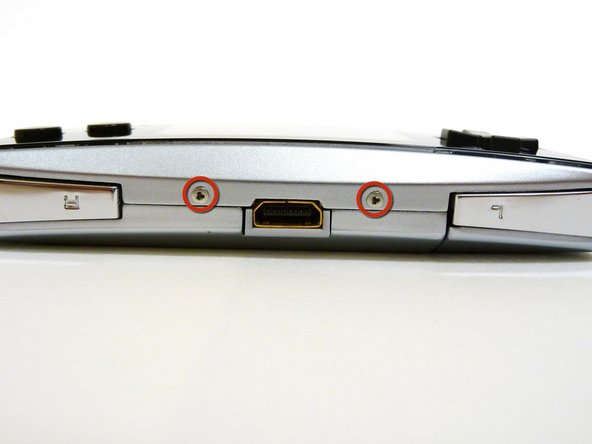
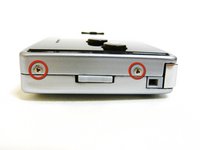
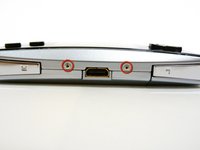
Remove the two tri-wing screws on the top of the Game Boy and the two screws next to the volume/contrast switch.
-
-
-
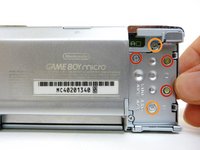
Remove the three Phillips #00 screws.
-
Remove the two tri-wing screws.
If the color of the inner plastic discolors, the durability is weakened. Do not remove the screws.
If it is broken and damaged, there is no way to recover it.
-
-
-
-
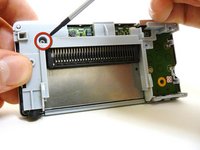
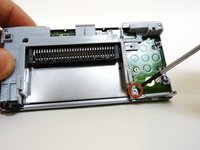
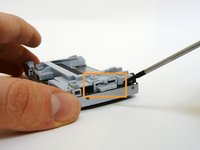
Remove the two Phillips #00 screws from the plastic frame.
-
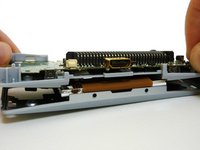
As you are pulling off the plastic frame, the shoulder buttons and the volume switch may fall out of the device.
-
-
-
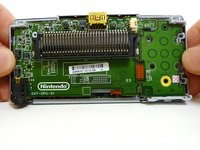
Remove the two gold Phillips #00 screws from the motherboard.
-
-
-
With one hand, gently slide the top left end of the motherboard up and out of the front case.
-
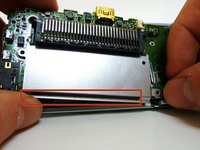
With your other hand, pull out the EMI shield until the tab comes out of the front case.
-
Once the tab is pulled out from the bottom, slide the EMI shield down and out of the device.
When putting the console back together, it is vital that you remember this step and slide the EMI shield back UNDERNEATH the outer shell of the console. It’s easy to miss, and placing the EMI shield ABOVE the outer shell of the console will result in the motherboard becoming lopsided, making the last piece of the console not slide into place.
-
-
-
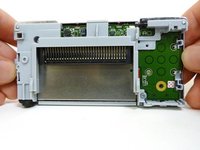
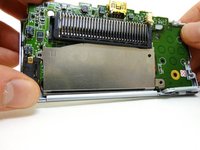
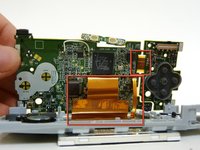
The entire motherboard is now accessible.
-
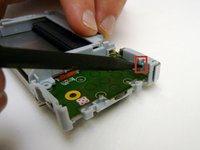
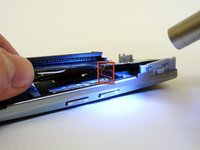
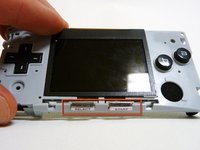
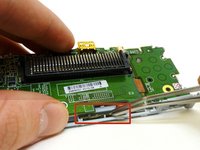
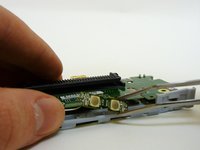
A small ribbon cable connects the start and select buttons to the motherboard. It can rip very easily, so do not pull on it.
-
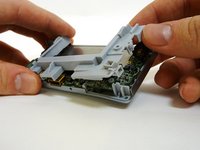
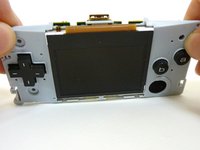
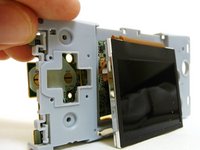
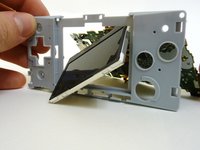
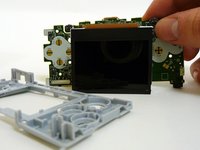
Lift the motherboard and the front plastic cover assembly off of the front case.
-
To reassemble your device, follow these instructions in reverse order.
To reassemble your device, follow these instructions in reverse order.
Annulla: non ho completato questa guida.
Altre 9 persone hanno completato questa guida.
3 Commenti
Buenas abra el modo de reparar o puentear la placa de los botones start y selec ya que el flex se rompió
Good open the way to repairing or bypassing the plate and start buttons selec since the flex broke
Any one know the right size shoulder buttons are for replacement ? Are they the same size as a ds lite R and L button ?


