Salta al contenuto principale

Fixing, making and modeling the bottom of a vacuum

Cosa ti serve

  1. Fixing, making and modeling the bottom of a vacuum, Fixing, making and modeling the bottom of a vacuum: passo 1, immagine 1 di 2 Fixing, making and modeling the bottom of a vacuum, Fixing, making and modeling the bottom of a vacuum: passo 1, immagine 2 di 2
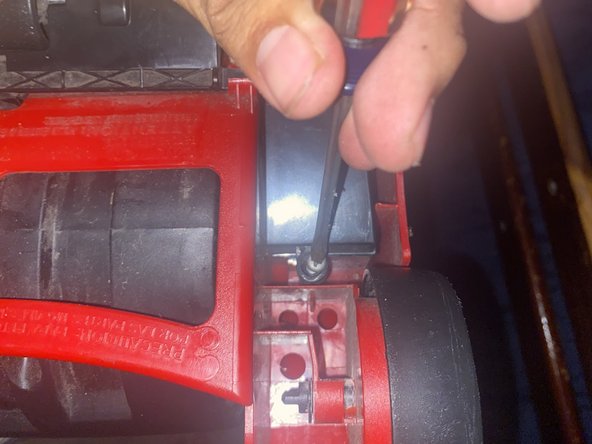
    • Flip the vacuum over

    • Use your Torx drive to unscrew 6 to 8 M2-0.89 x 4.5 mm Type PT Style Thread Forming Screws

  2. Fixing, making and modeling the bottom of a vacuum: passo 2, immagine 1 di 2 Fixing, making and modeling the bottom of a vacuum: passo 2, immagine 2 di 2
    • Wipe all the dust out once all parts have been removed

    • Use a wet towel or napkin to clean the dust off

    • Have another small towel or napkin on stand by that's dry to dry of the wet areas you cleaned off

  3. Fixing, making and modeling the bottom of a vacuum: passo 3, immagine 1 di 3 Fixing, making and modeling the bottom of a vacuum: passo 3, immagine 2 di 3 Fixing, making and modeling the bottom of a vacuum: passo 3, immagine 3 di 3
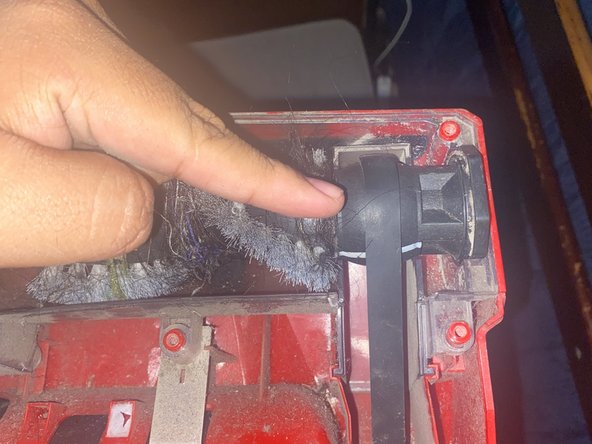
    • Grab the vacuum cleaner belt motor clutch and place it on the right side of the vacuum brush.

    • Then connect the vacuum cleaner belt motor clutch where the metal pole is on the right back side to connect the vacuum brush together

  4. Fixing, making and modeling the bottom of a vacuum: passo 4, immagine 1 di 2 Fixing, making and modeling the bottom of a vacuum: passo 4, immagine 2 di 2
    • Place the cover of the vacuum on top of the vacuum brush

    • Then place the other cover part on top to lock it together

  5. Fixing, making and modeling the bottom of a vacuum: passo 5, immagine 1 di 3 Fixing, making and modeling the bottom of a vacuum: passo 5, immagine 2 di 3 Fixing, making and modeling the bottom of a vacuum: passo 5, immagine 3 di 3
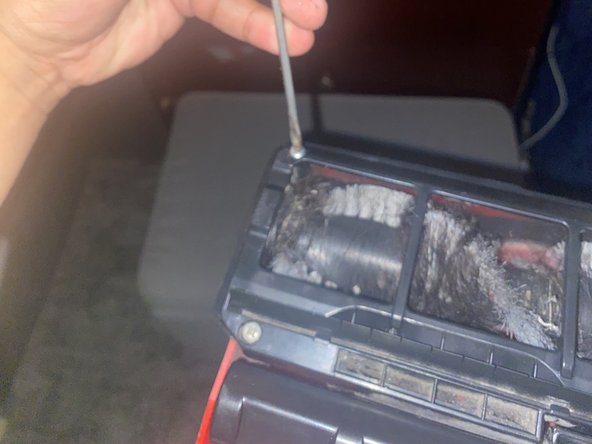
    • When the cover is placed all together you will need your 8 to 6 M2-0.89 x 4.5 mm Type PT Style Thread Forming Screws

    • screw all the sides with your Torx drive to screw them in back in place

Conclusione

By tackling the typical bottom-of-the-vacuum issues if its busted brushes or wheels that just won't turn, you're not only keeping your trusty dust-buster in action, but you're also cutting down on waste. Plus, there's a certain satisfaction that comes from fixing things with your own hands. With the steps outlined in this guide, you're well on your way to not just maintaining but mastering the inner workings of your home's silent hero


Un'altra persona ha completato questa guida.

Daniel Gomez

Membro da: 03/18/24

121 Reputazione

1 Guida realizzata

Team

0 Commenti

Aggiungi Commento

Visualizza Statistiche:

Ultime 24 Ore: 0

Ultimi 7 Giorni: 2

Ultimi 30 Giorni: 15

Tutti i Tempi: 38