Introduzione
If your Epson projector (model VS240) is experiencing display errors such as dark spots, missing regions, or focus issues, you can use this guide to replace the lens.
The lens is a key component of the projector that allows for images and video to be displayed, and a dirty lens or improper display settings can lead to display issues. Before choosing to replace the lens, check for and troubleshoot common display error issues.
Make sure to power off the projector and disconnect it from any external power sources before proceeding.
Cosa ti serve
-
-
-
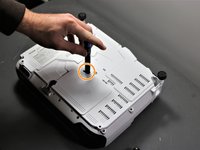
Using the Phillips #2 screwdriver, loosen the single captive screw on the left side of the projector.
-
Slide the panel off and remove it from the device.
 Chiedi a FixBot
-
-
-
Use the Phillips #2 screwdriver to remove the three 5 mm screws.
-
Using the same Phillips #2 screwdriver, remove the single 8 mm silver screw.
-
-
-
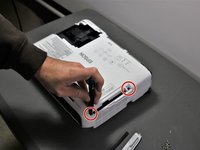
Use a Phillips #1 screwdriver to remove the two 10 mm silver screws from the bottom of the device.
-
-
-
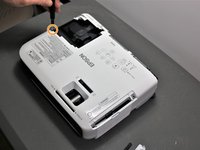
Use a Phillips #1 screwdriver to remove the single 10 mm screw where the panel was removed in Step 1.
-
Remove the white back plate from the device.
-
-
-
Flip the projector over so that the underside (side with the feet) is facing you.
-
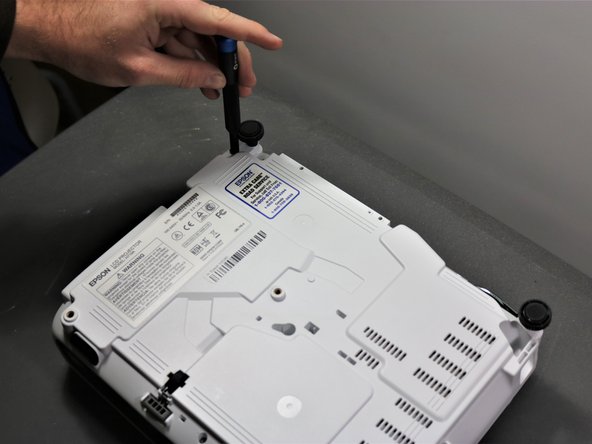
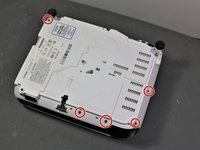
Use a Phillips #1 screwdriver to remove five 10 mm screws on the underside of projector.
-
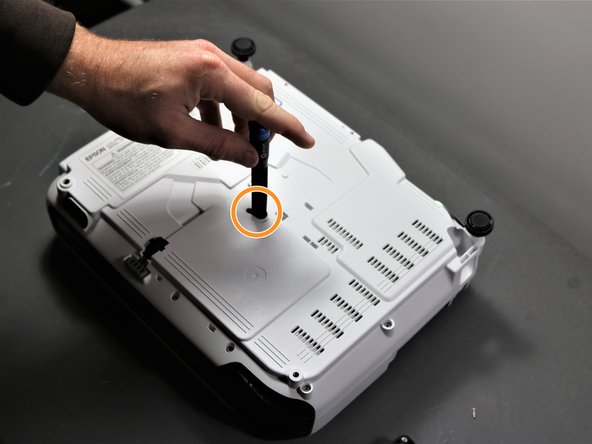
Using the same Phillips #1 screwdriver, remove a single 10 mm screw in the center hole.
-
-
-
-
Use a Phillips #1 screwdriver to remove two 10 mm screws from the openings on each side of the air filter, on the topside of the projector.
-
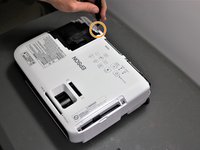
Using the same Phillips #1 screwdriver, remove the two 10 mm screws where the white panel was removed on the topside of the projector in Step 1.
-
-
-
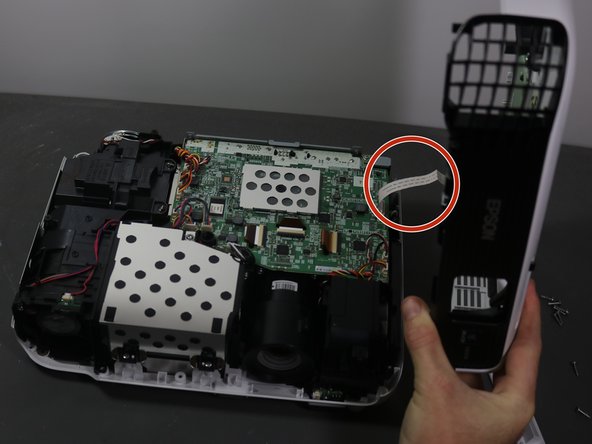
Gently lift top cover and place it on its top next to the projector so that the ribbon has no tension on it.
-
Gently pull the brown tape connecting the cable to the motherboard and then remove the shell from the device.
-
-
-
-
-
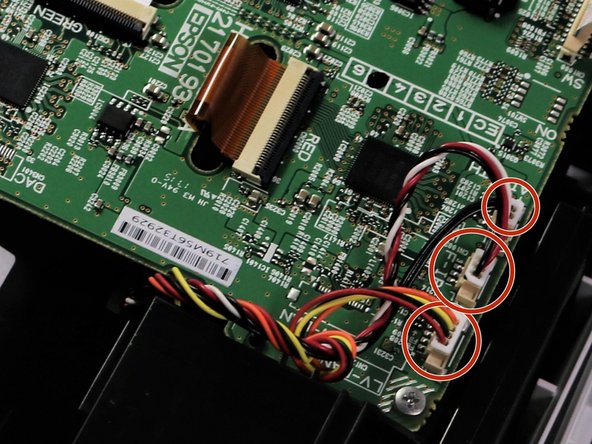
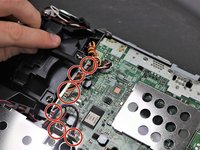
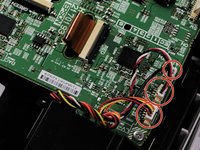
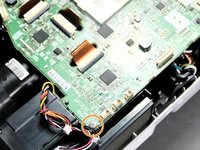
Using a spudger or a plastic opening tool, disconnect all of the wires connected to the motherboard.
-
-
-
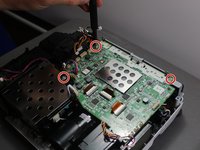
Using the Phillips #1 screwdriver, remove three 6 mm screws.
-
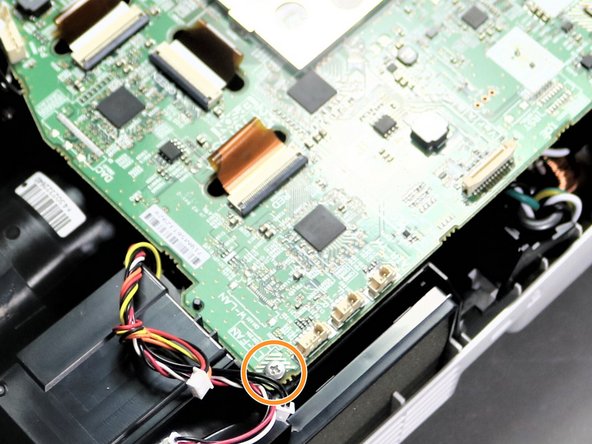
Using the same Phillips #1 screwdriver, remove a single 10 mm screw in bottom right corner of motherboard.
-
-
-
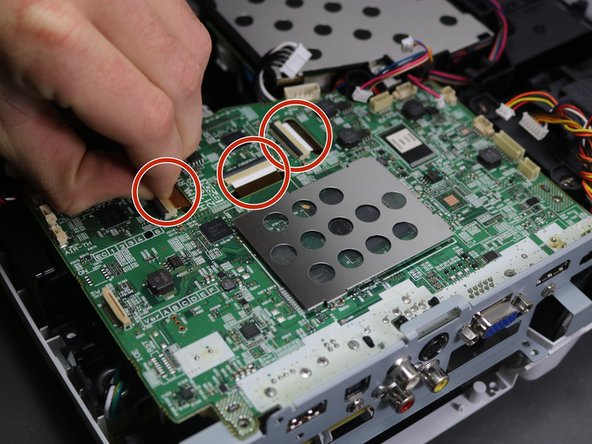
Using a spudger or your fingernails, lift up the black locking tabs and disconnect the three ribbon cables from the motherboard.
-
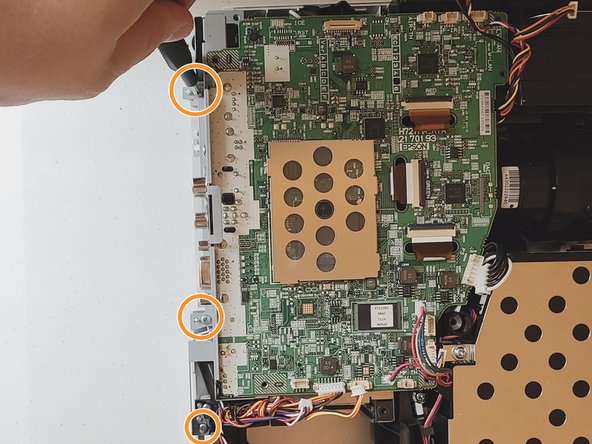
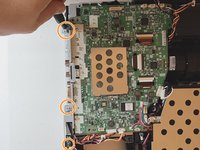
Using the Phillips #1 screwdriver, remove three 10 mm screws on the grey piece that is located on the side of the motherboard.
-
-
-
-
-
Rotate the projector 180 degrees to match orientation in images.
-
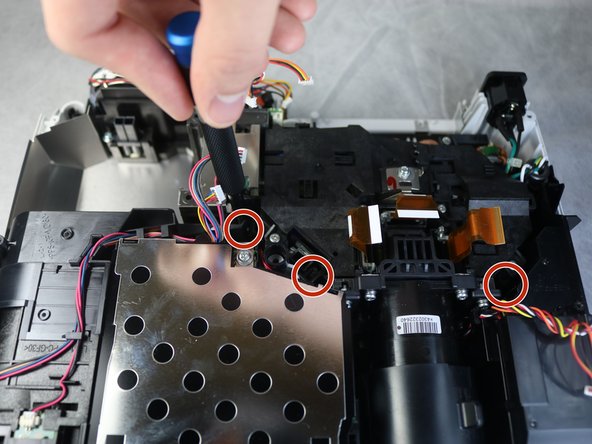
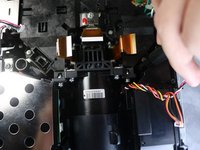
Using the Phillips #2 screwdriver, remove four inner 11 mm screws under the black box connected to the lens.
-
-
-
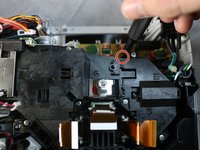
Detach the wire above the lens using plastic pry bar.
-
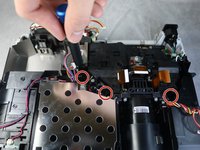
Slowly lift the black assembly out of the device.
-
-










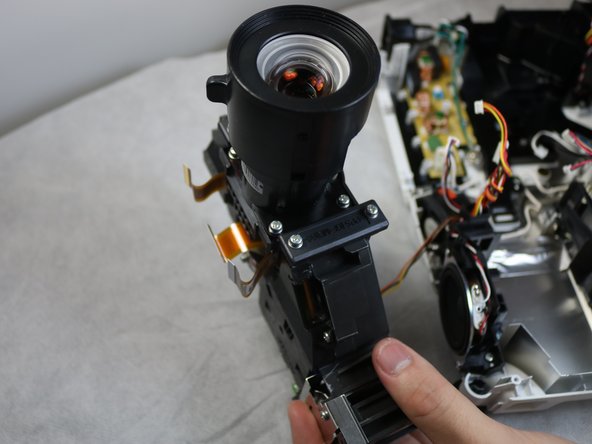
To reassemble your device, follow these instructions in reverse order.
Annulla: non ho completato questa guida.
Un'altra persona ha completato questa guida.

Team

Clemson, Team 5-3, Hunter Fall 2021 Membro di Clemson, Team 5-3, Hunter Fall 2021
CLEM-HUNTER-F21S5G3
5 Membri
18 guide realizzate
