
Disassembling Compaq Mini 110 Wireless Module
Introduzione
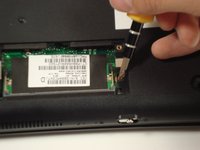
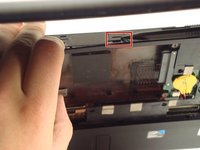
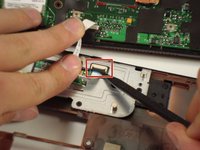
Vai al passo 1Wireless module in your way? Move it out!
Cosa ti serve


-
-
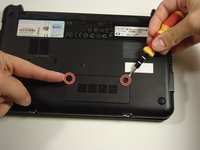
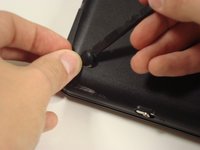
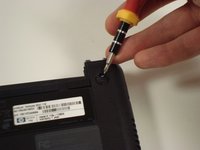
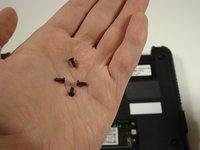
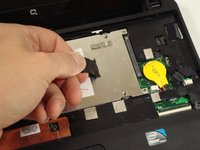
Use a Philips #0 screwdriver to unscrew the two screws covering the memory compartment on the bottom of the laptop and remove the cover.
-
-


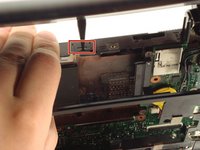


To reassemble your device, follow these instructions in reverse order.
To reassemble your device, follow these instructions in reverse order.
Annulla: non ho completato questa guida.
Un'altra persona ha completato questa guida.
Team

Cal Poly, Team 22-2, Maness Fall 2010 Membro di Cal Poly, Team 22-2, Maness Fall 2010
CPSU-MANESS-F10S22G2
6 Membri
20 Guide realizzate