Dell XPS M140 CPU Heatsink Replacement
Introduzione
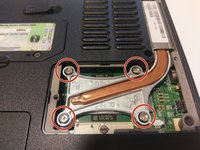
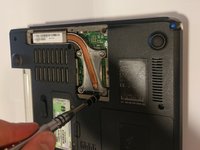
Vai al passo 1In this guide, you'll be able to safely and correctly remove/replace the Microprocessor Thermal-Cooling Assembly (also known as CPU heatsink) on your Dell XPS M140 laptop, if needed. This Step-by-step guide provides detailed imaging of disassembly, cautioning of notable components, and exact notations for accessing the Dell XPS M140 Microprocessor Thermal-Cooling Assembly.
Cosa ti serve
Strumenti
-
-
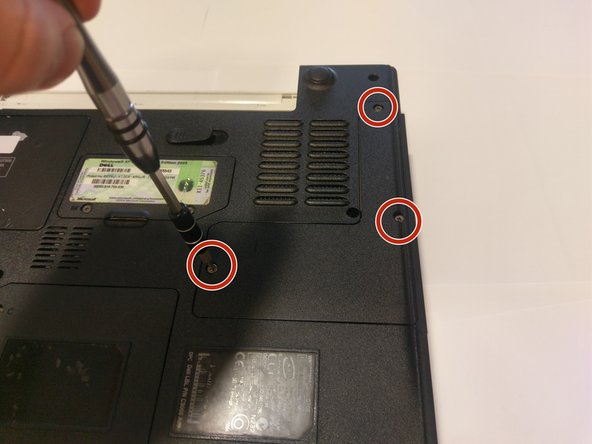
Unscrew all of the screws on the underside of the computer that hold the cooling module cover in place and remove the cover.
-
To reassemble your device, follow these instructions in reverse order.
To reassemble your device, follow these instructions in reverse order.
Annulla: non ho completato questa guida.
Un'altra persona ha completato questa guida.


