
Creative Zen Vision W LCD Screen Replacement

Introduzione
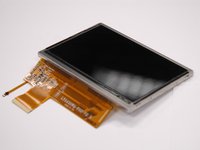
Vai al passo 1This guide will show you how to remove and install a new LCD screen in your device. Use this guide if your screen is broken or damaged and needs to be replaced.
Cosa ti serve


-
-
Remove the two screws (2.5 mm) on the top and bottom of the device using a Phillips #0 screwdriver.
-
-
-
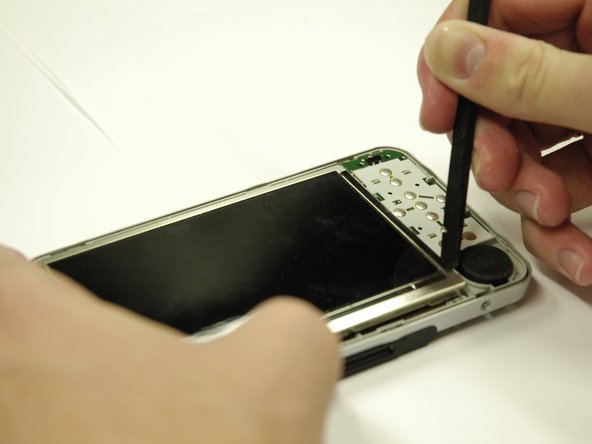
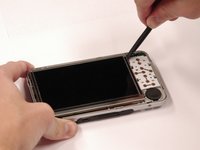
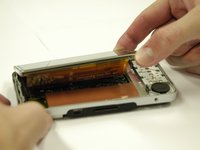
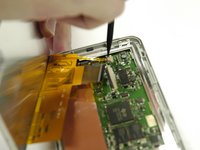
Use a spudger to separate the metal tabs that hold the screen in place on the right side.
-


To reassemble your device, follow these instructions in reverse order.
To reassemble your device, follow these instructions in reverse order.
Annulla: non ho completato questa guida.
Un'altra persona ha completato questa guida.
Preparati per le riparazioni future
Acquista tutti


Team

Cal Poly, Team 17-2, Regan Spring 2013 Membro di Cal Poly, Team 17-2, Regan Spring 2013
CPSU-REGAN-S13S17G2
4 Membri
8 Guide realizzate