
Craig CMP801 LCD Screen Replacement
Introduzione
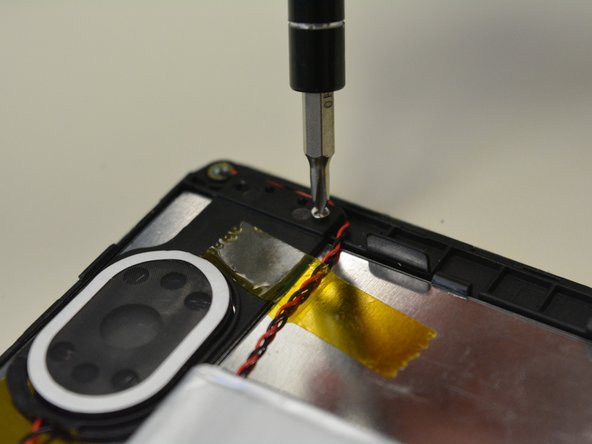
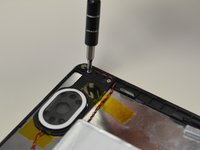
Vai al passo 1In order to replace the LCD screen you must remove all the other parts, starting from the back panel.
Cosa ti serve


-
-
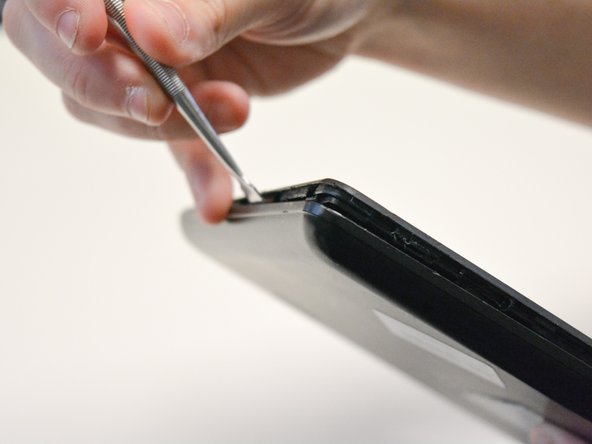
Locate the opening line between the cover and the device. Then locate the groove near the charging port.
-
-
-
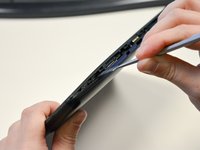
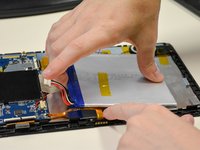
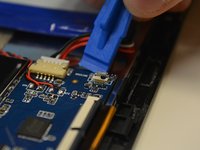
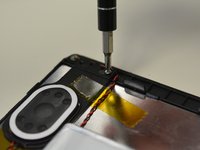
After taking out the back cover, locate the black flap.
-
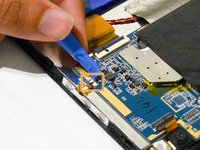
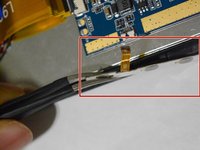
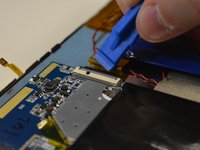
Open the black flap with the plastic opening tools.
-
-
Attrezzo utilizzato in questo passaggio:Tweezers$3.99
-
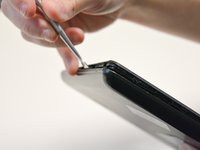
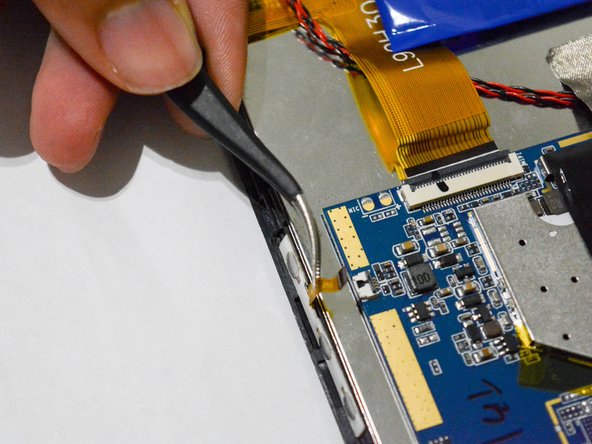
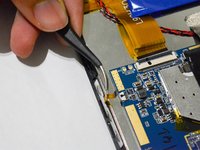
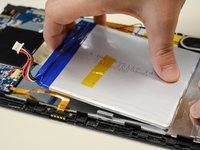
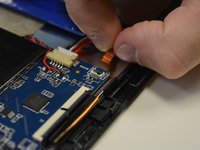
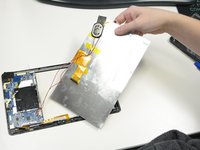
Once the tab is released, use the angled tweezers to take out the tab.
-
-
-
-
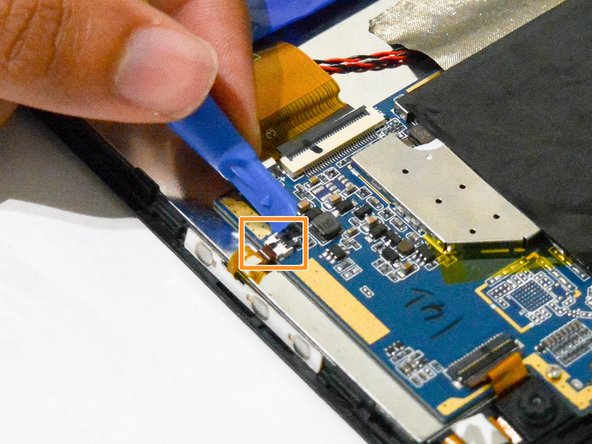
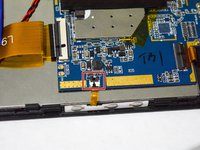
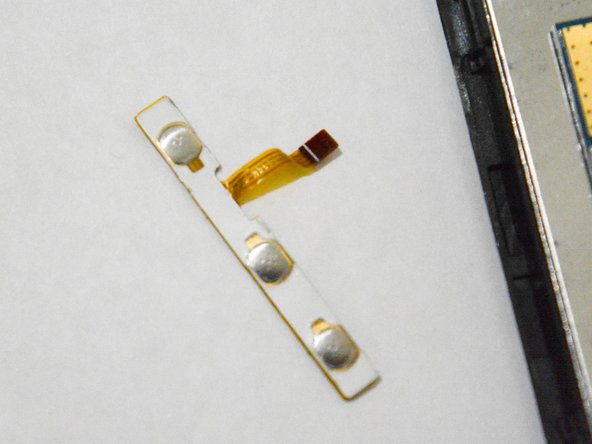
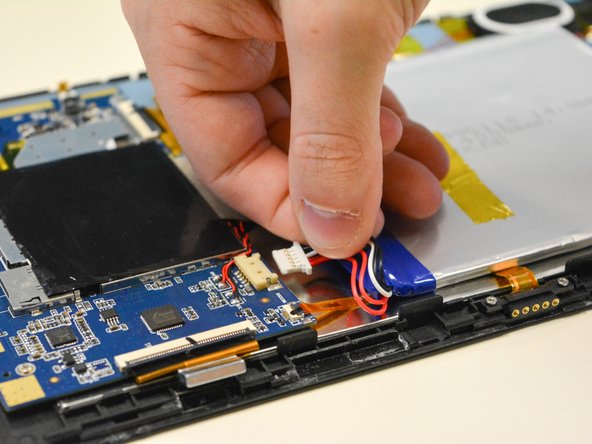
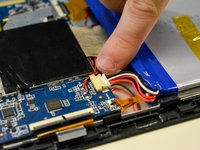
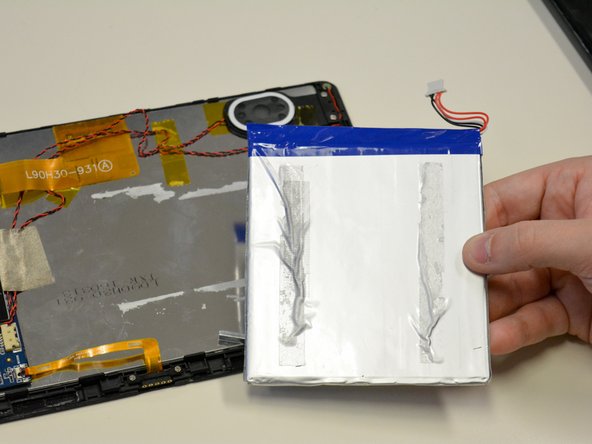
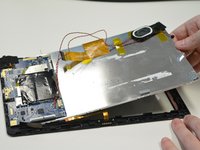
Locate the white plug next to the battery.
-
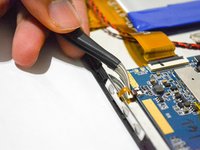
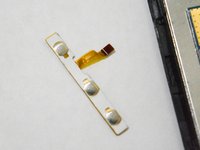
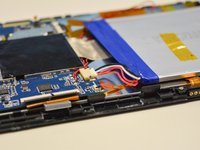
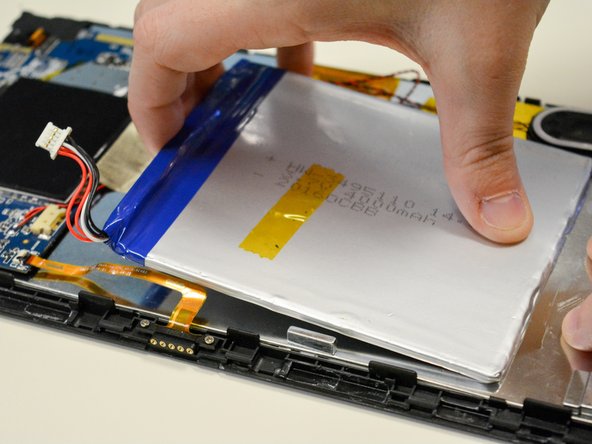
Use your fingers to pull off white plug that connected to the battery.
-


To reassemble your device, follow these instructions in reverse order.
To reassemble your device, follow these instructions in reverse order.
Annulla: non ho completato questa guida.
Un'altra persona ha completato questa guida.
Team

University of North Texas, Team S2-G2, Thompson Fall 2017 Membro di University of North Texas, Team S2-G2, Thompson Fall 2017
UNT-THOMPSON-F17S2G2
4 Membri
5 Guide realizzate