Salta al contenuto principale
Classique 087CQA Switches Replacement

Classique 087CQA Switches Replacement

Brandon Jestis

Brandon Jestis e 4 altri collaboratori

Ultimo aggiornamento il September 14, 2024

10 - 15 minuti
Facile

Introduzione

Vai al passo 1

Defective switches can prevent the hair dryer from working properly, so we are replacing the switches. Replacing the switches should ensure the hair dryer turns on and off, and changes to hot or cold air.

Cosa ti serve

Strumenti

  1. Classique 087CQA Switches Replacement, Switches: passo 1, immagine 1 di 1
    • Begin with the side with switches

  2. Classique 087CQA Switches Replacement: passo 2, immagine 1 di 2 Classique 087CQA Switches Replacement: passo 2, immagine 2 di 2
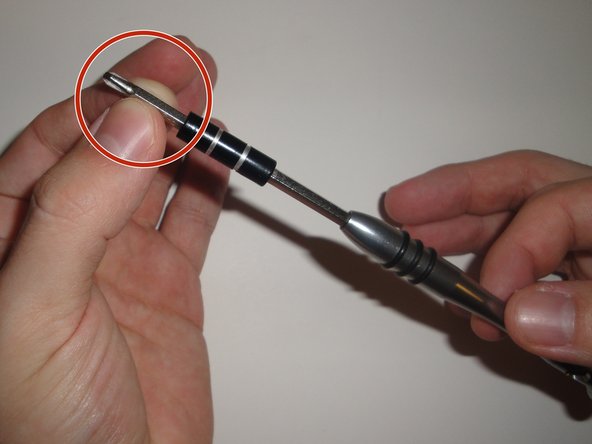
    • Remove the Phillips PH0 bit

    • Insert the bit into the screwdriver

  3. Classique 087CQA Switches Replacement: passo 3, immagine 1 di 1
    • Unscrew the shell screw (1) with the screwdriver

    • 5mm Phillips flat-head screw

  4. Classique 087CQA Switches Replacement: passo 4, immagine 1 di 1
    • Flip the hair dryer over to the side without switches

  5. Classique 087CQA Switches Replacement: passo 5, immagine 1 di 1
    • Unscrew the shell screw (1) with the screw driver

    • 5mm Phillips flat-head screw

  6. Classique 087CQA Switches Replacement: passo 6, immagine 1 di 2 Classique 087CQA Switches Replacement: passo 6, immagine 2 di 2
    • Remove the bit from the screwdriver and insert the Phillips PH2 bit

  7. Classique 087CQA Switches Replacement: passo 7, immagine 1 di 1
    • Unscrew the remaining shell screws (5) with the screwdriver

    • 15mm Phillips round-head screws

  8. Classique 087CQA Switches Replacement: passo 8, immagine 1 di 2 Classique 087CQA Switches Replacement: passo 8, immagine 2 di 2
    • Gently pull the two sides apart

    • Separate each side

  9. Classique 087CQA Switches Replacement: passo 9, immagine 1 di 3 Classique 087CQA Switches Replacement: passo 9, immagine 2 di 3 Classique 087CQA Switches Replacement: passo 9, immagine 3 di 3
    • Pull up on the switches

  10. Classique 087CQA Switches Replacement: passo 10, immagine 1 di 1
    • Verify wires are connected to each switch and are in good condition

  11. Classique 087CQA Switches Replacement: passo 11, immagine 1 di 1
    • Reseat the switches

  12. Classique 087CQA Switches Replacement: passo 12, immagine 1 di 3 Classique 087CQA Switches Replacement: passo 12, immagine 2 di 3 Classique 087CQA Switches Replacement: passo 12, immagine 3 di 3
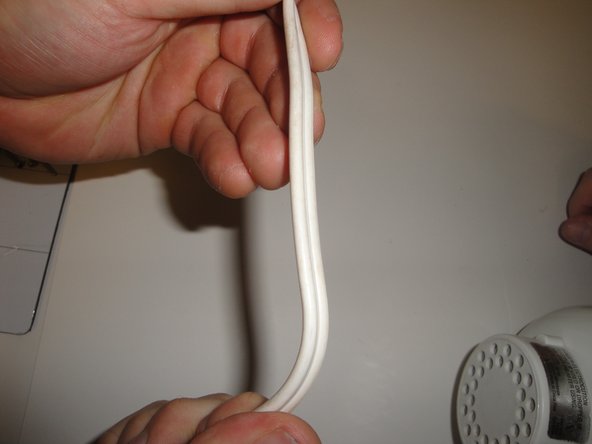
    • Check power cord for tears or kinks

Conclusione

To reassemble your device, follow these instructions in reverse order.

0Commenti sulla guida

Aggiungi Commento

Visualizza Statistiche:

Ultime 24 Ore: 0

Ultimi 7 Giorni: 5

Ultimi 30 Giorni: 9

Tutti i Tempi: 454