
Casio WK-220 White Keys Replacement
Nessuna stima
Moderato
Introduzione
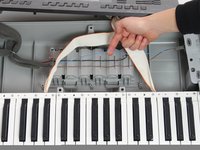
Vai al passo 1This guide will show you how to remove, clean, and replace the black keys of the keyboard
Cosa ti serve
Ricambi
Strumenti


Mostra di più…
iFixit guadagna commissioni quando acquisti tramite questi link.
-
-
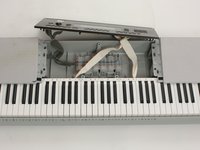
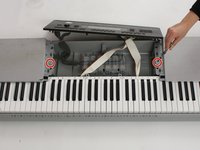
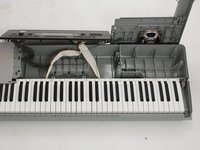
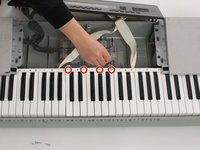
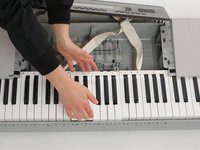
Place device face-down
-
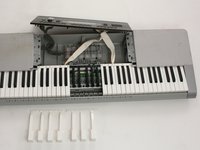
Remove 23 16mm screws with Phillips #2 screwdriver
-
-


Quasi finito!
To reassemble your device, follow these instructions in reverse order.
Conclusione
To reassemble your device, follow these instructions in reverse order.
Team

Cal Poly, Team 10-2, Banghart Winter 2017 Membro di Cal Poly, Team 10-2, Banghart Winter 2017
CPSU-BANGHART-W17S10G2
4 Membri
6 Guide realizzate