Salta al contenuto principale
Canon PowerShot S80 Motherboard Replacement

Canon PowerShot S80 Motherboard Replacement

BrettH

BrettH e 10 altri collaboratori

Ultimo aggiornamento il January 10, 2025

1 - 2 ore
Difficile
Guida Studente in Evidenza
Attrezzi Non Corretti

Introduzione

Vai al passo 1

If your Canon PowerShot S80 won’t turn on or is experiencing battery-life issues, replacing the motherboard may be the solution.

The motherboard is a vital component of your Canon PowerShot S80, responsible for directing power to all camera functions. If it’s damaged or malfunctioning, you may experience poor battery performance or find that your camera won’t turn on at all.

Before diving into the replacement, double-check your battery to rule out any issues. A dead or faulty battery can mimic motherboard problems, so ensure that your battery is in good condition. If the battery is fine, proceed with the motherboard replacement using this guide.

As you follow the steps, handle all components carefully to prevent any further damage to your camera. Pay particular attention in Step 5, where you must carefully detach the screen without damaging the ribbon cable on the left side.

Cosa ti serve

Strumenti

Mostra di più…

  1. Canon PowerShot S80 Motherboard Replacement, Outer Casing: passo 1, immagine 1 di 2 Canon PowerShot S80 Motherboard Replacement, Outer Casing: passo 1, immagine 2 di 2
    • Remove the knot on the wrist lanyard.

    • Remove the battery and the memory card.

  2. Canon PowerShot S80 Motherboard Replacement: passo 2, immagine 1 di 2 Canon PowerShot S80 Motherboard Replacement: passo 2, immagine 2 di 2
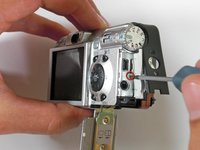
    • Begin removing the screws on the bottom of the outer casing.

    • Next, remove the rest of the screws from the outer casing.

  3. Canon PowerShot S80 Motherboard Replacement: passo 3, immagine 1 di 3 Canon PowerShot S80 Motherboard Replacement: passo 3, immagine 2 di 3 Canon PowerShot S80 Motherboard Replacement: passo 3, immagine 3 di 3
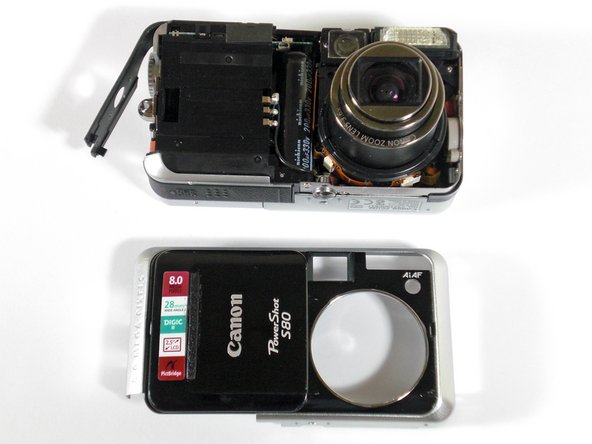
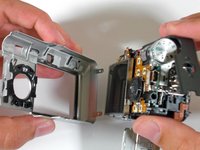
    • Gently pull the front cover off of the camera.

  4. Canon PowerShot S80 Motherboard Replacement: passo 4, immagine 1 di 3 Canon PowerShot S80 Motherboard Replacement: passo 4, immagine 2 di 3 Canon PowerShot S80 Motherboard Replacement: passo 4, immagine 3 di 3
    • Open the "A/V Out Digital" cover. Remove the screw inside.

    • Gently pull off the back casing.

    • Remove the black "L" shaped piece of metal.

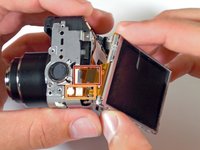
  5. Canon PowerShot S80 Motherboard Replacement, LCD Screen: passo 5, immagine 1 di 1
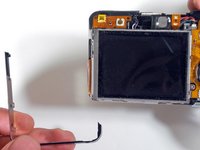
    • Remove the three screws that are holding the screen in place. Free the screen from the underlying components.

    • Be careful with the ribbon wire that is still attached on the left side of the screen.

  6. Canon PowerShot S80 Motherboard Replacement: passo 6, immagine 1 di 2 Canon PowerShot S80 Motherboard Replacement: passo 6, immagine 2 di 2
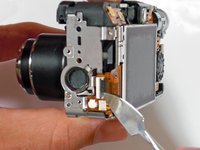
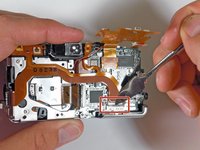
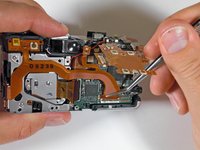
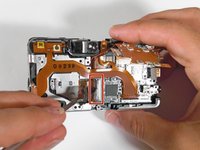
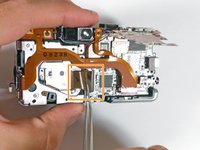
    • With the spudger, gently lift the black flap that is holding the wide ribbon cable wire in place.

    • Unplug the wide ribbon cable.

    • Unplug the narrow ribbon cable to free the LCD screen from the camera body.

  7. Canon PowerShot S80 Motherboard Replacement, Motherboard: passo 7, immagine 1 di 1
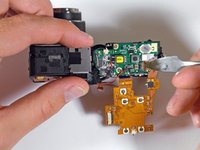
    • Remove the screws holding down the function set button.

  8. Canon PowerShot S80 Motherboard Replacement: passo 8, immagine 1 di 1
    • Gently pry up the tab with a metal spudger and remove the ribbon cable.

  9. Canon PowerShot S80 Motherboard Replacement: passo 9, immagine 1 di 1
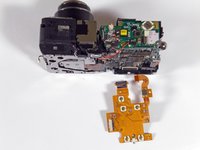
    • Be mindful of the pins as you lift up and remove the function/set button.

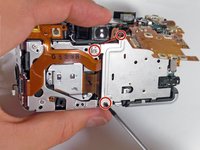
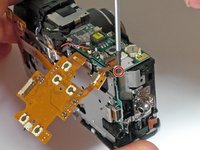
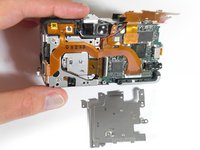
  10. Canon PowerShot S80 Motherboard Replacement: passo 10, immagine 1 di 3 Canon PowerShot S80 Motherboard Replacement: passo 10, immagine 2 di 3 Canon PowerShot S80 Motherboard Replacement: passo 10, immagine 3 di 3
    • Remove the screws from the metal plate.

    • Gently remove the metal plate.

  11. Canon PowerShot S80 Motherboard Replacement: passo 11, immagine 1 di 2 Canon PowerShot S80 Motherboard Replacement: passo 11, immagine 2 di 2
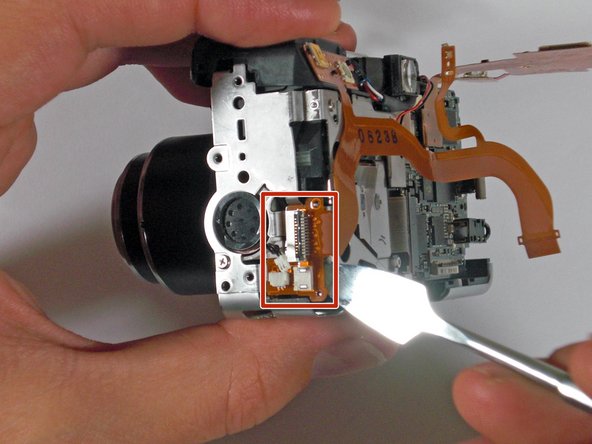
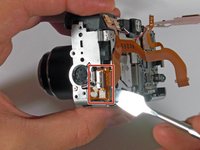
    • Lift the tab connecting the ribbon cable and detach.

  12. Canon PowerShot S80 Motherboard Replacement: passo 12, immagine 1 di 2 Canon PowerShot S80 Motherboard Replacement: passo 12, immagine 2 di 2
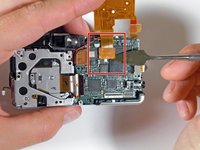
    • Use a spudger to lift up the ribbon cable tab.

    • Detach the ribbon cable.

  13. Canon PowerShot S80 Motherboard Replacement: passo 13, immagine 1 di 2 Canon PowerShot S80 Motherboard Replacement: passo 13, immagine 2 di 2
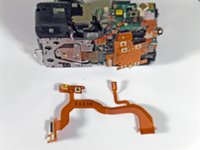
    • Gently remove the entire ribbon cable connection to release the ribbon cable from the camera.

  14. Canon PowerShot S80 Motherboard Replacement: passo 14, immagine 1 di 1
    • Unscrew the circuit board from the flash unit.

  15. Canon PowerShot S80 Motherboard Replacement: passo 15, immagine 1 di 3 Canon PowerShot S80 Motherboard Replacement: passo 15, immagine 2 di 3 Canon PowerShot S80 Motherboard Replacement: passo 15, immagine 3 di 3
    • Pry up the ribbon cable connection and remove it from the camera.

    • Lift the ribbon cable tab and completely detach the cable from the camera.

  16. Canon PowerShot S80 Motherboard Replacement: passo 16, immagine 1 di 1
    • Pry up the connection, being mindful of the light adhesive.

  17. Canon PowerShot S80 Motherboard Replacement: passo 17, immagine 1 di 1
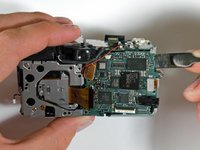
    • Remove the last screw holding the motherboard to the main body.

  18. Canon PowerShot S80 Motherboard Replacement: passo 18, immagine 1 di 2 Canon PowerShot S80 Motherboard Replacement: passo 18, immagine 2 di 2
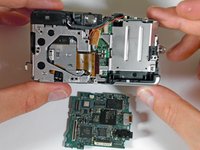
    • Use a spudger to gently lift the motherboard from the camera.

Conclusione

To reassemble your device, follow these instructions in reverse order.

Altre 2 persone hanno completato questa guida.

BrettH

Membro da: 10/28/09

219 Reputazione

5 Guide realizzate

Team

Cal Poly, Team 19-5, Maness SU 2012 Membro di Cal Poly, Team 19-5, Maness SU 2012

CPSU-MANESS-SU12S19G5

1 Membro

5 Guide realizzate

0Commenti sulla guida

Aggiungi Commento

Visualizza Statistiche:

Ultime 24 Ore: 0

Ultimi 7 Giorni: 11

Ultimi 30 Giorni: 23

Tutti i Tempi: 4,521