
Canon PowerShot ELPH 150 IS Back Plate/Menu Button Replacement
10 minuti
Facile
Introduzione
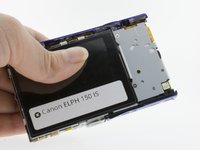
Vai al passo 1This guide will help users remove the back plate and the menu buttons on the Canon PowerShot ELPH 150 IS camera in six simple steps!
Cosa ti serve


-
-
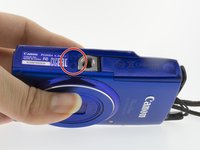
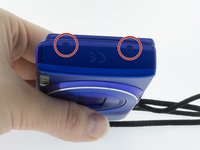
Locate the ON/Off button on the top of the camera and hold it down until the screen and all lights on the camera go dark.
-
-


Quasi finito!
To reassemble your device, follow these instructions in reverse order.
Conclusione
To reassemble your device, follow these instructions in reverse order.
Team

UMass Dartmouth, Team S6-G3, Isaacson Spring 2017 Membro di UMass Dartmouth, Team S6-G3, Isaacson Spring 2017
UMASSD-ISAACSON-S17S6G3
3 Membri
5 Guide realizzate