
Bush Pump Riser Main (Using a Tripod) Replacement

Introduzione
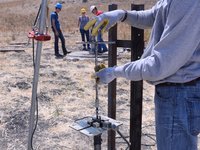
Vai al passo 1Follow this guide to remove the sections of riser main from a Bush pump. You can either remove the entire riser main for replacement, or just remove and replace or repair a broken section.
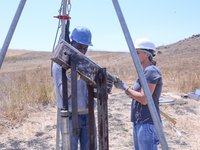
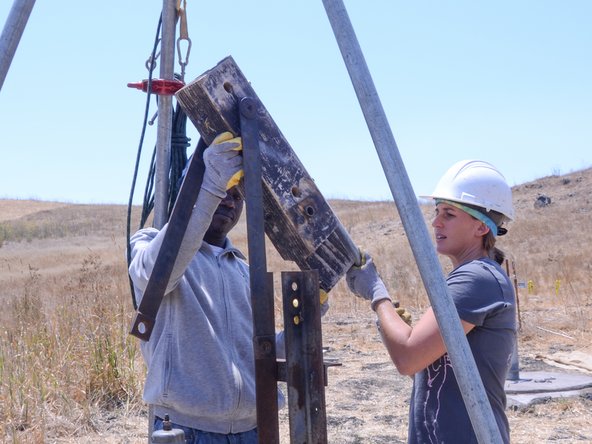
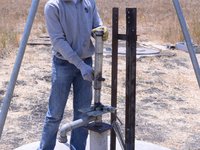
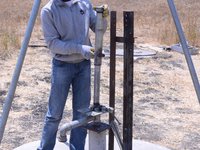
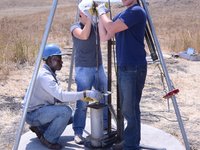
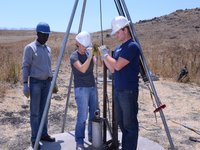
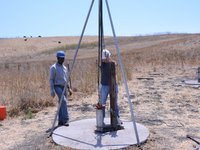
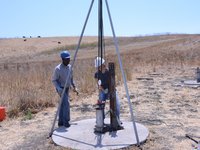
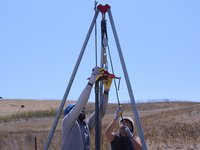
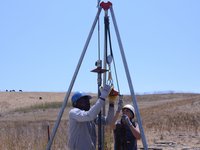
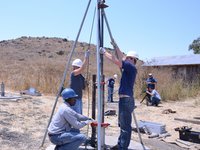
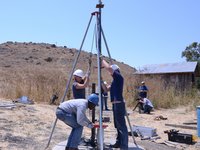
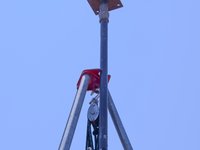
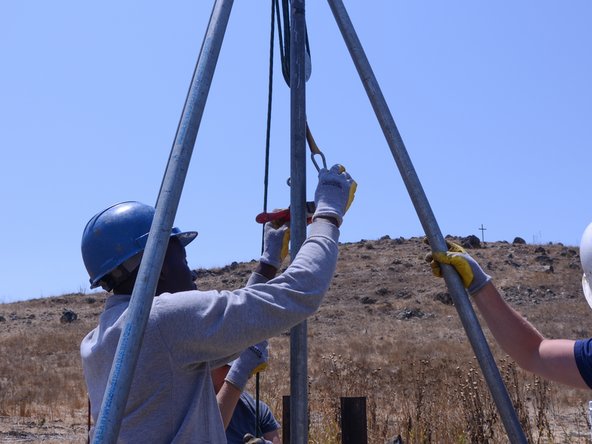
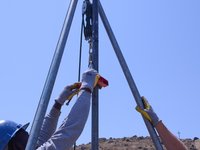
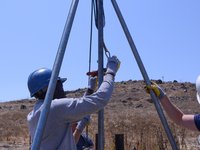
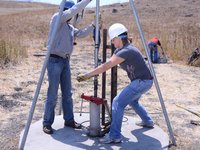
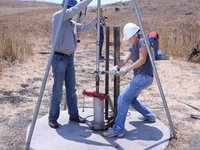
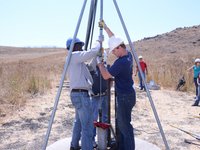
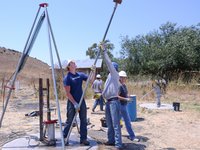
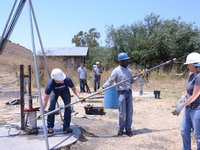
This guide uses the help of a tripod to lift the riser main. It can, alternatively, be lifted using lifting spanners, but a tripod allows the process to be done by two people. Still use caution when using a tripod.
Cosa ti serve
Strumenti

Mostra di più…
-
-
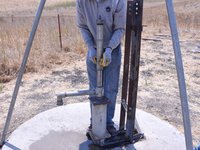
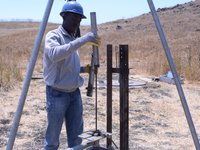
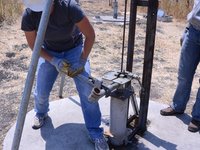
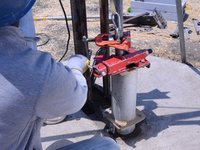
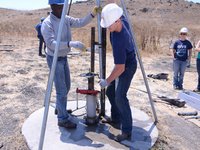
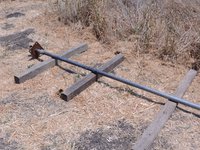
Remove the above grade riser pipe.
-
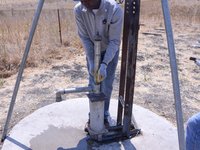
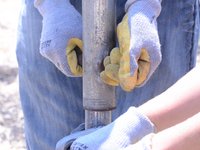
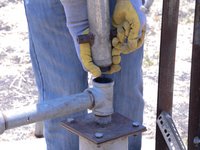
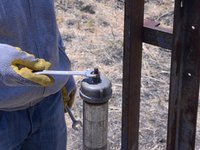
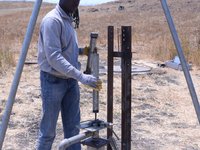
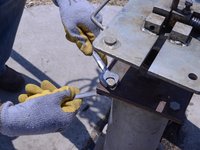
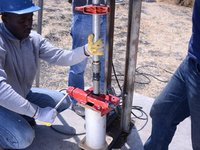
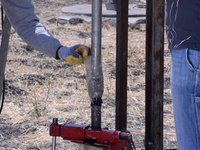
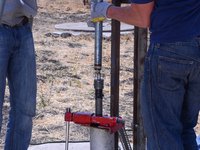
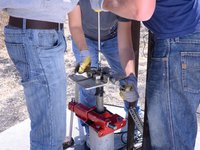
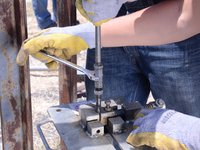
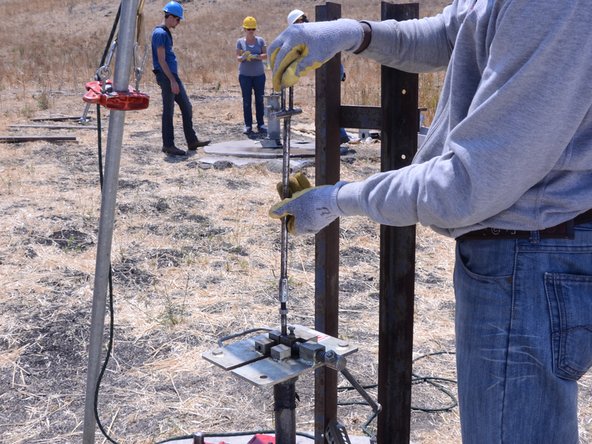
Firmly screw a T-handle onto the pump rod.
-
-
-
-
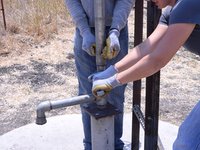
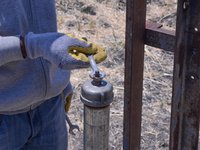
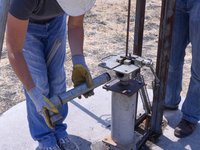
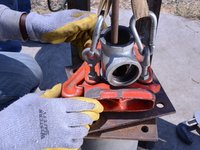
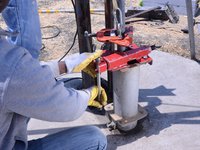
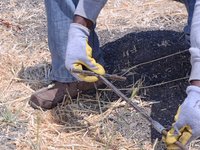
Use a pipe wrench to loosen and remove the pump spout.
-
Place the spout on a clean surface to prevent any contamination.
-
-
-
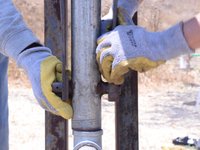
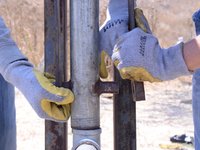
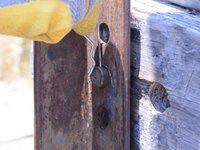
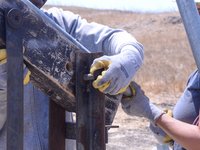
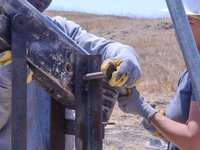
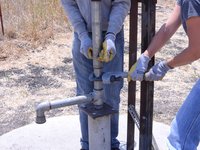
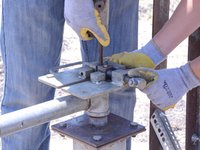
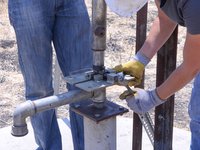
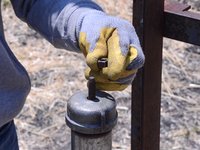
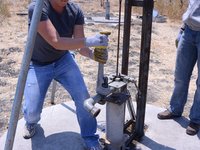
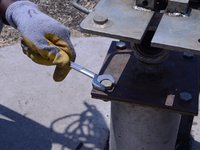
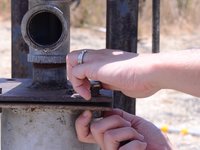
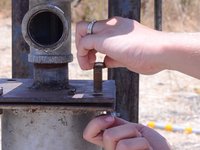
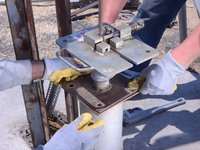
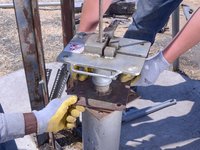
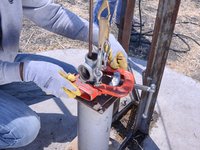
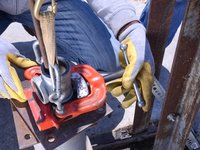
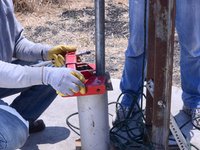
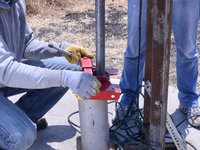
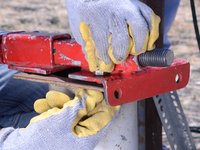
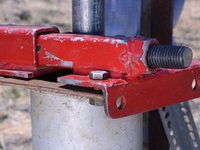
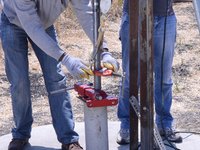
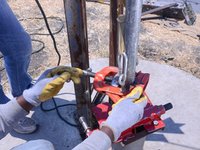
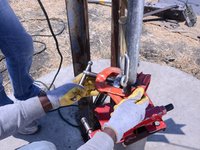
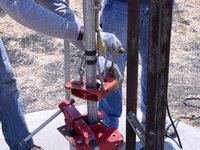
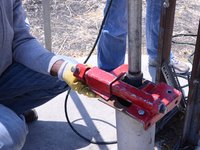
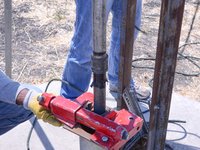
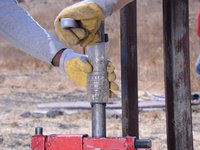
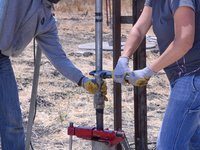
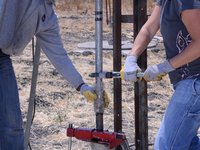
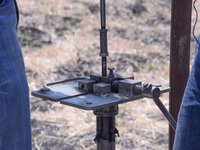
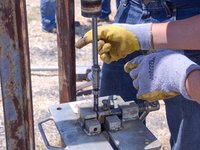
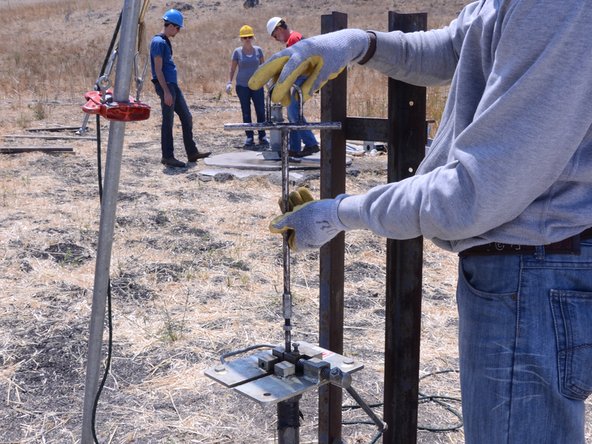
Place one wrench on the top of one of the pump riser plate bolts.
-
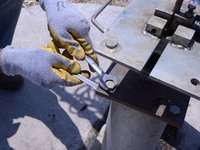
Place another wrench around the bottom of the bolt.
-
Pull the wrenches apart to loosen the bolt.
-


To reassemble your device, follow these instructions in reverse order.
To reassemble your device, follow these instructions in reverse order.
