Salta al contenuto principale
Bottom Plate Removal

Bottom Plate Removal

Sam Gustafson

Sam Gustafson e un altro collaboratore

Ultimo aggiornamento il February 18, 2025

20 minuti
Facile
Guida fornita dalla comunità

Cosa ti serve

Strumenti

  1. Bottom Plate Removal, Remove back cover: passo 1, immagine 1 di 1
    • Push down on the screw to depress the spring loaded hinge and release the door.

  2. Bottom Plate Removal, Remove bottom cover: passo 2, immagine 1 di 1
    • Remove six 5.3 mm #00 screws.

    • Remove one 3.4 mm #00 screw.

    • The short screw has a machine thread and screws into the plate underneath. The rest screw into the plastic body.

  3. Bottom Plate Removal, Remove left front cover: passo 3, immagine 1 di 1
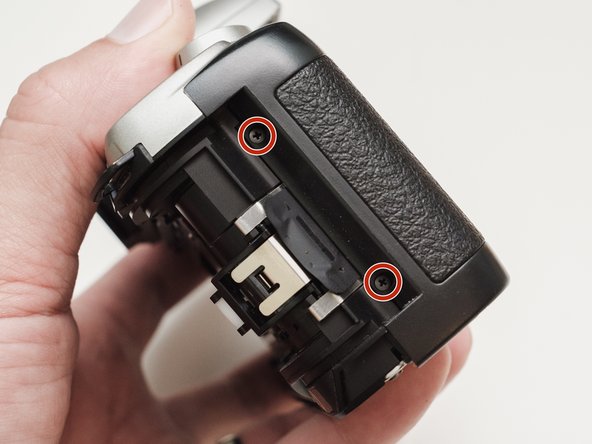
    • Remove three 5.3 mm #00 screws (the bottom-most screw is not always present).

    • Remove one 7.3 mm #00 screw.

    • Remove the remote trigger cover.

  4. Bottom Plate Removal, Remove front cover: passo 4, immagine 1 di 2 Bottom Plate Removal, Remove front cover: passo 4, immagine 2 di 2
    • Remove one 3.4 mm #00 screw.

    • Remove two 5.3 mm #00 screw.

    • Gently lift up on the flash housing to help remove the cover if necessary.

  5. Bottom Plate Removal, Remove right front cover: passo 5, immagine 1 di 1
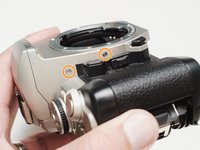
    • Remove two 3.9 mm #00 screws.

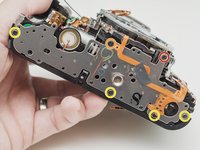
  6. Bottom Plate Removal, Prepare bottom plate: passo 6, immagine 1 di 2 Bottom Plate Removal, Prepare bottom plate: passo 6, immagine 2 di 2
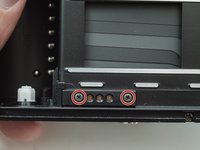
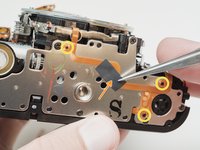
    • Remove two 3.4 mm #00 screws. Remove the plate holding the contacts in place.

    • Peel tape from the plate. Leave the tape attached to the flex circuit.

    • Remove the flex circuits from their retaining studs.

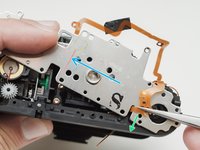
  7. Bottom Plate Removal, Remove bottom plate: passo 7, immagine 1 di 2 Bottom Plate Removal, Remove bottom plate: passo 7, immagine 2 di 2
    • Remove one 3.3 mm #0 countersunk screw.

    • Remove one 3.9 mm #0 shoulder screw.

    • Remove four 3.3 mm #00 screws.

    • Pull a little slack through the housing on this flex cable.

    • Pop the plate off its posts, rotate slightly clockwise and pull gently through the loosened flex cable.

    • To the camera tech that left me a happy little note...I see you.

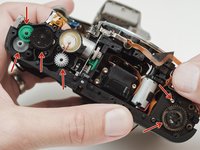
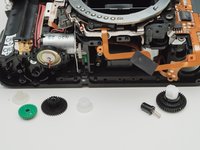
  8. Bottom Plate Removal, Remove transport gears: passo 8, immagine 1 di 2 Bottom Plate Removal, Remove transport gears: passo 8, immagine 2 di 2
    • It's best to remove these parts now so they don't fall out later on in the repair.

Conclusione

To reassemble your device, follow these instructions in reverse order.

Sam Gustafson

Membro da: 09/01/22

7.682 Reputazione

42 Guide realizzate

0 Commenti

Aggiungi Commento

Visualizza Statistiche:

Ultime 24 Ore: 0

Ultimi 7 Giorni: 11

Ultimi 30 Giorni: 22

Tutti i Tempi: 325