
Asus X501A-RH31 LCD Replacement
Introduzione
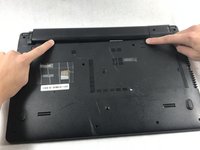
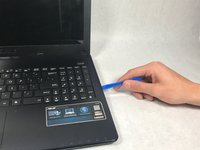
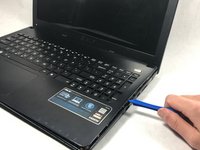
Vai al passo 1The purpose of this guide is to show how to effectively remove the LCD. Please note that the screen is fragile and too much pressure applied will damage the screen.
Cosa ti serve


-
-
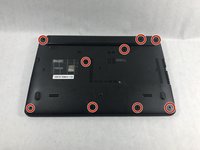
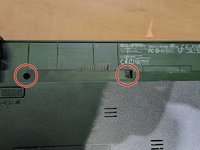
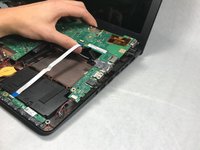
Using the Phillips #00 screwdriver unscrew all nine screws from the bottom of the laptop, as well as the additional two screws inside the battery compartment.
-
-
-
-
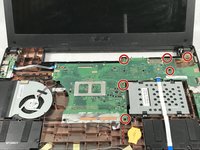
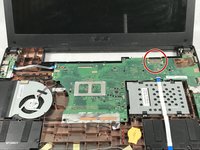
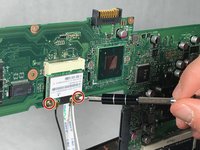
Unscrew the six screws that hold the motherboard to the bottom of the laptop using a Phillips #00 screwdriver.
-
-
-
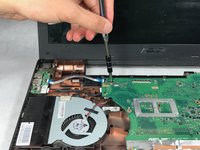
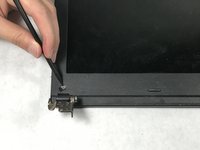
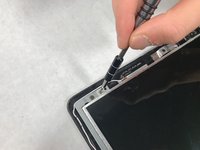
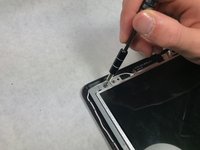
To detach the hinges, use the Phillips #00 screwdriver to unscrew the two top screws on both the left and right hinges.
-
-
-
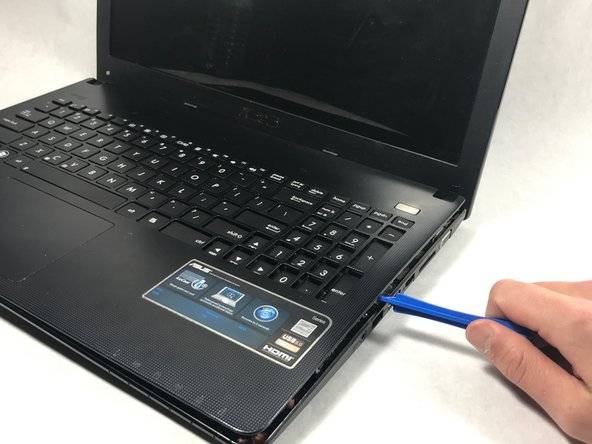
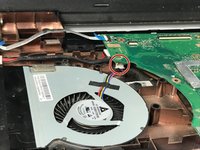
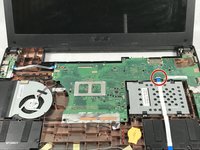
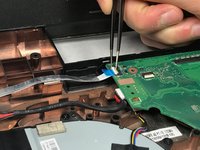
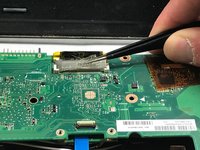
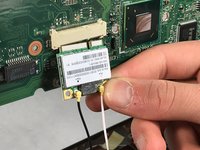
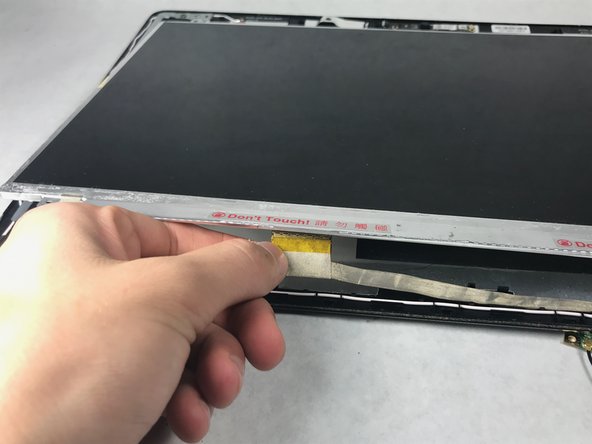
Lift the screen up off the back panel enough to have access to the LCD cable connector, but not all the way.
-
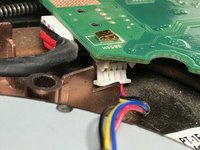
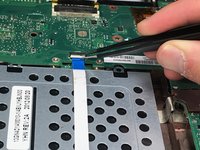
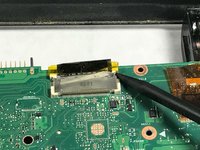
Pull the cable gently down and out of the connector to disconnect it.
-


To reassemble your device, follow these instructions in reverse order.
To reassemble your device, follow these instructions in reverse order.
Annulla: non ho completato questa guida.
Un'altra persona ha completato questa guida.
Team

UMass Dartmouth, Team S3-G3, Bailey Fall 2017 Membro di UMass Dartmouth, Team S3-G3, Bailey Fall 2017
UMASSD-BAILEY-F17S3G3
3 Membri
8 Guide realizzate
1Commento della guida
Awesome write up. Thanks a bunch!
Couple amendments based off of my experience:
Step 12: There may be more screws on the far right side of the motherboard
Step 23: You have to split the plastic hinge protrusions to get the bezel off