Salta al contenuto principale
Asus V500CA-DB51T WiFi Card Replacement

Asus V500CA-DB51T WiFi Card Replacement

Galen P Garofalo

Galen P Garofalo e 3 altri collaboratori

Ultimo aggiornamento il May 7, 2024

10 - 15 minuti
Facile
Attrezzi Non Corretti

Introduzione

Vai al passo 1

In this guide, you will learn how to replace the WiFi Card found in the Asus V500CA-DB51T. This guide was made to help with replacing a broken or defective WiFi Card, and is an easy repair for any skill level.

Cosa ti serve

Strumenti

Mostra di più…

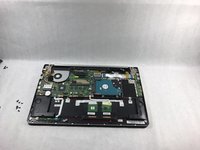
  1. Asus V500CA-DB51T WiFi Card Replacement, Battery: passo 1, immagine 1 di 2 Asus V500CA-DB51T WiFi Card Replacement, Battery: passo 1, immagine 2 di 2
    • Remove the following ten screws securing the lower case to the upper case:

    • The top left and right corners have .7 cm screws.

    • The two top-middle and four bottom are .4 cm screws.

    • The middle left and right are .8 cm screws.

    • Remove the screws using the Phillips #00 screwdriver.

  2. Asus V500CA-DB51T WiFi Card Replacement: passo 2, immagine 1 di 2 Asus V500CA-DB51T WiFi Card Replacement: passo 2, immagine 2 di 2
    • Wedge your fingers between the upper case and the lower case.

    • Gently pull the lower case away from the upper case.

    • Remove the lower case and set it aside.

  3. Asus V500CA-DB51T WiFi Card Replacement: passo 3, immagine 1 di 1
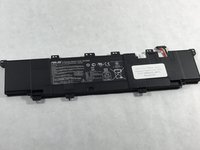
    • Use the flat end of the blue plastic opening tool to lift the battery connector up out of its socket on the motherboard.

  4. Asus V500CA-DB51T WiFi Card Replacement: passo 4, immagine 1 di 2 Asus V500CA-DB51T WiFi Card Replacement: passo 4, immagine 2 di 2
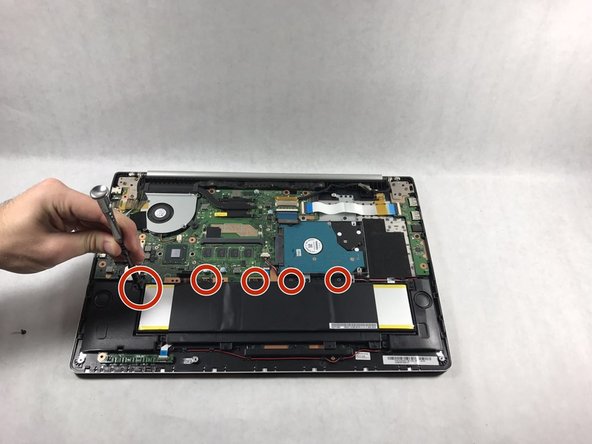
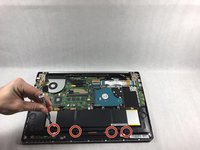
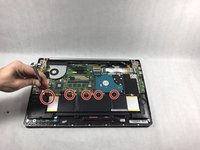
    • Remove the tri-point screws that secure the battery to the casing.

    • All screws securing the battery in place are .5 cm tri-point screws.

  5. Asus V500CA-DB51T WiFi Card Replacement: passo 5, immagine 1 di 3 Asus V500CA-DB51T WiFi Card Replacement: passo 5, immagine 2 di 3 Asus V500CA-DB51T WiFi Card Replacement: passo 5, immagine 3 di 3
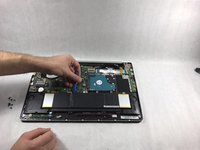
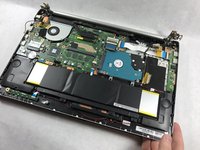
    • Use the opening tool to pop up the battery away from the casing.

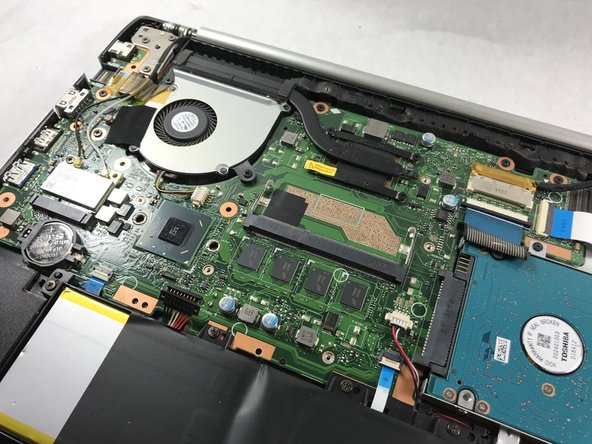
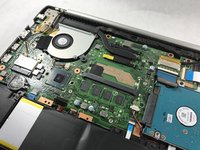
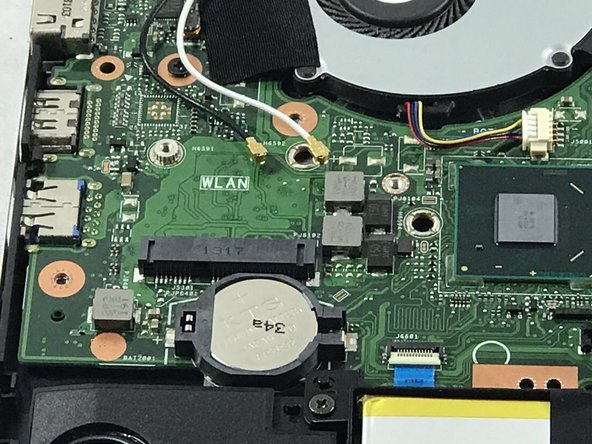
  6. Asus V500CA-DB51T WiFi Card Replacement, WiFi Card: passo 6, immagine 1 di 2 Asus V500CA-DB51T WiFi Card Replacement, WiFi Card: passo 6, immagine 2 di 2
    • Locate the section of the device that houses the WiFi Card.

    • This should be a white, square-shaped object located just above the left end of the battery.

  7. Asus V500CA-DB51T WiFi Card Replacement: passo 7, immagine 1 di 2 Asus V500CA-DB51T WiFi Card Replacement: passo 7, immagine 2 di 2
    Attrezzo utilizzato in questo passaggio:
    Tweezers
    $4.99
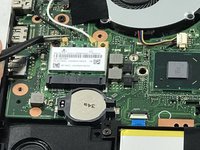
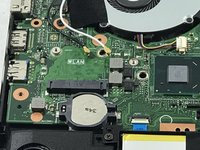
    • Disconnect the black and white wires that are connected to the WiFi card by gently pulling them upward with a pair of tweezers.

    • Using the tweezers, gently pull the WiFi card out away from yourself.

    • If you try pulling up you could cause damage, so be sure to slowly and gently pull the card away from yourself.

Conclusione

To reassemble your device, follow these instructions in reverse order.

0 Commenti

Aggiungi Commento

Visualizza Statistiche:

Ultime 24 Ore: 0

Ultimi 7 Giorni: 0

Ultimi 30 Giorni: 2

Tutti i Tempi: 304